While it’s very much in my interest to keep up with the times, being a games journalist and all, the FPS genre has always been one I have struggled to give equal billing. Like it or not, I can’t seem to shake off a general feeling of disappointment when obligated to sit down to a run-and-gun adventure.
The FPS genre has always felt a little cookie-cutter to me. Ever since Call of Duty pushed it on from a series of WW1 reenactments and boomer shooters, we haven’t seen much in the way of innovation.
However, if you are willing to dig into the Indie catalog, you’ll know that there are more than a few great FPS titles that push the envelope, including the permanent bullet-time epic, Superhot.
This title is best known for its puzzle meets FPS blend and its minimalist style. However, there are some hard-to-find collectibles that will force you to use a mechanic that you wouldn’t immediately associate with this time-based shooter, platforming.
So, to help you hop around each level with ease, we have compiled a list of each terminal in Superhot and its location. So, without further delay, here is Indie Game Culture’s Superhot All Secret Terminal Locations Guide.
Why Collect Terminals In Superhot?
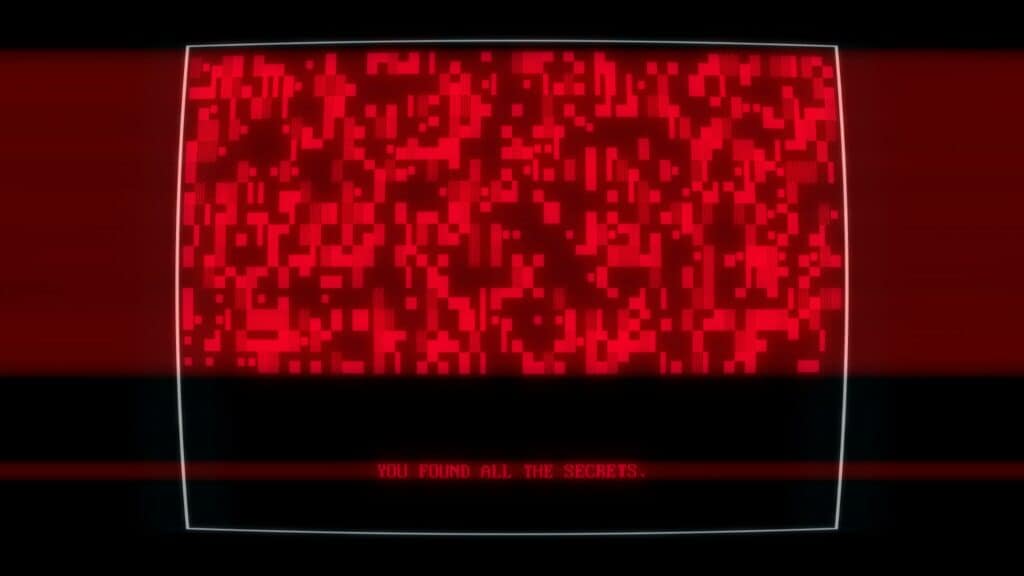
It really boils down to two things: being a completionist and seeking out more nuggets of lore.
The primary reason for collecting all of the terminals is that you will be awarded an achievement for collecting all 27 of the terminals in the game.
However, for those who need more motivation than completing objectives for the sake of it, players will also be gifted a little portion of text-based dialogue for each terminal found.
The system will award you one question, and your player character will ask a set question, revealing something about the world, the system, or your role in the game.
Superhot Terminal Locations Revealed
#1 – Kick
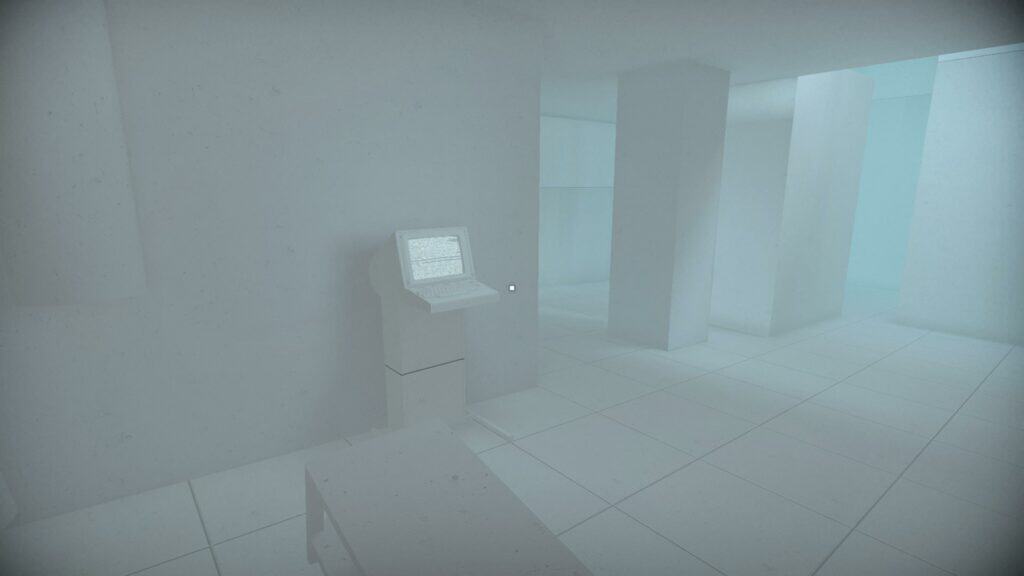
The first one is pretty simple. You’ll want to kill the first enemy at the end of the hall, and then make your way toward the second one and disarm them.
Then, simply hop over the railing and fall down to the lower level, where you will find the first terminal waiting for you.
#2 – Alley
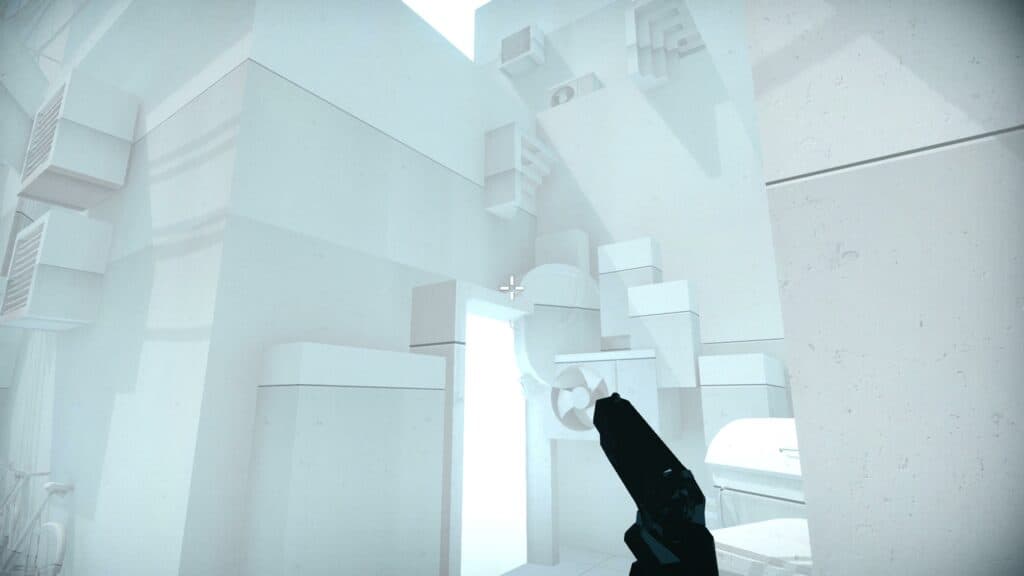
Now for some proper platforming. Begin by playing this one as you normally would. Kill the two enemies that immediately come for you, then take out the enemy that appears with a gun. This will leave one other, but he has no weapon, so don’t worry about them.
You then need to use the dumpsters and vents on the left to hop up to the rooftops above. Then once up, do an immediate 180 and hop down to the area behind the gunman’s doorway.
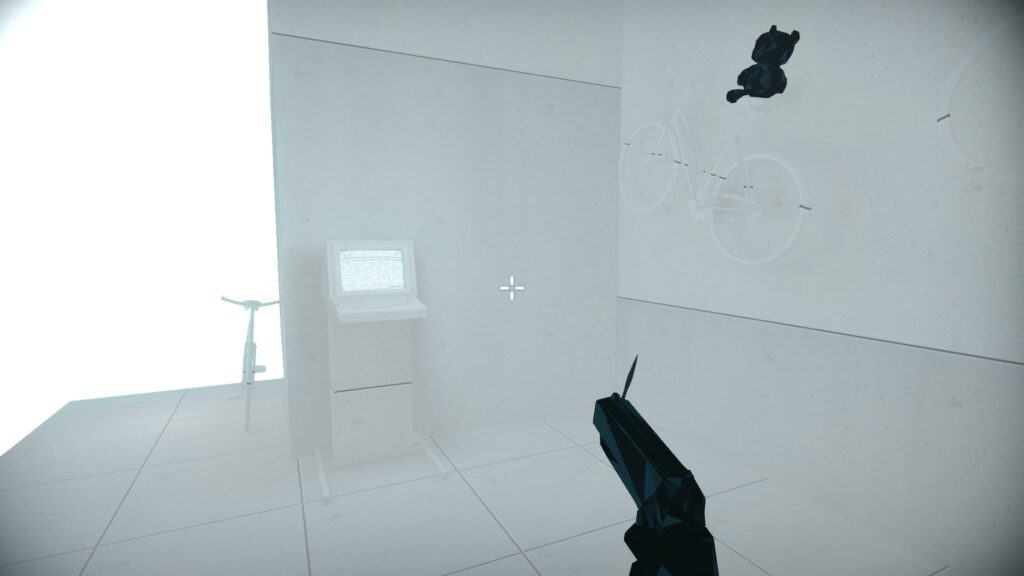
You then simply move along the narrow walkway, and the terminal will be waiting at the end.
#3 – Corridor
Take your time here, and play this one as you normally would. Weave to dodge the oncoming bullets and make your way to the gun in the middle.
When you get there, shoot one enemy, and then throw your pistol to disarm the other. This should allow you to get to them without them recovering.
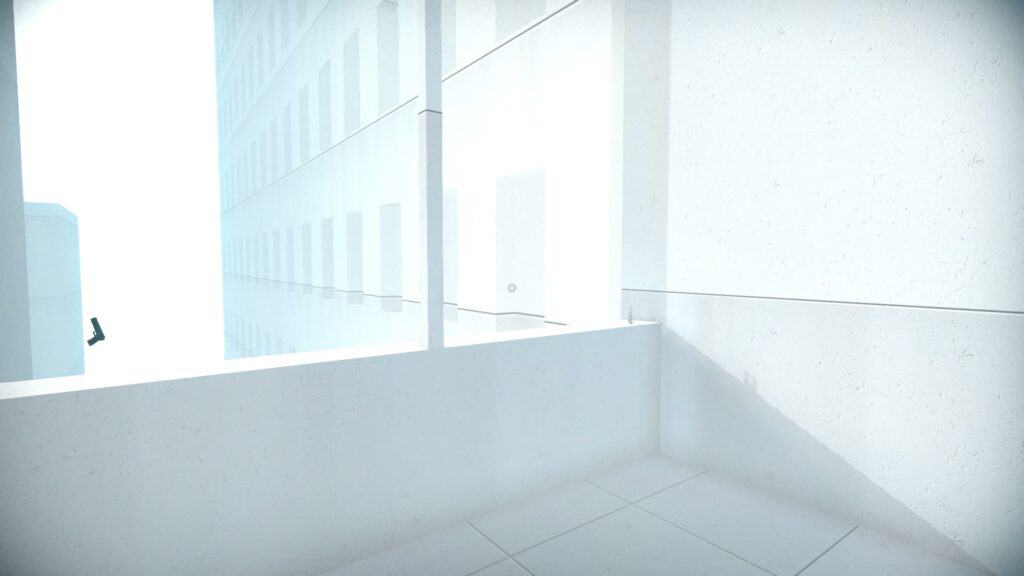
When you reach them, throw their gun away, and then hop out the opening to the left and into the window closest to you.
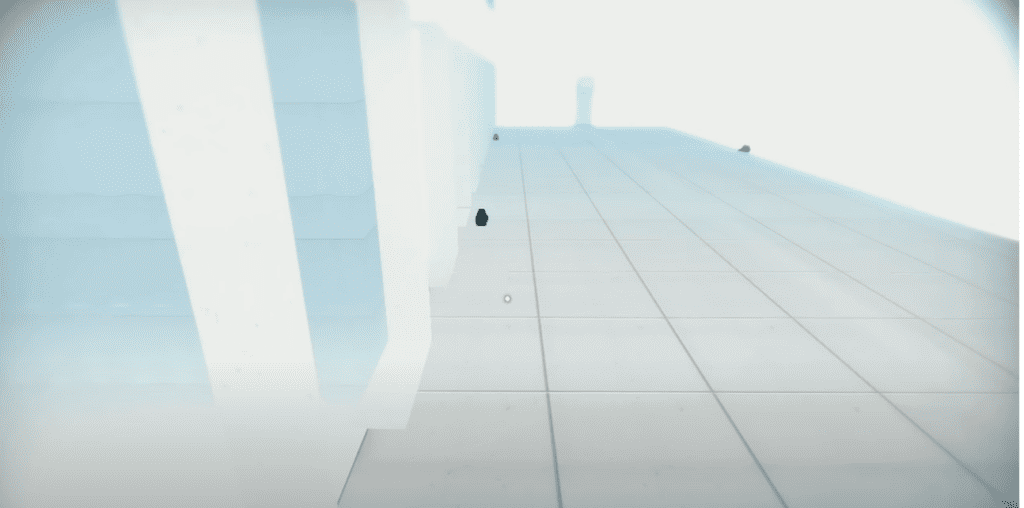
You’ll fall through a false floor to a secret area. However, be aware that a lot of the floor here is also false, so begin at the first shoe on the ground, and then hop from one to the next until you reach the terminal at the end of the room.
#4 – Drop
Begin by taking out the enemy directly in front of you, and then use the newly acquired gun to disarm the other enemy. Try not to kill them, as more will appear.
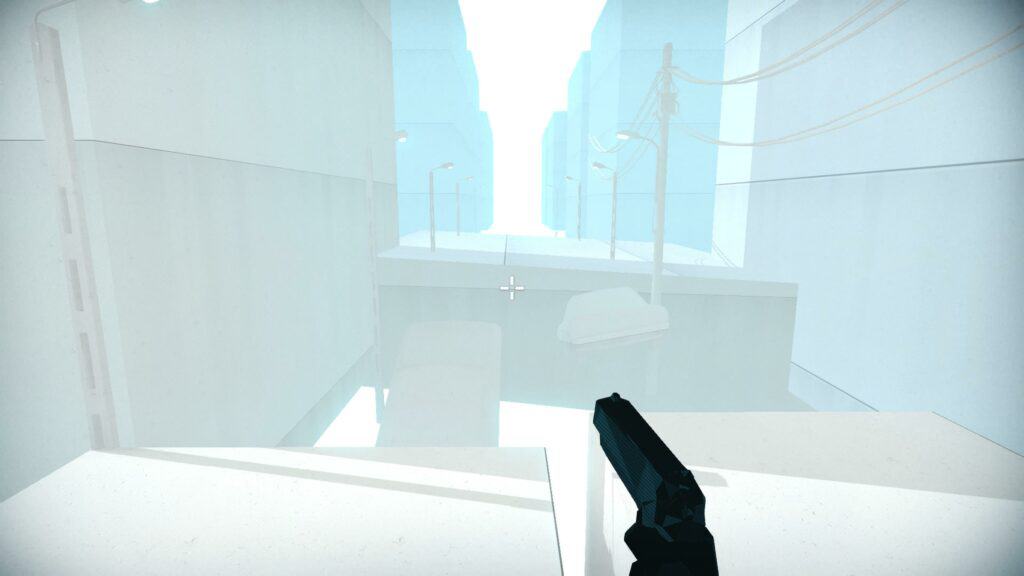
In the direction you begin the level, keep moving and hop over the cars and shipping containers until you reach the floating car, then turn around.
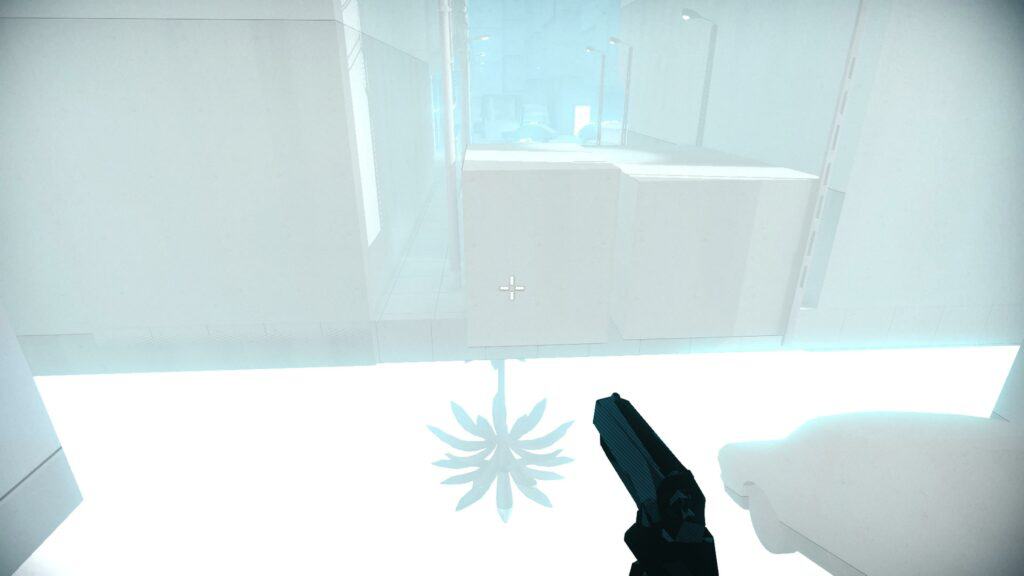
You’ll then need to jump ahead and land on an upside-down tree platform below. Land here, and then use the gun you are hopefully still holding to smash the glass on the telephone kiosk.
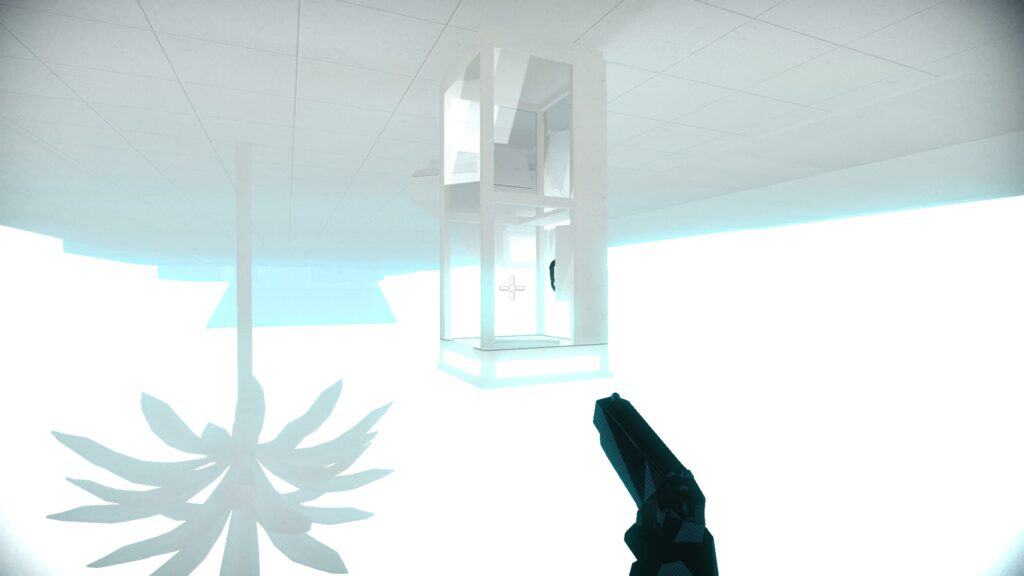
Then, line up your jump and hop into that kiosk. Here, you’ll find your next terminal.
#5 – Subway
Begin by taking care of the three enemies on the platform. Then, turn around and make your way to the doorway to the right.
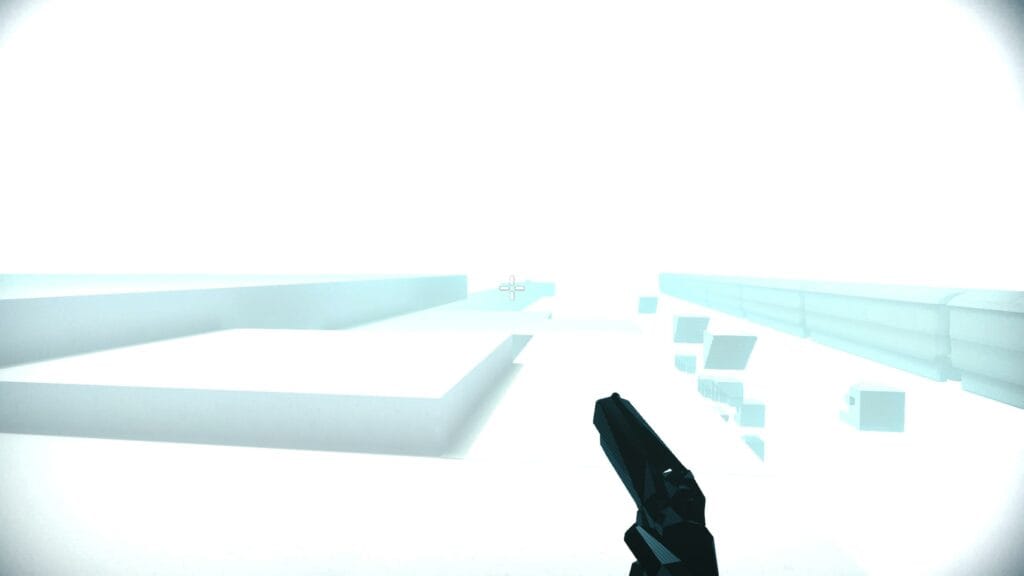
To get past this and out of bounds, hop on the railing and walk up. Keep an eye behind you as enemies will spawn. Then, once up at the top of the railing, jump to the rooftop above.
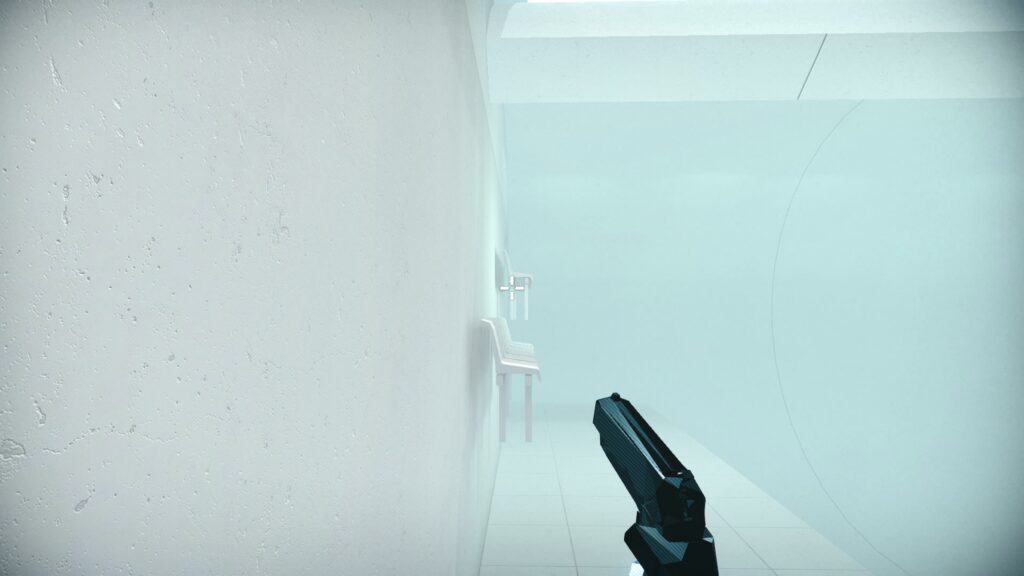
You will then need to turn around and walk to the furthest patch of the rooftop, where you’ll see a pillar poking out. Jump down here and make sure to land on the far side.
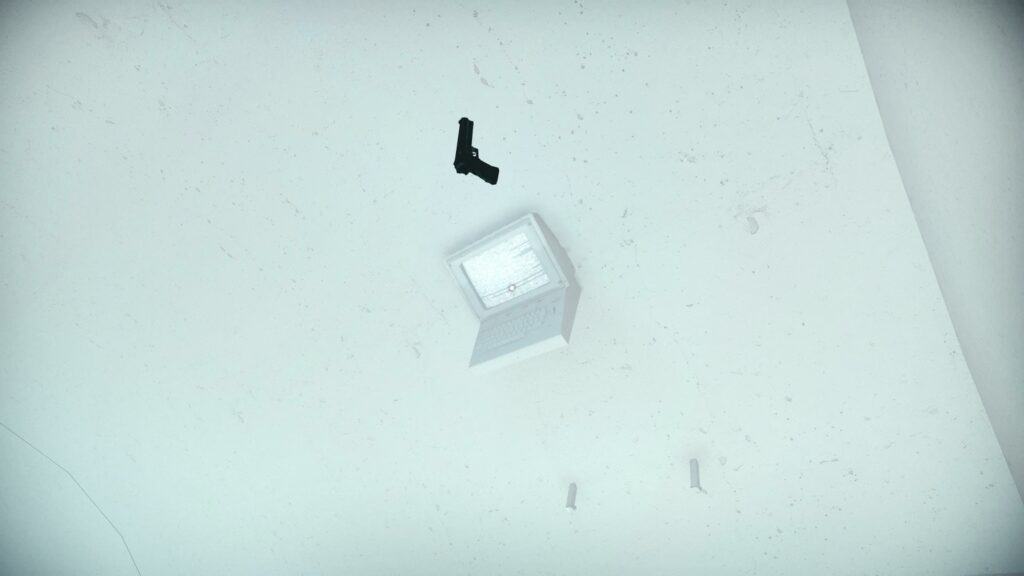
You’ll land in an area with chairs that ascend like stairs. Use these to climb and then look up. On the ceiling, you’ll find your terminal.
#6 – Jump
You can immediately ignore all the enemies in this stage and jump out the windows to the right after you jump over the oncoming car, of course.
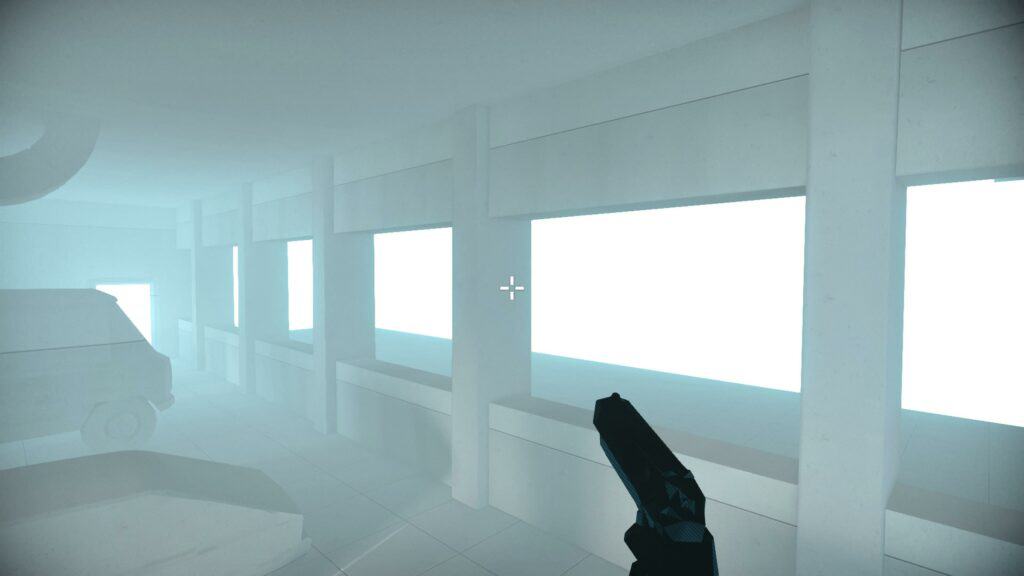
Then you’ll need to head to the corner up ahead and jump out and in, landing on a ledge around the corner. Then platform up the ascending ledges thereafter.
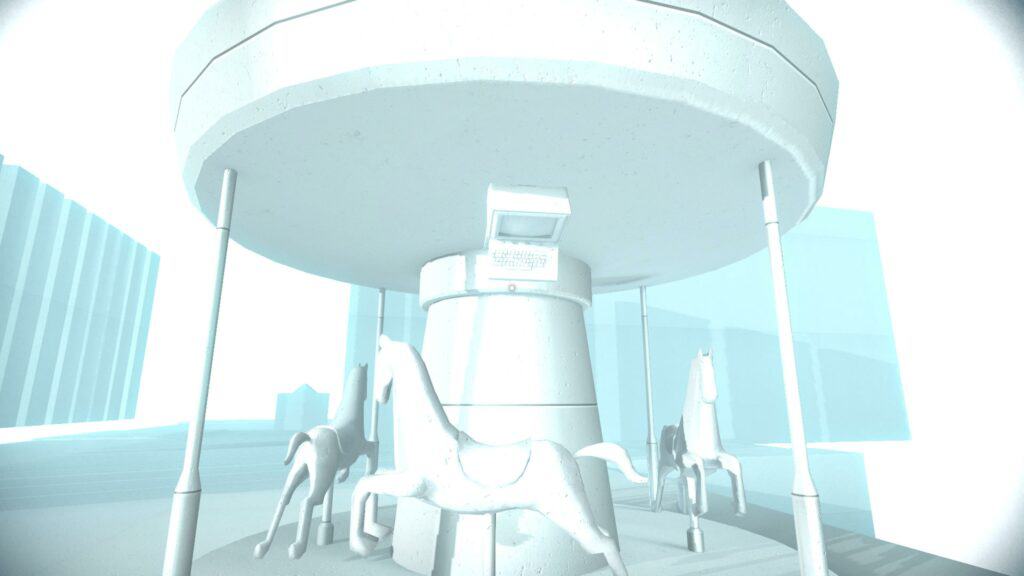
After this, walk up to the rotating carousel, and you’ll find your next terminal.
#7 – Shots
Begin by picking up a bottle and dazing the enemy on the other side of the bar. Then, run and jump out the window to the right of the room. It’s best to throw a second bottle at the window to smash it and save time.
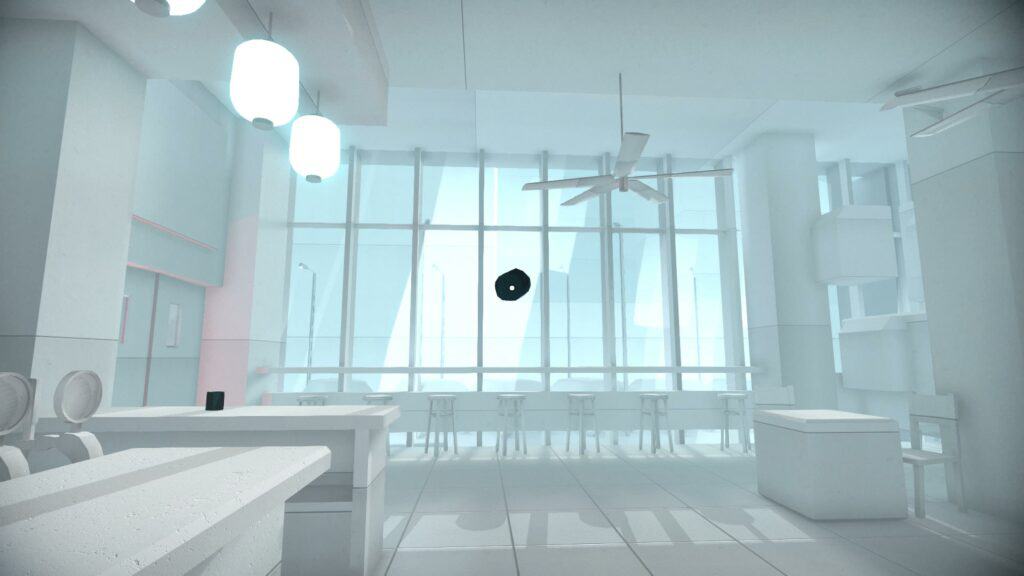
Then, you’ll need to turn right and walk along until you see a mechanical dog wall hanging.
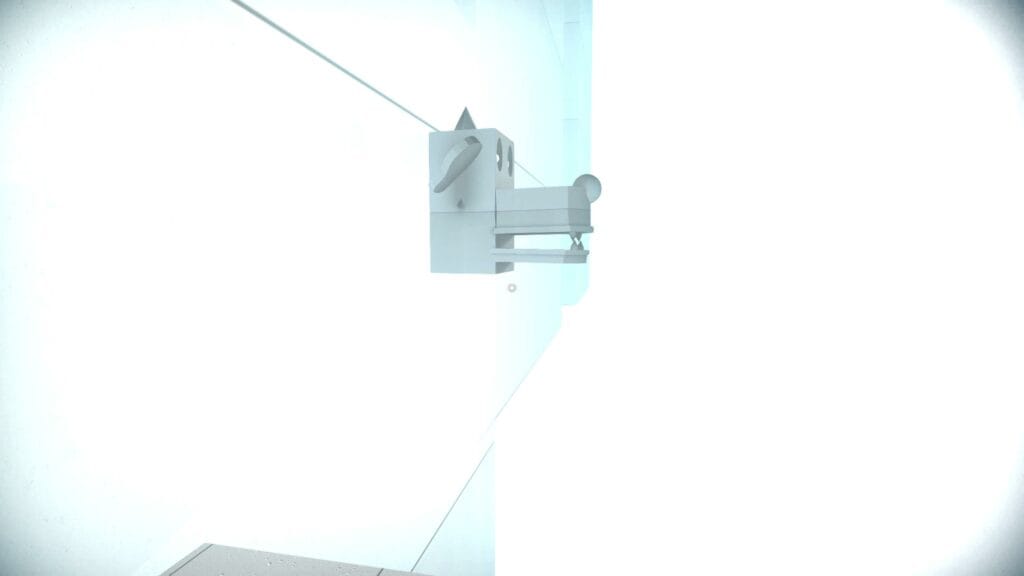
Below this, you’ll find two other dogs. Land on the first below and then jump to the second.
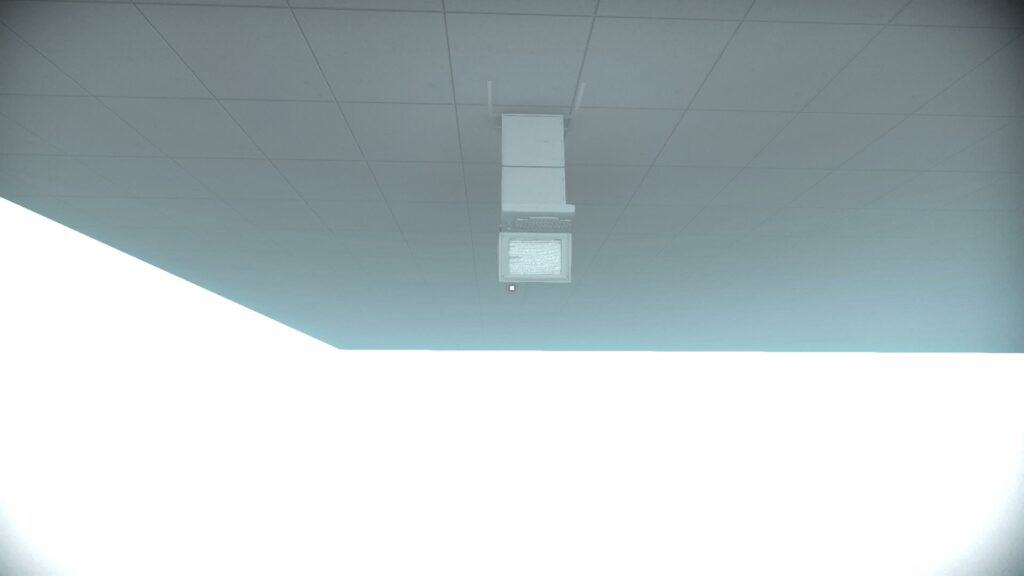
Then, lastly, you’ll need to hop around the corner and trust there is a third dog to land on. Then, you need to leap forward to activate the terminal, which you will need to do in mid-air.
#8 – Fight
This one’s pretty easy. Kill all the enemies in the first area, then kill all but one in the second section. Then, run to the end of the cage, hop on the filming equipment up ahead, and use it to leap onto the cage.
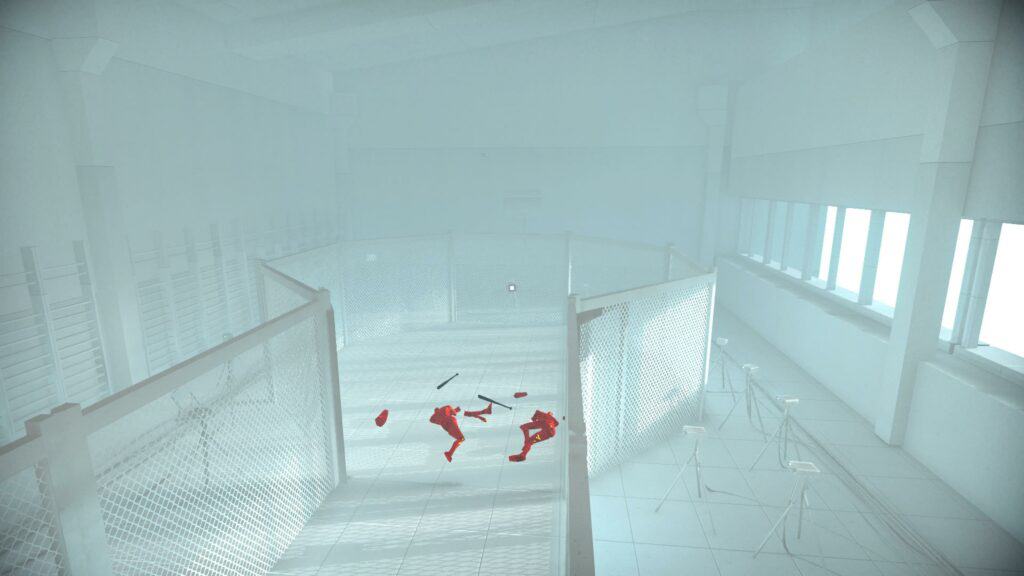
From here, hop off the cage to the outer edge and then walk around the room until you find the terminal.
#9 – Desperado
Begin this one by taking out the guy you start behind and then the second guy that will meet you at the door. Then, you’ll want to grab the bottle at the doorway and throw this at the guy with the shotgun behind the bar.
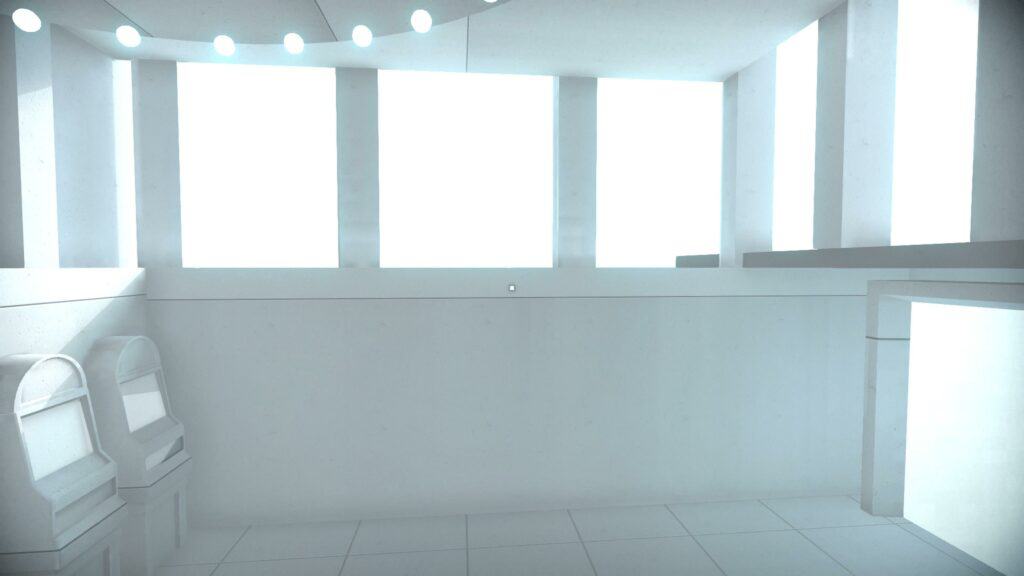
If you successfully disarm them, you can then head to the platform with the stripper pole and then use this platform to jump out the nearby window.
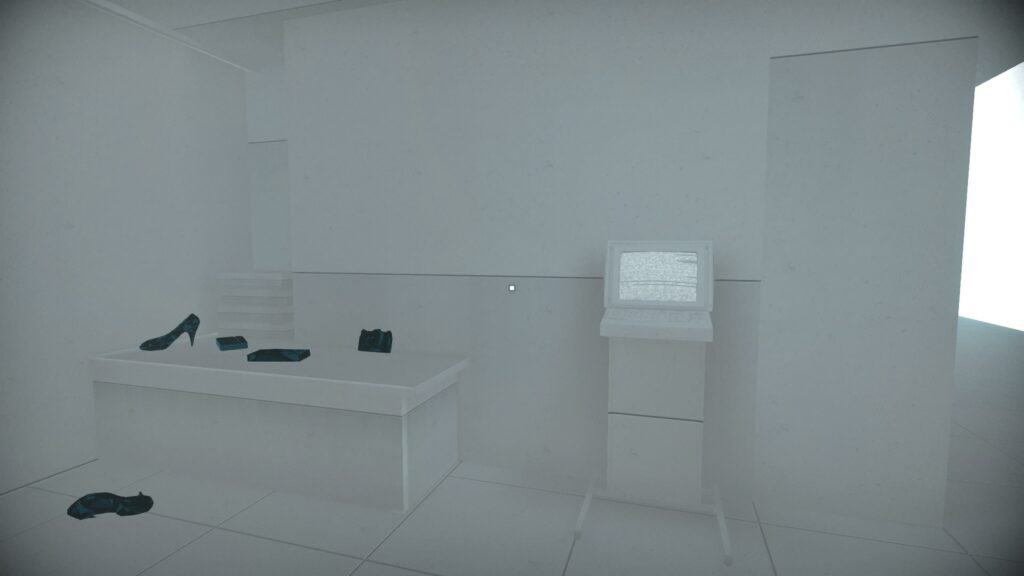
After this, work your way around to the right. It will get unbearably bright, but just keep moving. Follow this path, and you will eventually happen upon another terminal.
#10 – Break In
You’ll need to act as soon as you spawn into this level. Keep your analog stick moving right, and you should avoid falling into the level and be able to move around on the rooftop.
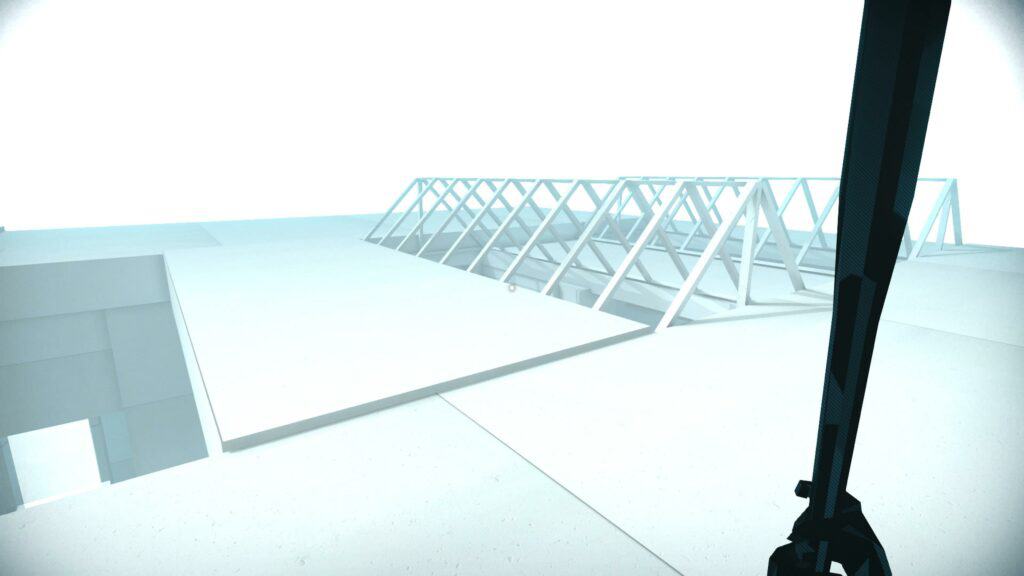
Avoiding the windows as best you can, move across the roof to the left of your starting position, and then hop of the roof backward, then move forward to land on the platform below.
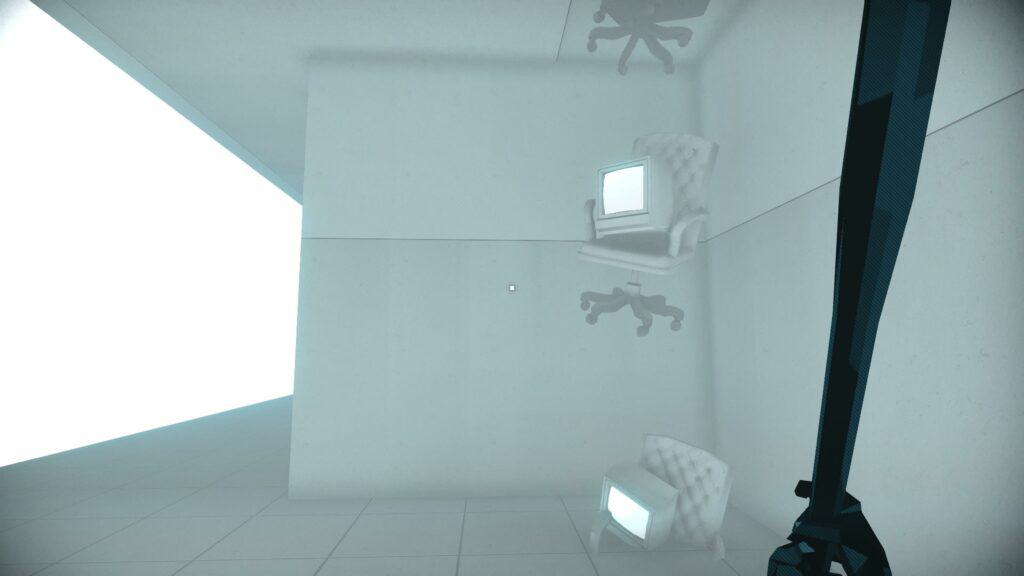
You’ll need to do this again and also activate the terminal in midair. The best way to guarantee success is to line yourself up with the wall with the monitor in the corner. Hop down, activate the terminal, and move on to the next level.
#11 – Tirall
Play this one as you would initially. Avoid the van, then run to cover and disarm the rifleman. Take him out, grab his gun, and then take out two of the three oncoming enemies down the street. Really try to get at least two; it will make platforming much easier for you. Failing that, disarm the remaining enemy.
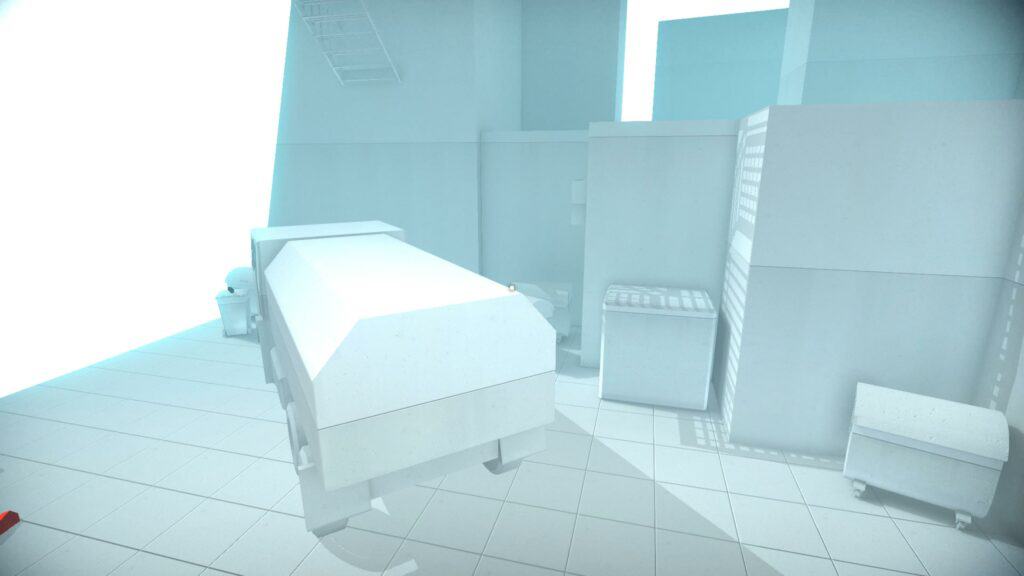
After this, use the dumpster to platform up to the high ledge and then jump on the van that nearly crushed you earlier. Then, use it to get to the next ledge.
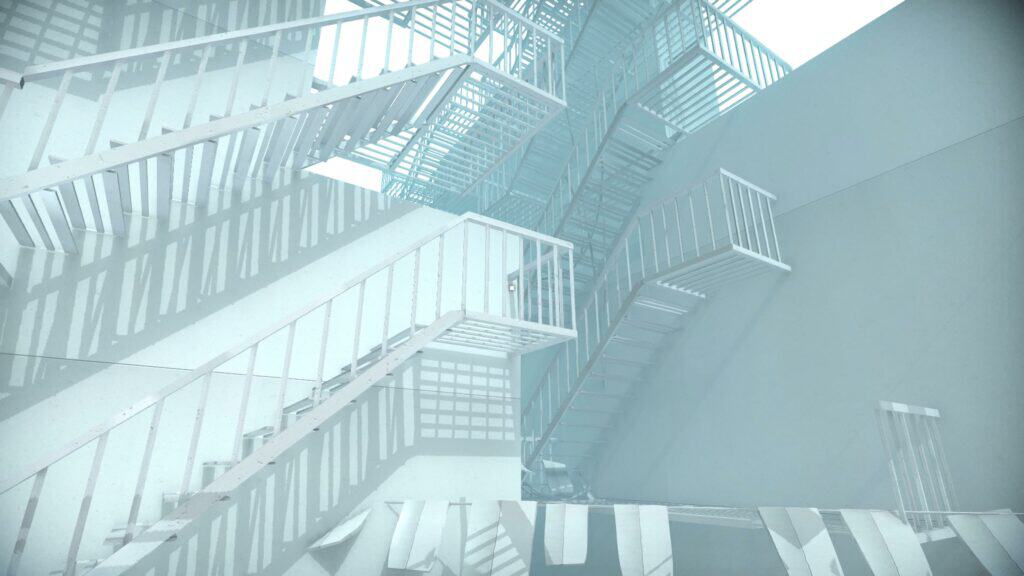
After this, hop on the handrail and climb to the top; you kind of have to jump out and in, or you’ll keep getting stuck. Then, head forward and hop over to the fire escape stairs on the other side.

When you get to the top, jump over the high ledge, or around it, and you’ll see a Ferris wheel ahead. Turn around, and you’ll see your terminal.
#12 – Serv
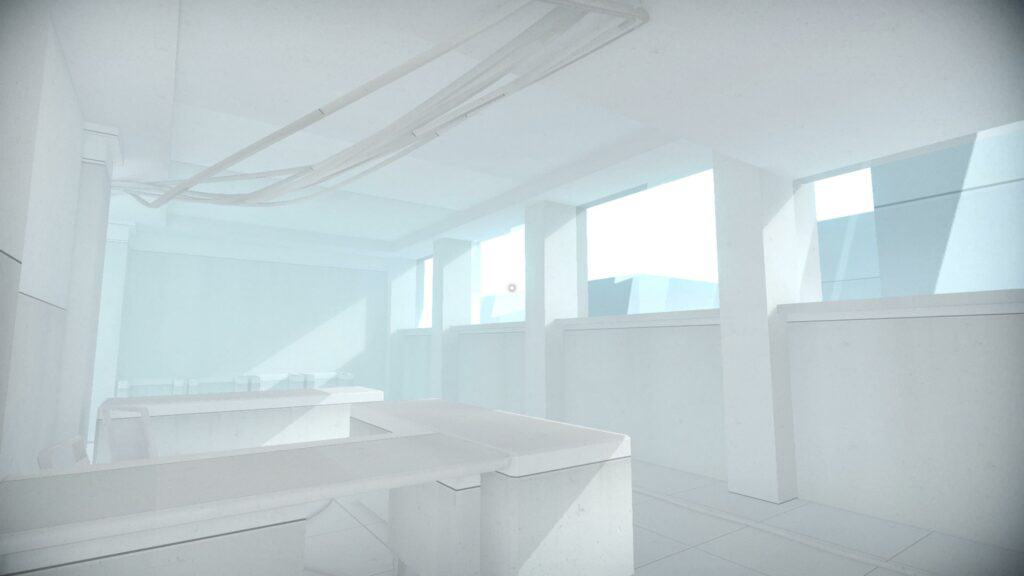
This is about as easy as these Terminal collectibles get. Before even entering the area with enemies, use the counter to hop out the first set of windows, then follow the path around to the right, and you’ll find your terminal inside the little nook.
#13 – Hospital
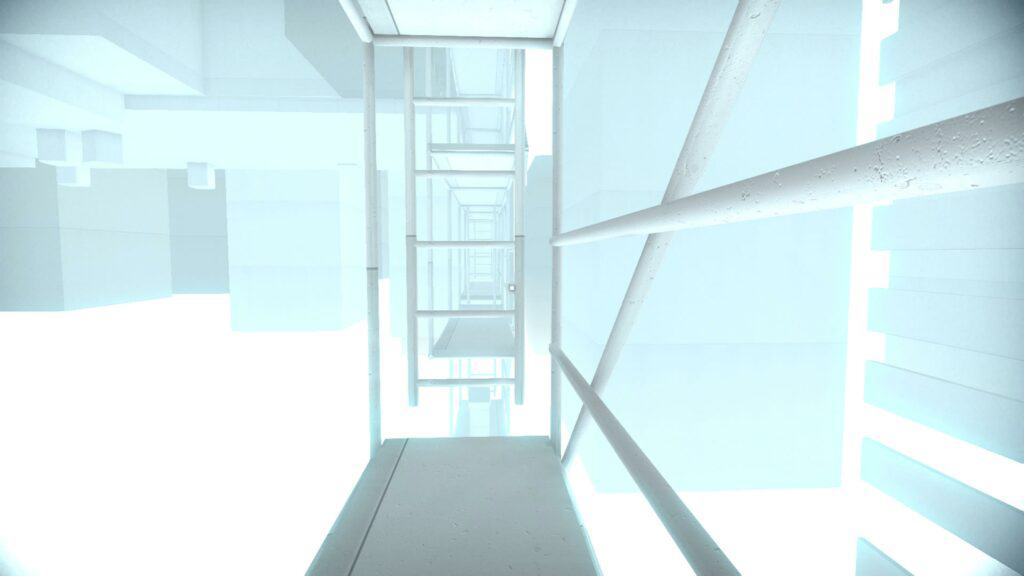
For this one, punch the first enemy, then use his shotgun to kill the other enemy down below. After that, jump off in the same area where the first enemy falls and try to land on the lowest piece of scaffolding below.
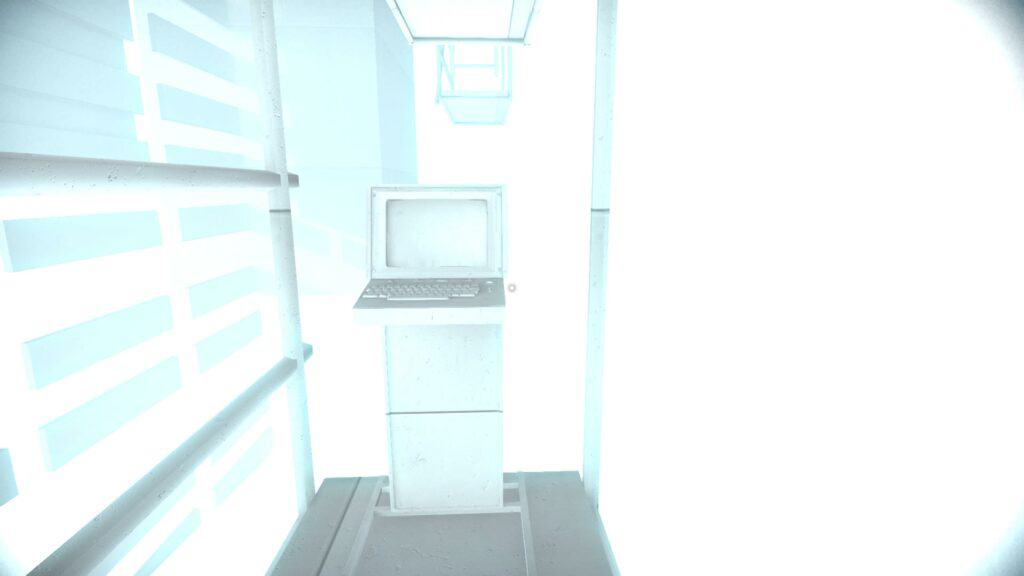
You’ll then need to head into the middle of this platform and hop off again, jumping back then forward to land on the platform below, where you will find your next terminal.
#14 – Donut
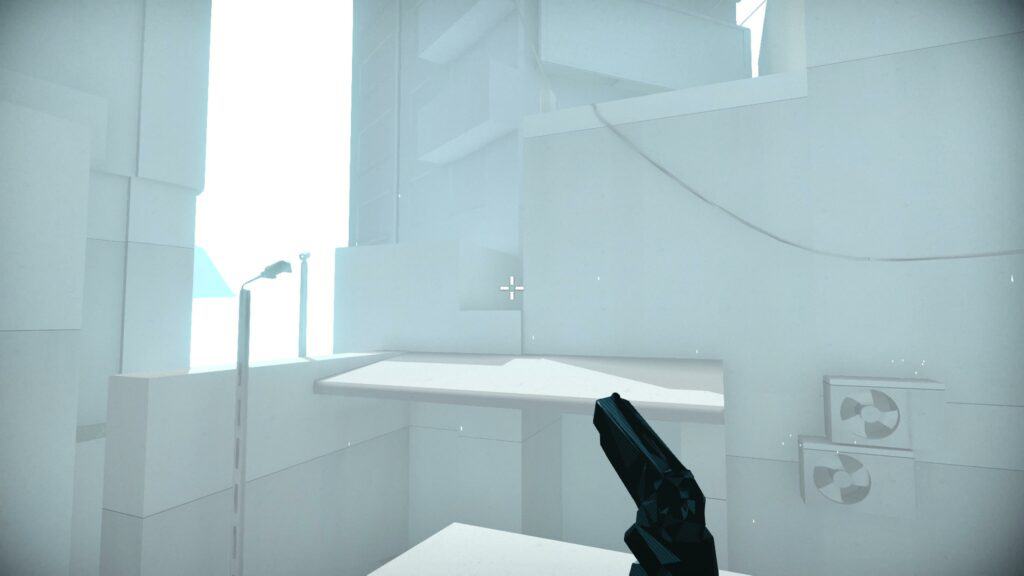
Begin by killing the first enemy, followed by the second. Try to veer to the left to avoid the shot from the rifleman as you do. Then turn left and take out the pistol enemy.
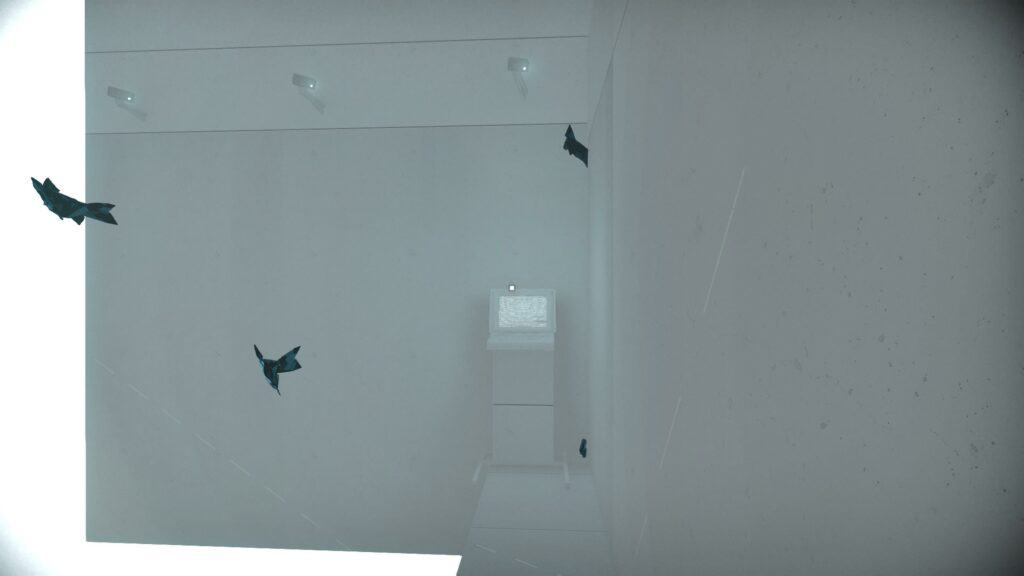
From here, it’s safe to platform using the debris ahead to the central rooftop. Then hop over the gap in your starting direction, drop down to the small walkway, and then follow it to your next terminal.
#15 – Old Boy
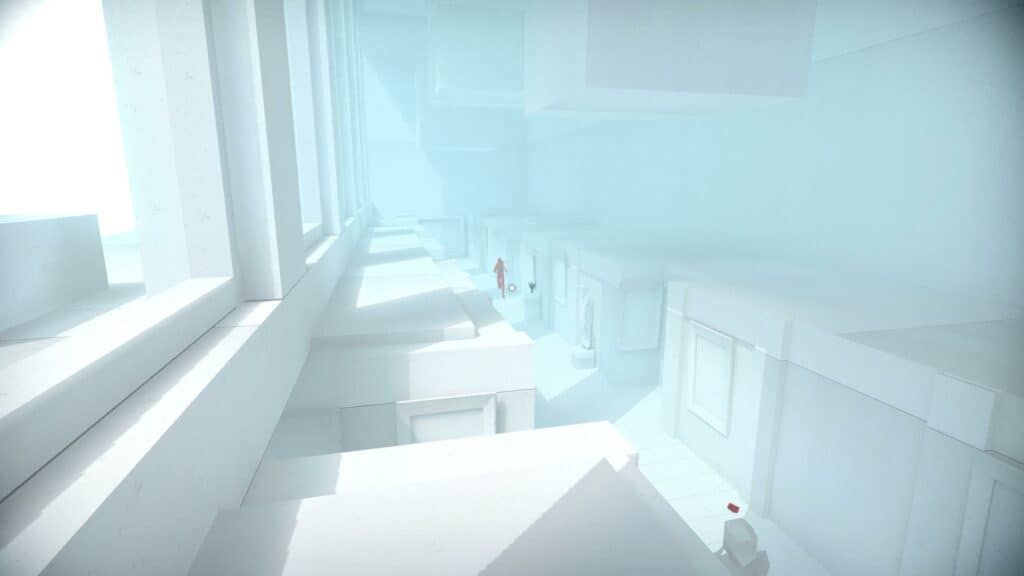
Fight your way through the melee enemies until you reach the statue on the left, then use it to platform up to a higher level. Once up there, head right until you reach a drop with a little model human on it.
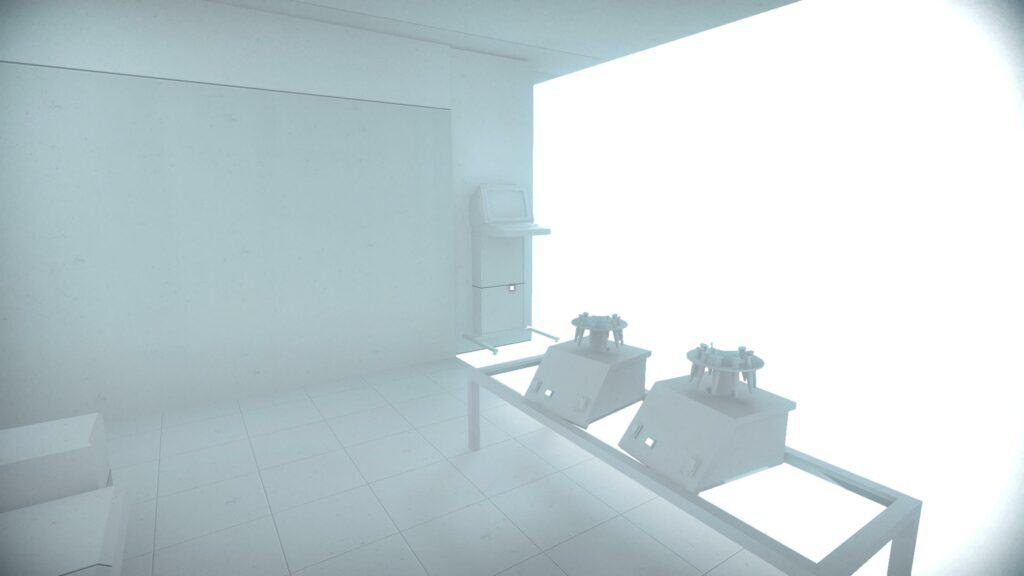
This is your marker to use when you jump backward and then move forward to land on the platform below, where you’ll find the next terminal.
#16 – Elevator
This one can be annoying, but the best way to attack it is to disarm the enemies from left to right and kill them all while keeping a gun in the elevator for you to use when the doors open.
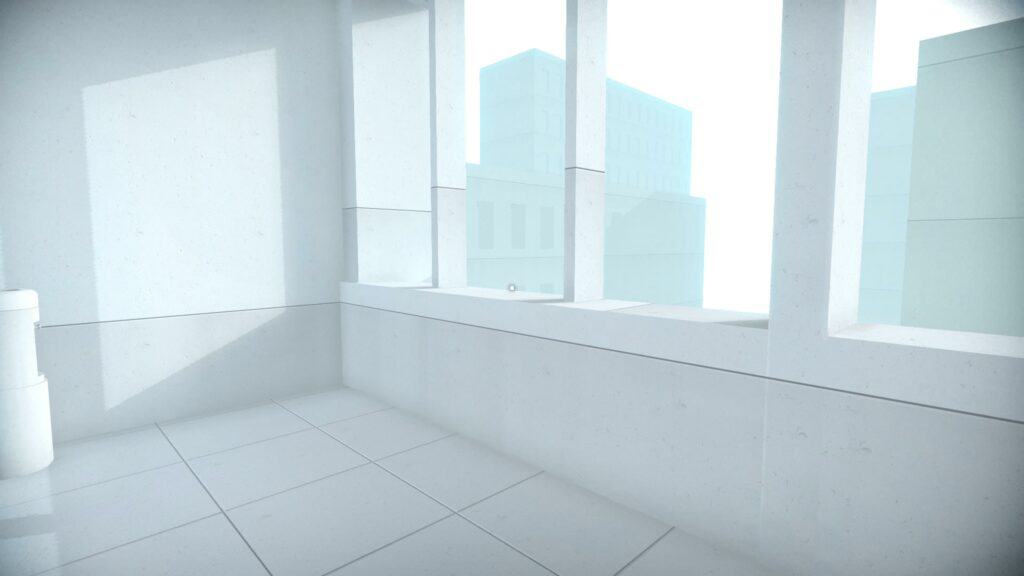
When they do, use a pistol to take out the enemy on the right, and throw the pistol to disarm the enemy left over, and toss his shotgun away if possible.
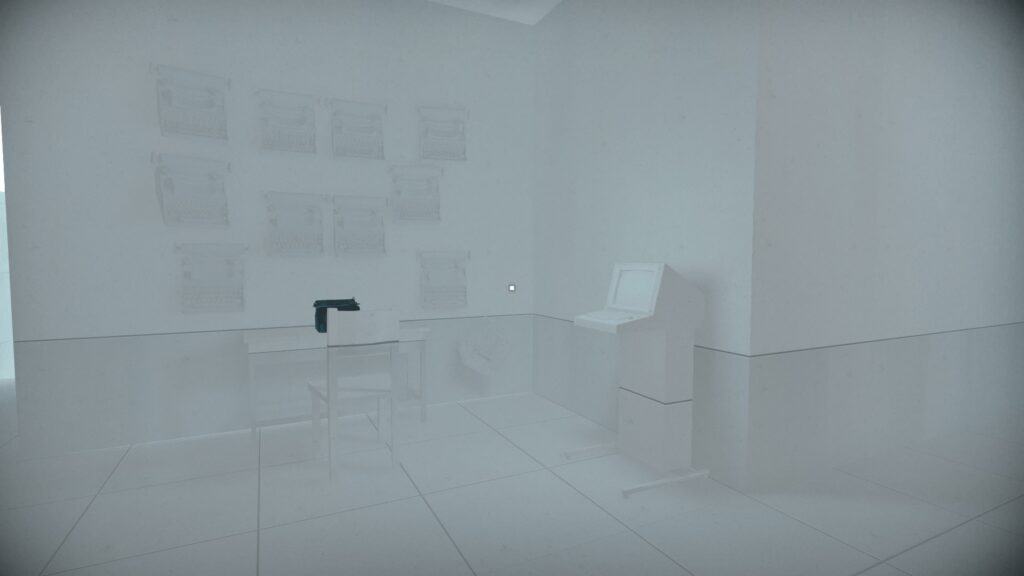
You’ll then be free to head to the far window on the left. Hop up there and then jump out and around to the left. You’ll land on a platform on the other side of the wall and find your next terminal.
#17 – Ballroom
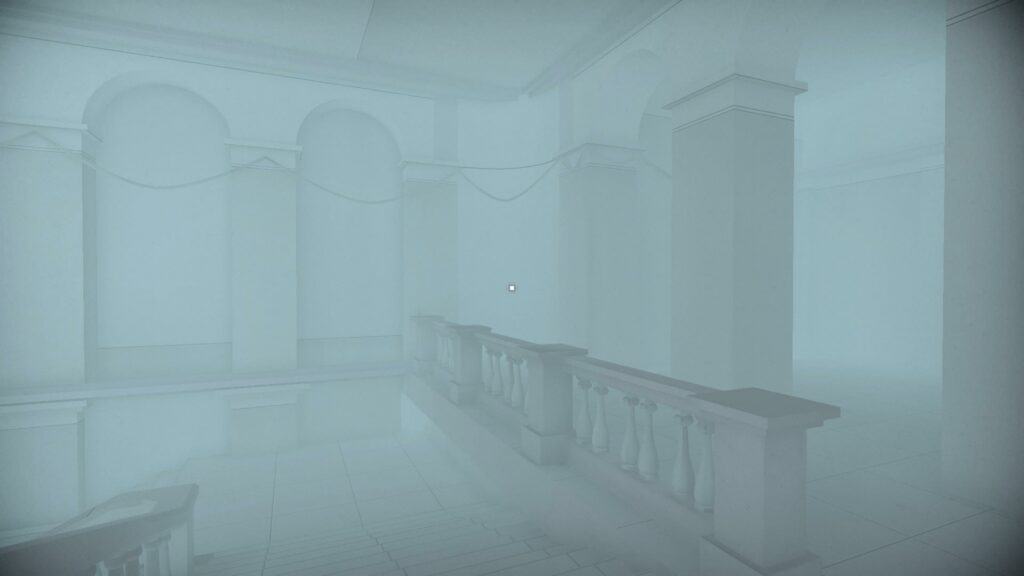
For this one, don’t drop down to the enemies below. Turn to your right and head for the corner wall. This is a false wall, and you’ll go straight through.
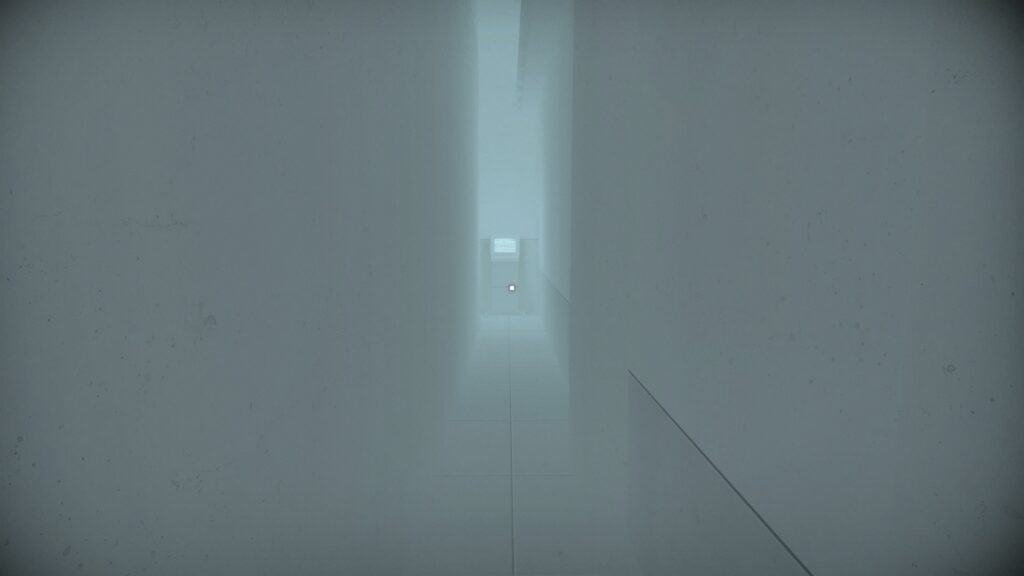
Then you’ll need to drop down to the left, then do an immediate 180, and you’ll see a very narrow ledge around the corner. Follow this around, and you’ll have found another terminal.
#18 – Meeting
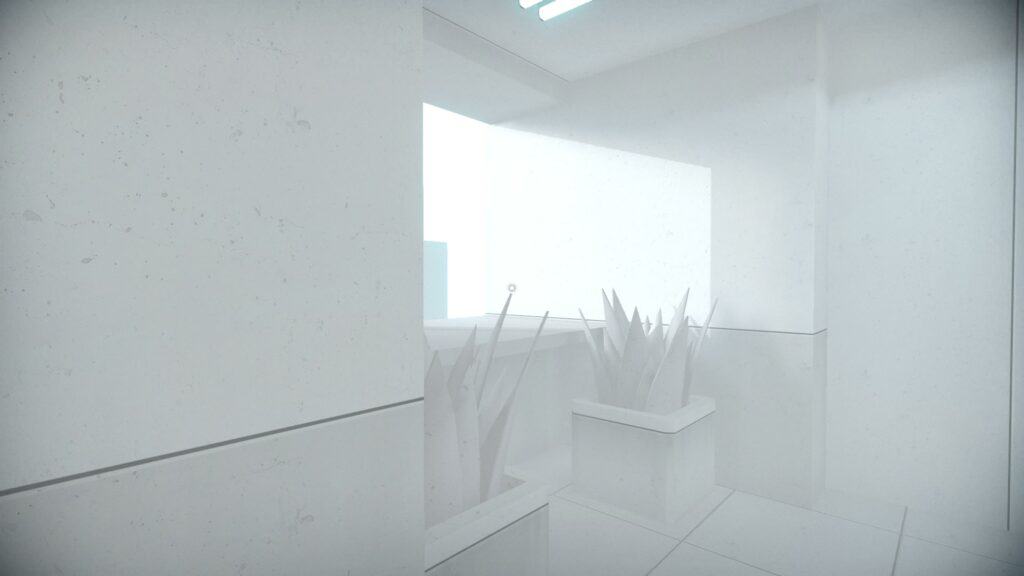
Another super quick one. Use your phone in hand to disarm the first enemy, then turn around, and you’ll see a couple of planters. Jump out this window and try to hook around to the right. You’ll land on a hidden ledge, and around the corner, you’ll find another terminal.
#19 – Fall

For this one, you need to phase jump into the enemy opposite you; then you can ignore all the rest and turn right, then jump out the far window and hook left to land on the platform around the wall.
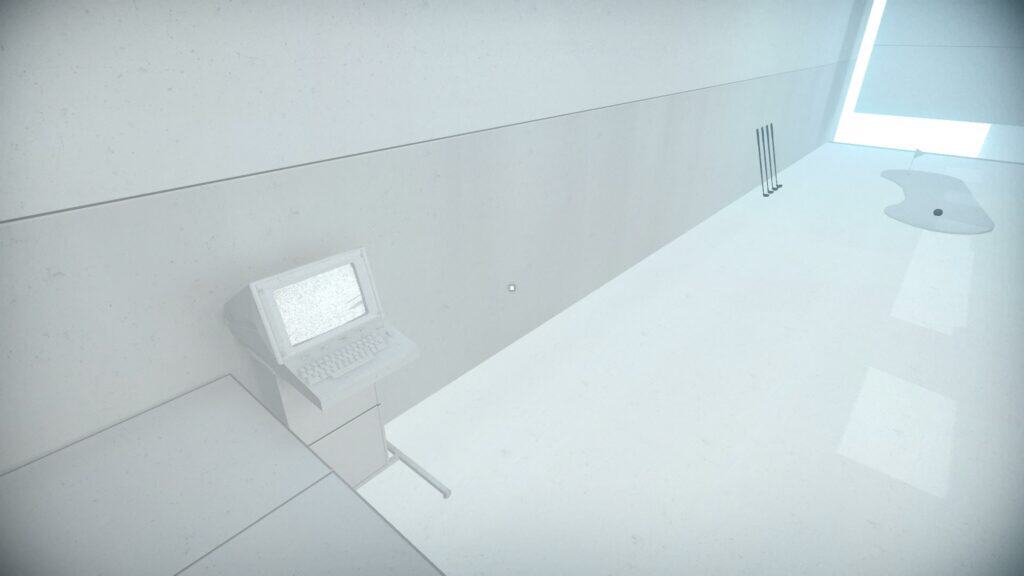
Repeat this process once more, and in the next hidden room, you’ll find your terminal.
#20 – Stairs
For this one, you should immediately phase into the enemy in front of you as the level begins. Then, pick up a nearby melee weapon and disarm the shotgun enemy. Pick up his shotgun and kill him, followed by the enemy coming around the corner on the left.
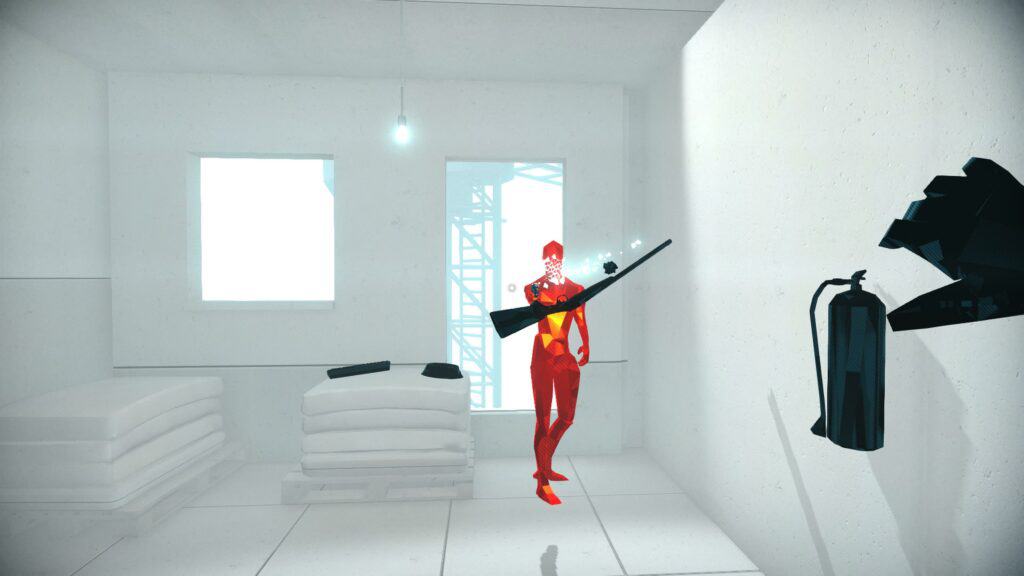
After this, poke around the wall on the right and disarm the pistol user. Then hop out the window he stood in front of and hook to the right to land on nearby scaffolding.
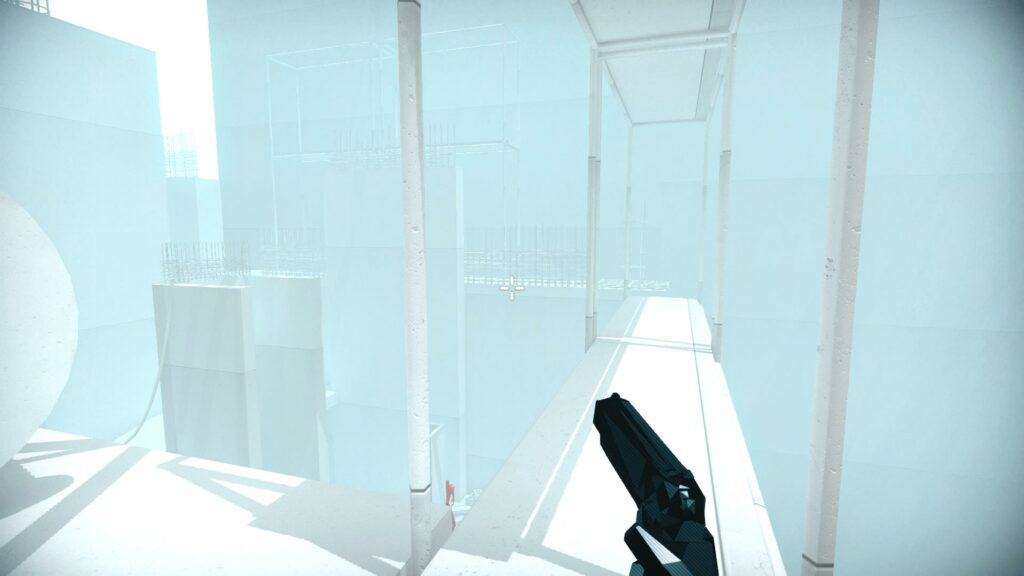
Climb the ladders and then make the jump to the ledge above, walk over the scaffold bridge, avoiding enemy fire, and on the other side, you’ll find another terminal.
#21 – Office
There are a lot of ways to go about this initial section, but for best results, I suggest disarming the shotgun user, and then phasing into the pistol user to your left.
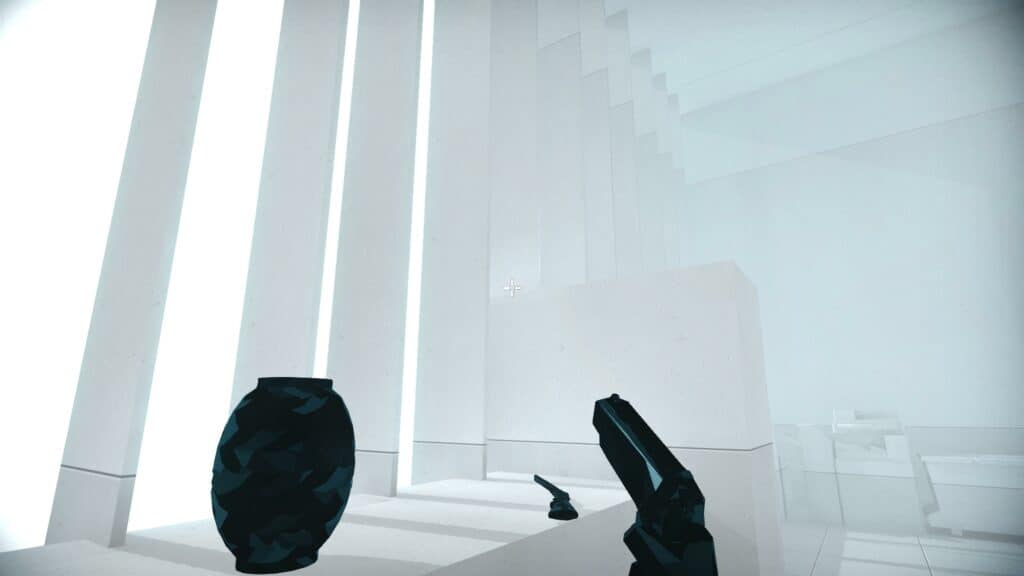
Head left after phasing, and you’ll find a shotgun on the counter. Use that to kill the dazed enemy to the right, and then climb on that counter and hop through the blinds/wall openings. You’ll see a platform below, so aim for that.
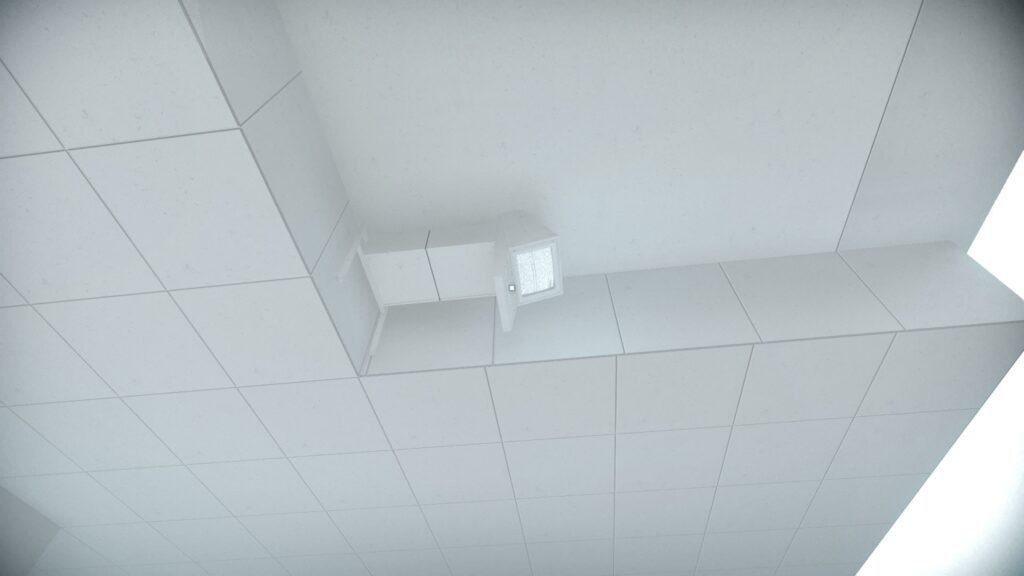
When you land, you’ll see a floating monitor and keyboard. Use these to climb as high as you can, then look up. You’ll see the terminal, and you’ll need to catch it in midair. This is a tough jump, but even if you fall, there’s ground below, so don’t panic.
#22 – Station
Quite easily the most annoying of the bunch. You’ll need to play this level basically as you would from start to end, leaving one gunner at the end. The best thing to do is phase into one of them and then punch the other, then lift his gun and throw it on the other side of the tracks. After this, they cannot follow you or harm you.
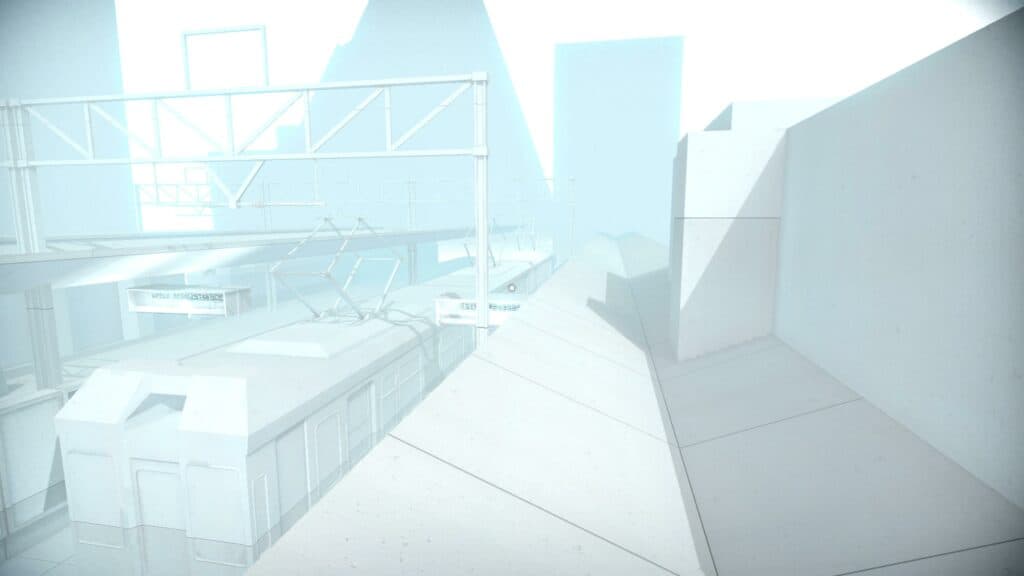
You then need to hop on the other side of the tracks and use the bench, followed by the signs to get on top of the shelters. Then, from the shelter, you will need to hop onto the roof of the station. This is an annoying jump, but if you use forward momentum and hook your jump, you should make it.
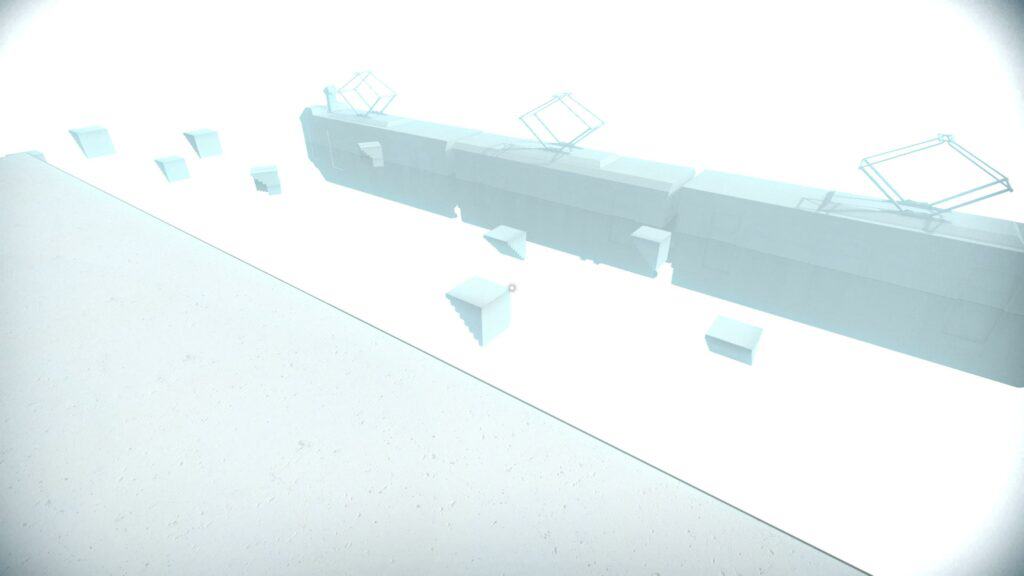
From here, you’ll see some floating platforms and a floating train. Use the platforms to get over to the train, and then you’ll be able to access the next terminal.
#23 – Train
This one is pretty quick, provided you can take everyone out relatively quickly and efficiently. To do this one, grab the shotgun as you fall down into the Train Carriage. Then as you drop down, kill one enemy up ahead, before Hotswitching into another enemy. Then when you complete this switch, take out the remaining of the three enemies.
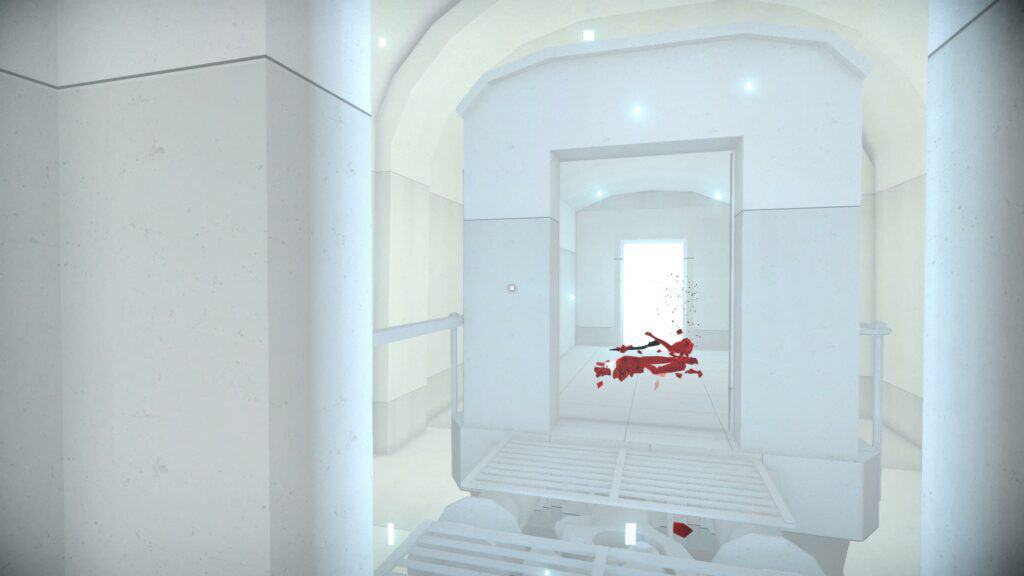
This will then open up a Carriage behind where you dropped in. You’ll want to kill both enemies that appear, and as you do, keep moving toward them. An enemy will begin shooting from behind, so you need to quickly hop out from in between the two carriages to the left and hug the side of the train.
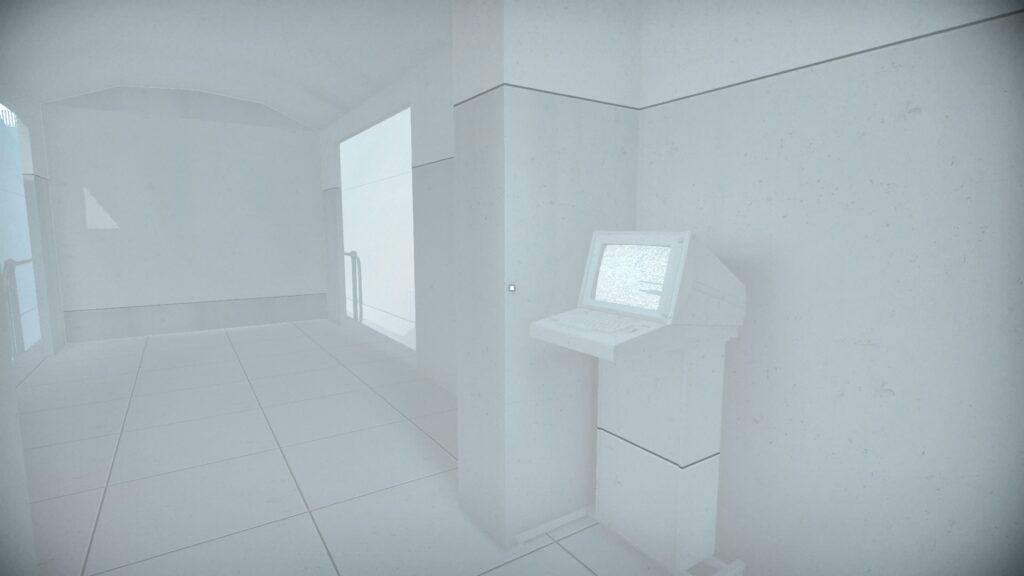
This will allow you to enter a secret Carriage where you will be able to access another Terminal.
#24 – Gate
A nice quick one, courtesy of your Hotswitch skill. Begin by hopping off the starting van behind you, then melee the enemy running toward the Gate. This will give you an opening to hot switch to the enemy through the gate taking cover by the car. When you do this, immediately turn and hop onto the nearby van, and use this to hop up onto a ledge out of bounds.
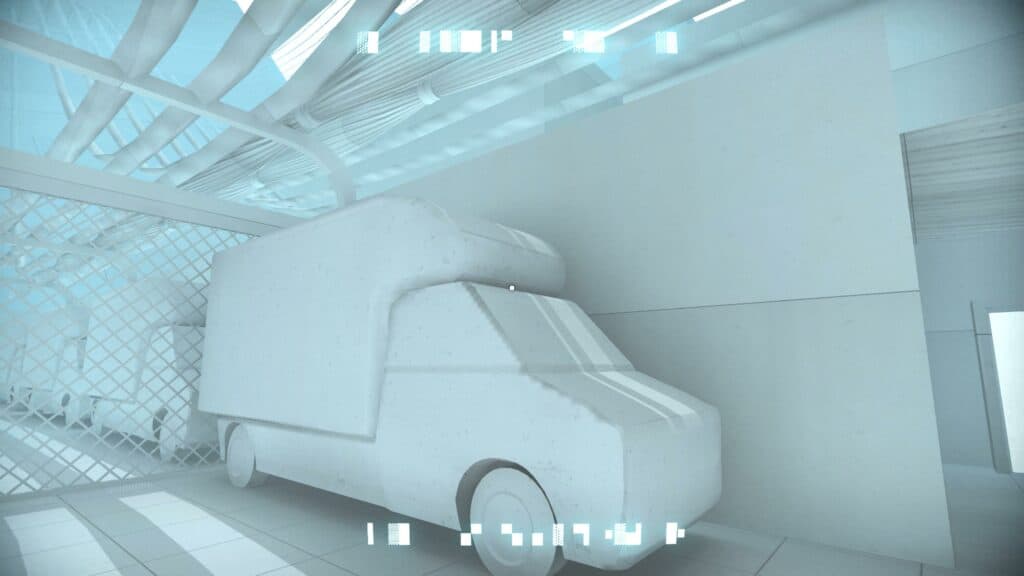
From here, follow the path around to the left, and then hug the wall to walk along the narrow path.

This will take you to an area with some floating chairs, and you can use the highest floating chair as a platform to hop to the other side of the wall, where you will find another Terminal.
#25 – Lobby
Next, we have the rather chaotic Lobby level. The quickest exit out of bounds is by smashing the glass on your left to stun an enemy, and then using their Katana to kill the enemy shooting at you up ahead. Which then creates a window for you to hotswitch to the enemy approaching on the right-hand side.
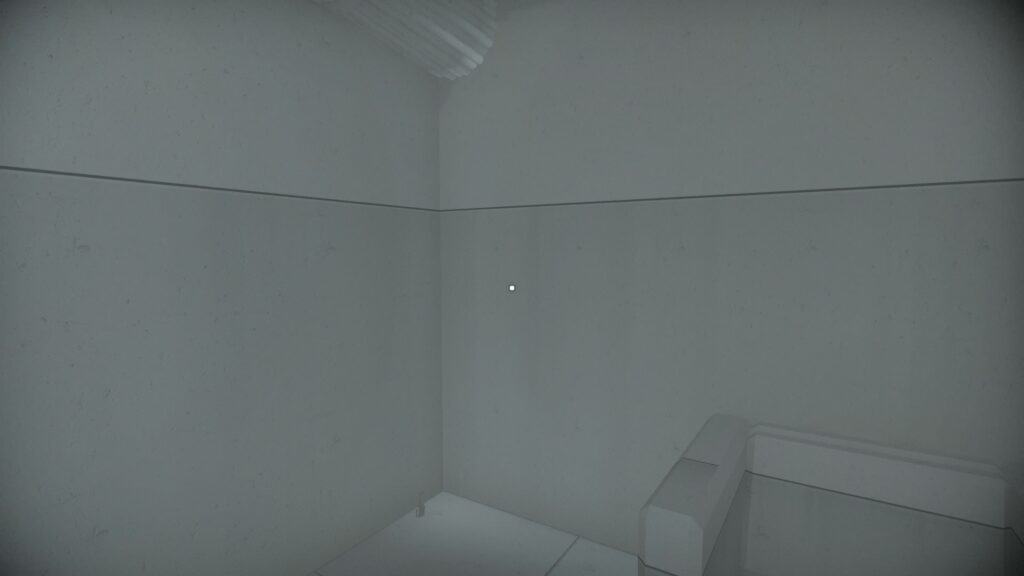
When you do, step forward a little and turn left, and you’ll find a little nook with an armchair.

The wall is fake, so jump through it and then use the floating platforms to get higher.
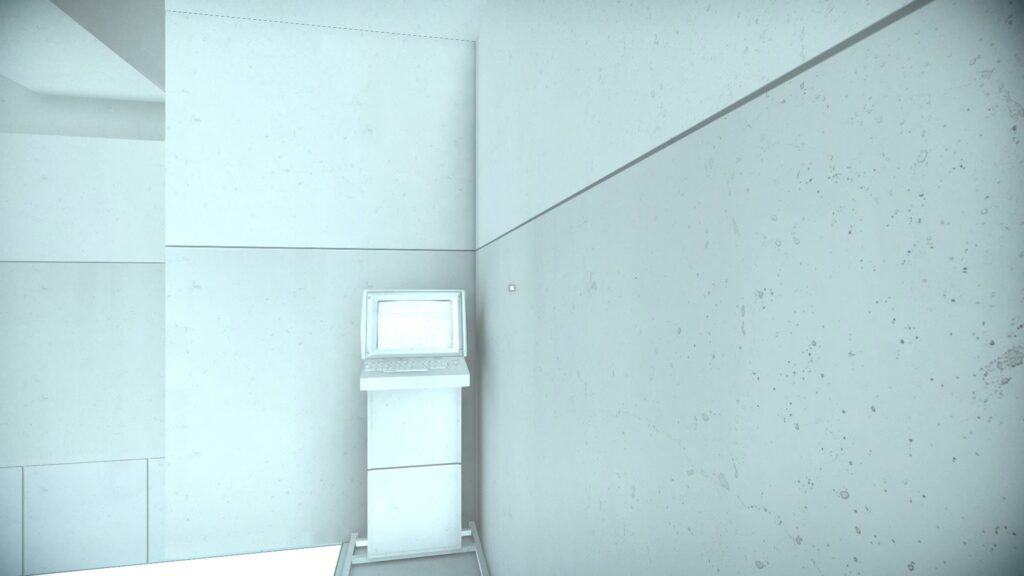
When up top, hop across the platforms with Cabled Wires running across them, and then down below on a very narrow ledge is the next Terminal.
#26 – Long Way
This one is a piece of cake. Simply walk down the long hallway and look at the lights up above. When you see a bar light that is a little crooked, hug the wall and move into it. This is eventually see you pop through the wall.
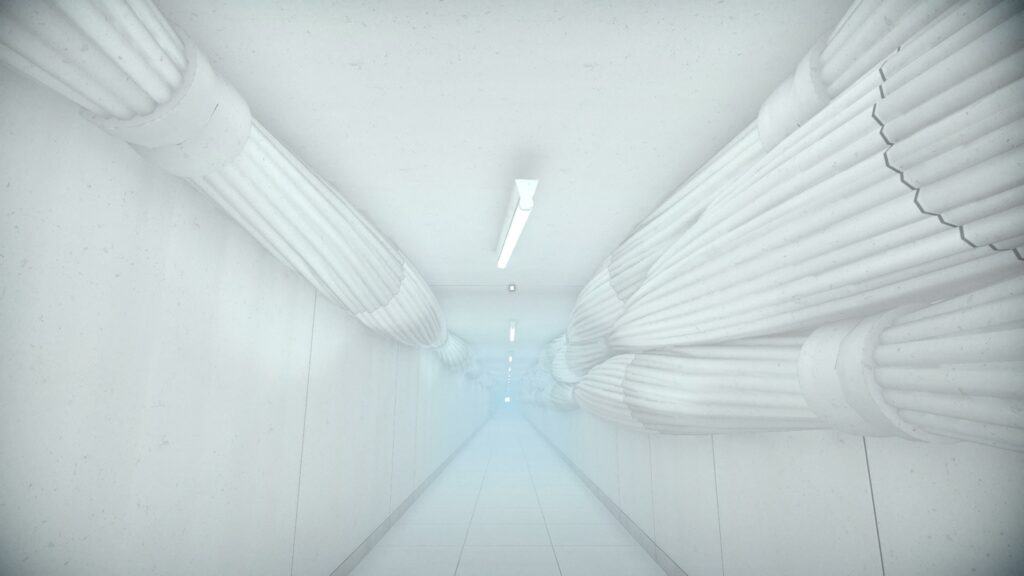
Then when on the other side, you’ll see a Coffin.
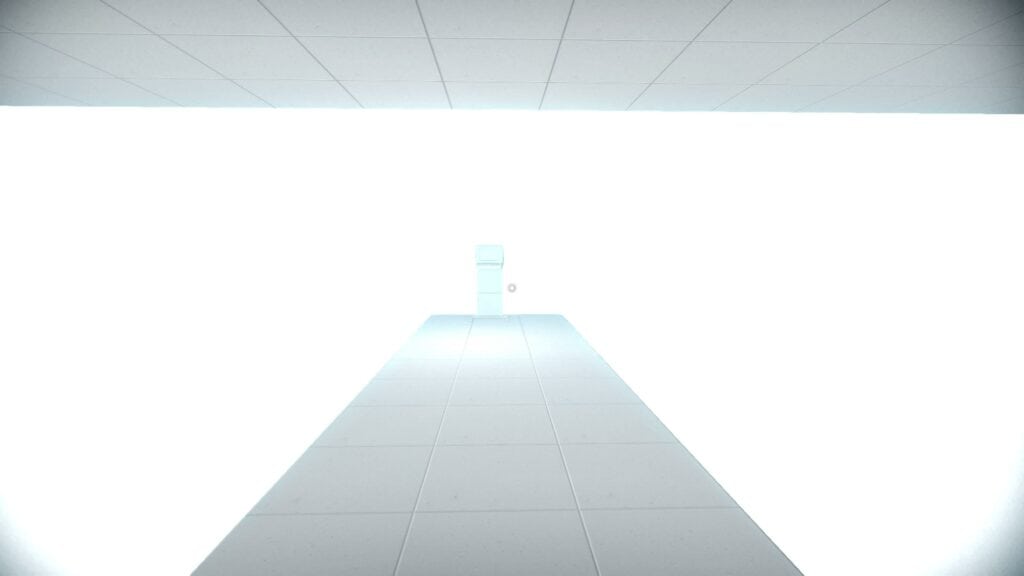
You need to go to the edge of the platform and then jump out and in to land on the ledge directly below. That’s where the penultimate terminal is.
#27 – Core
Then lastly, we have Core, the level where enemies infinitely spawn. This makes platforming to get this Terminal a pain, but come on, one final push!
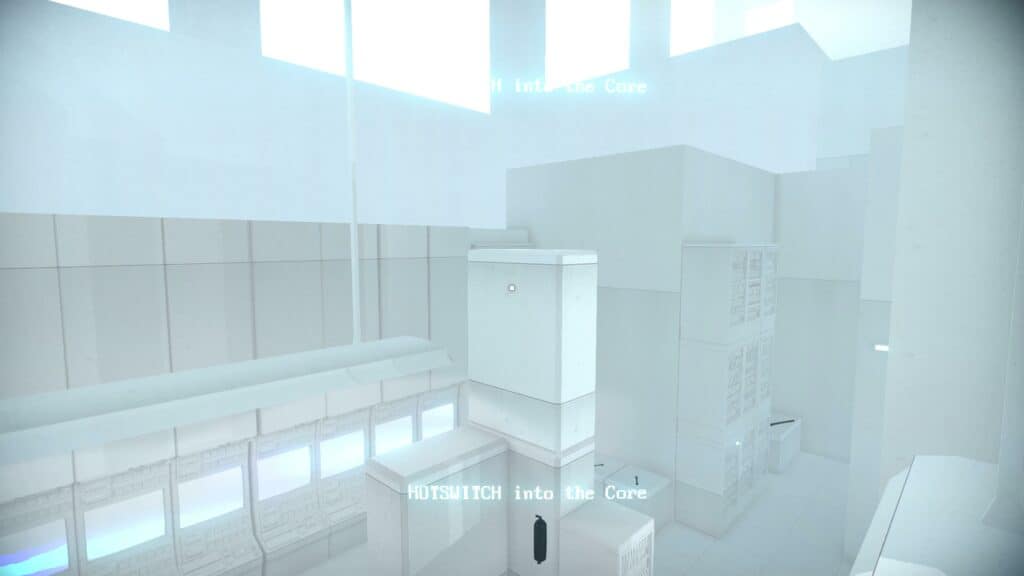
To get this one, hop on the control panel directly in front, and then hop onto the Red Pyramid. You then want to jump away from the Pyramid onto a nearby machine, which leads to a slightly higher light fixture, which will give you enough leverage to hop up onto a ledge. Which you can then turn around and leap from to get out of bounds.
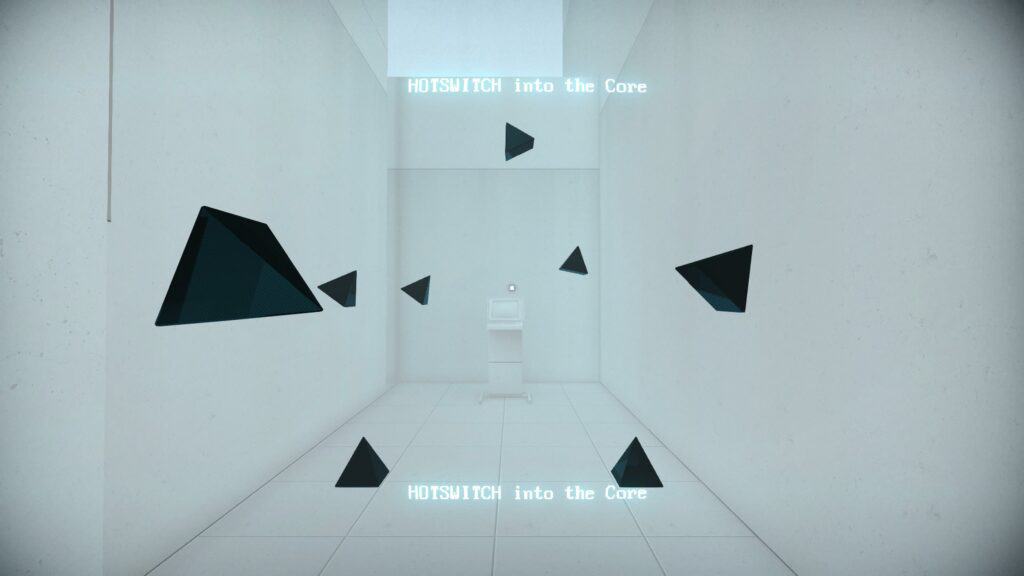
After this, just drop down to the platform below, and then follow the path to the left with all the mini floating Pyramids, and you’ll find your final Terminal!
Not So Secret Anymore!
So there you have it, guys, all the locations of the secret terminals in the wonderfully addictive FPS Indie, Superhot.
This game holds a special place in my heart as the game that made me love FPS games again, and being able to return to this one to collect all the terminals and do some awkward, yet strangely rewarding platforming was great fun.
I hope you feel the same when you go about collecting all of these, and as always, thank you for reading Indie Game Culture.
- Best Beginner Hades 2 Keepsakes - May 13, 2024
- 15 Beginner Tips For Hades 2 Newbies - May 9, 2024
- What’s New In Hades 2? - May 8, 2024

