

Ascension mode is cruel. From its enhanced enemies to its unforgiving events and a second final boss, this challenge modifier offers the ultimate trial for anyone mad enough to master Slay the Spire.
Even if we’re at peace with our skill level, beating all 20 levels of the sadistic mode grants us three unique achievements necessary to 100% the game. So whether we’re in it for the challenge or looking to get that final achievement, we’ll have to leverage every skill we can to survive.
In this Slay the Spire Ascension guide, I’ll review how to unlock ascension mode and progress toward ascension level 20. As a bonus, I’ll detail the best playstyles we can utilize to survive this unforgiving mode.
Bottom Line Up Front: Purchase and collect curse-boosting relics like Du-Vu Doll and Darkstone Precept to drastically raise our attack Power and HP each time we’re cursed. Exploit character synergies and conserve potions during boss battles to tip the odds in our favor.
Embark on a thrilling journey through the ever-shifting halls of Slay the Spire, where strategic deck-building meets intense roguelike action. With its dynamic challenges and endless combinations, test your skills and adaptability to ascend to greatness.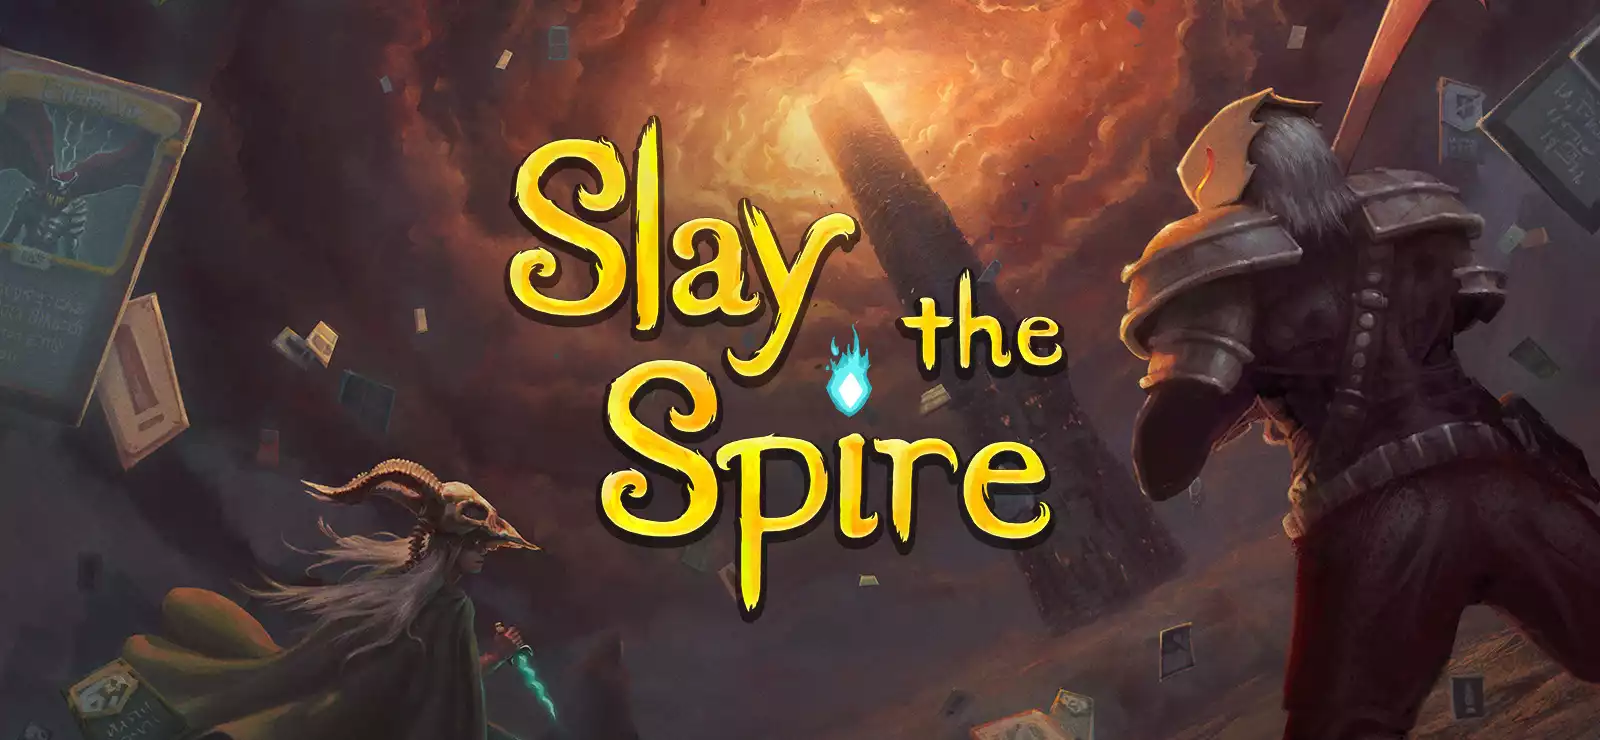
Ascension Mode: The Curse of Mastery

An entirely optional mode meant to challenge us, Ascension mode raises the stakes of each playthrough with more challenging obstacles. From increasing the enemy’s attack power to permanently cursing us and diminishing our hp, Ascension turns nearly every choice we make into a death sentence.
Overall, this mode is great if we feel unsatisfied after beating the final boss and are looking for a final battle to give us the closure we need to move on. Regardless of the pain or Challenge, we can beat this moving so long as we stay vigilant and never give up. Alright, time to Slay the Spire, one last time.
How to Unlock Ascension Mode
We can gain access to the first Stage of Ascension mode after beating the boss of the third Act. While this isn’t the final boss of Slay the Spire, beating the Time Eater, Donu and Deca, or Awakened One once is enough to unlock Ascension mode.
After unlocking it, we can enable Ascension mode in the character screen before a run and defeat Act 3’s boss once more to unlock the next stage of ascension mode.
Note that continuing onwards to face the final boss (the corrupt heart) and dying still opens the next phase of ascension mode; all we had to do was beat Act 3’s boss.
Best Relics for Ascension Mode
While we can synergize different relics for different character builds (i.e. the Silent’s poison build or the Ironclad’s strength build), a few relics will benefit specifically from Ascension mode.
Du-Vu Doll (Rare Relic)
Increasing our Strength by 1 for each curse in our deck, Du-Vu Doll turns all the curses we’re more likely to obtain into valuable benefits.
Specifically, Ascension mode 10 starts us off with a permanent curse, Ascender’s Bane, and Ascension mode 15 turns the 50% chance to receive a curse on several random events into a 100%. As we can’t avoid curses, we should leverage them as a strength to complement our attacks.
Darkstone Periapt (Rare Relic)
Increasing our max health by five each time we’re cursed, Darkstone Periapt is an excellent way to combat our limited HP.
While having curses in our decks does not benefit our stats with this relic (unlike Du-Vu Doll), with Darkstone Periapt, we can turn nearly every random encounter into a positive one. I only advise obtaining this relic at the beginning of a run; it’s useless by the end.
Fossilized Helix (Rare Relic)
Ignoring the first time we take damage in combat, Fossilized Helix helps us tank damage and preserve health for boss encounters. To specify, Ascension mode decreases our max health and increases enemy damage, so we’re more likely to find ourselves health starved throughout our run.
Regardless of what Act we’re in, I advise picking up this relic as soon as possible to start conserving hp and spending our extra health in random events for additional gold and relics.
Ascension Mode Tiers
Ascension mode consists of 20 stages with cumulative adverse effects in each stage. For example, to beat Ascension 2, we’ll have to endure the increased likelihood of elites in Ascension 1 and the deadlier normal enemies in Ascension 2. Beating Ascension 20 means overcoming all 20 challenge modifiers in a single run.
Part 1 Deadlier Foes

- Ascension 1 – More elite encounters: Usually, about three more encounters an Act, we’re forced to face one or two more elites from now on. While this can make our runs more dangerous, the relics these foes drop can turn this challenge to our benefit. Regardless, I advise paying attention to the elites further down a path so we can plan for what’s in store.
- Ascension 2 – Deadlier regular enemies: Normal Enemies now deal another point or two of damage. While this is barely noticeable in the first few encounters, it’s enough to bring our run to a halt if we’re near death.
- Ascension 3 – Elites deal more damage: Like normal enemies, while this change is more noticeable, it’s more pronounced when facing several elites, like the Three Sentries or the Taskmaster. I recommend playing these battles more cautiously and spending another round or two defending if we can emerge with more health.
- Ascension 4 – Bosses are deadlier: Much like the previous two modifiers, we’ll need to take greater care when entering into boss encounters. Bringing several potions or resting at the campfire beforehand is a must.
- Ascension 5 – Only heal to 75% after bosses: Perhaps the most jarring change thus far, we can no longer abuse an Act’s boss as an entire healing point. Although we can still appreciate some health after bosses, we’ll rarely emerge with more than 40 or 50 HP for the next Act.
Adding a few changes to regular playthroughs, the most notable changes we’ll have to deal with are the increased presence of elites. While these foes are great for amassing relics to create powerful synergies, it’s easier to enter battles with these dangerous foes that we cannot win or emerge from on the point of death.
I advise picking our routes carefully and only entering elite battles if there’s a campfire in the next room or several random events ahead with the promise of health. We can also stock up on healing potions to give ourselves any buffs we need.
Part 2 Dawn of the Damage Sponges

- Ascension 6 – Start Each Run Damaged: While this is only a small portion of damage (about 10%, usually 6 points), it can be enough to end a playthrough if we’re too reckless. Look for opportunities to heal in random events and campfires if we lose more health.
- Ascension 7 – Normal Enemies are Tougher: Another, more noticeable increase in enemies’ hp, health, and block; enemy encounters now last longer and are more deadly. I advise leveraging block cards when possible to minimalize our HP deficit per encounter.
- Ascension 8 – Elites are Tougher: Only limited to Elite’s max HP; this upgrade can extend the length of encounters by a round or two. While this is less dangerous against certain elites like the three Sentries, other elites that increase in power during the fight, like the Gremlin Knob or Lagavulin, can tear us to pieces in the next round.
- Ascension 9 – Bosses are Tougher: Like Elites, Bosses now have higher HP and block. Though we can expect each encounter to last an extra round, we’ll also have to account for struggling to break through enemies’ block. I advise leveraging poison if we’re the Silent or the Hand Drill if enemies’ defenses feel too impregnable.
- Ascension 10 – Start Each Run Cursed: This Ascension adds the Ascender’s Bane to our deck, an ethereal card that takes the place of another, more helpful card for a given round. While we can never get rid of the card, it only lasts for a single round, bears no ill status effect, and can increase our strength if we have the Du-Vu Doll relic.
Overall, this set of challenges turns every variety of enemy into a damage-sponge, increasing the length of fights and frustrating players that like to wipe out enemies in the first few rounds.
Battling against enemies can become more of a war of attrition where each encounter reduces our health by a little each Act until a lucky Gremlin deals the final blow.
I advise abusing the vulnerable status effects more and taking advantage of any cards, relics, or potions that would boost our strength. Utilizing these status debuffs, we can cut a boss’s health in half and deal massive damage to negate their increased health.
Part 3: Descent into Poverty

- Ascension 11 – Start each run with one less potion slot: Incredibly frustrating if we like to abuse potions, this upgrade limits our flexibility in battles and more. Luckily we can still increase our potions slots to four with the common Potion Belt Relic if we miss duplicating our attacks for ludicrous amounts of damage.
- Ascension 12 – Upgraded cards appear less often: While upgraded cards still appear, their chance of occurring has drastically decreased in each Act. Consider considering picking out new cards and even refusing certain new cards if they only generate clutter for our deck.
- Ascension 13 – Poor Bosses: Though the title makes it sounds worse than it is, Bosses only drop 25% less gold with this hurdle. Overall we can still depend on getting a more considerable sum of money with this challenge and even overcome it if we obtain the Golden Idol in a random event in the first Act.
- Ascension 14 – Lower Max HP: Reducing our HP by 4-5 points per character, we’ll gain less hp back from resting or from random events that restore our health to its maximum. I advise taking advantage of events and relics that increase our health, like the Singing Bowl or Mango, to restore our health to maximum.
- Ascension 15 – Unfavorable Events: While this doesn’t increase the likelihood of negative events, it raises their adverse outcomes, taking away more money and health or increasing our curse chance to 100%. I still generally recommend taking these gambles when appropriate and only refraining if we’re on the verge of death.
If we dealt with the last set of challenges well enough, this new set could bring us to a complete standstill. Increasingly unfavorable events and diminishing hp and potions limit our options to survive each encounter, narrowing the path to success.
Therefore, it’s increasingly dire for us to gather relics that buff our HP, like the Fossilized Helix, or benefit the curses in our deck, like the Du-Vu Doll. So long as we emerge from most fights with a decent amount of HP, we can confidently confront most bosses with a moderate chance of victory.
Part 4 The Spire’s Revenge

- Ascension 16 – Everything costs 10% more in shops: While we can still reasonably purchase relics and cards for a given playthrough, expensive rare relics may require a significant investment. I advise buying the Membership Card and the Courier if we want to overcome this hurdle and quickly overpower our character in shops.
- Ascension 17 – Normal enemies have more challenging movesets and abilities: This change modifies regular enemies’ resistance and debuffs. For example, the Byrds in Act 2 now require 4 hits to down instead of 3, and slimes in Act 1 deal more potent Weak and Slimed debuffs. I recommend adjusting our strategies for dealing with these foes, whether it’s focusing on one enemy at a time or using potions when necessary.
- Ascension 18 – Elites Have more challenging movesets and abilites: The most dangerous change for elites, the debuffs sub-bosses now inflict are drastically increased. For example, the Three Sentries now apply 3 dazed instead of 2, and the Gremlin Nobs apply vulnerable in the second turn before going for the heavy attack. I advise taking even greater care when dealing with Elites, refusing battles if we have low hp, and expecting to survive most fights barely.
- Ascension 19 – Bosses have more challenging movesets and abilities: If we thought regular bosses were tough, this change turns them into an utter nightmare. Like the previous two Ascension challenges, bosses deal more potent debuffs, Increasing the potency and frequency of negative status effect cards during a fight, like Slimed and Burn, and weakening us for longer. Without potions or a strong deck, we frequently die against these brutal foes.
- Ascension 20 – Fight a second Act 3 Boss: This can quickly become a death sentence if we barely survive the first Act 3 boss. While different bosses require different tactics (i.e. fewer cards for the Time Eater and fewer powers against the Awakened One), we’re better off surviving the first fight with at least 40-50 health and a potion to spare. Also, fighting the first boss counts as ending combat, so relics that restore our health after each fight, like Meet on the Bone or Face of Cleric, offer a nice boost for the next battle.
These following challenges turn our devasting journey into a nearly impossible war to win. Even if we make the best choice with every hand for a battle, we’re still at the mercy of card and relic RNG.
Still, if we know what we’re doing and chance upon aggregating cards like the ritual dagger, we can leverage each battle to increase our health and damage for the final challenge. Regardless of our luck, I recommend exploiting the best synergies for each character to devastate enemies and destroy bosses.
Best Character Tactics
Even if we feel confident in our tactical ability, there are a few character-specific rules and tips we should abide by if we want to come out on top.
Best Ironclad Tactics
The Ironclad can regularly rely on gaining strength through self-sacrifice and demonic rituals. I advise raising our strength with cards like Demon Form, Rupture, and Limit Break to gain strength drastically, then leveraging Heavy Blade to wipe the floor with foes.
Besides strength, we can rely on Exhausting cards like Fiend Fire to eliminate excess cards, curses, and status cards. Obtaining Charon’s Ashes, which deals 3 damage to all enemies every time we exhaust a card, works well too.
Best Silent Tactics

Leveraging the Silent’s unique poison skills can swiftly bring fights to an end if we can amplify the effects. I advise using common cards to poison a boss with increased health and then leveraging Burst and Catalyst to increase an enemy’s Poison Stat by x9.
Otherwise, we can rely on amassing shivs and gathering relics that increase our damage or dexterity for every 3 attacks played. Utilizing Accuracy with several Blade Dances is an optimal way to raise shiv damage.
Best Defect Tactics
While the other characters are relatively easy to augment in terms of attack power, the defect takes time to deal more damage. Our best bet will be increasing our number of orbs and orb slots to deal incredible damage passively.
Alternatively, we can leverage Core Surge and Biased Cognition to gain a single point of artifact for 5 focus without worrying about the decreasing focus debuff. If we can survive the first few rounds of the enemy’s attacks, we can emerge from combat with
Best Watcher Tactics
Though the Watcher’s different stances generally expose her to increased damage (i.e. we take and deal double damage in Wrath), they’re a great way to augment damage intake and battle length.
I advise going for relics that negate damage, like the Fossilized Helix or the Tungsten Rod, so we can safely deal damage without worrying about getting wiped out in a single blow.
Alternatively, we can focus on quickly shifting into stances or building towards the Divinity stance with mantra to deal triple damage. Regardless, the Watcher’s different stances lend her more flexibility during Ascension mode, allowing us to mix and match stances to mitigate damage and outmaneuver our foes.
Final Tip: Retrying Battles
Don’t be afraid to save scum. Making misplays is a constant part of Slay the Spire, and we can retry any battle or random event so long as we’re still alive.
To retry a battle, exit to the main menu, and reload the game, we should find ourselves at the beginning of a fight or its conclusion if we’ve already every enemy.
Beware that this ability only lasts so long as we’re still alive, and once we get a game over screen, we’ll be unable to retry. If we make a fatal mistake, quickly exit the game before the enemy kills us!
Ascension Mode Rewards
Achievements
- Ascend 0 – Beat the game with Ascension mode activated
- Ascend 10 – Demolished 10 levels of Ascension mode; nicely done!
- Ascend 20 – Scoff in the Spire’s face; we have defeated all 20 levels of ascension mode and achieved mastery!
FAQs
Question: How do I Unlock and Enable Ascension Mode?
Answer: We can unlock Ascension mode by beating Act 3’s boss at least once for a given character. Afterward, we can enable Ascension mode by clicking the “Ascension” box in the character selection screen before we begin a run.
Question: How do I get to Ascension 20?
Answer: Defeating Act 3’s boss with a given character in Ascension mode unlocks the next stage of the challenging gauntlet. So long as we defeat Act 3’s boss (the corrupt heart is optional), we can access the next step of Ascension mode until we reach Ascension 20.
Question: How do I beat Ascension Mode?
Answer: Exploiting character-specific synergies and the ideal placement of potions can aid our efforts for a given run. While the first half of ascension modes are primarily up to our skill, the latter is more at the mercy of RNG.
So long as we keep trying and make smart moves, we’ll find ourselves with a robust set of relics and cards ready to Slay the Spire.
Question: Is there a reward for beating Ascension Mode?
Answer: Besides the Ascend 0, 10, and 20 achievements and unlocking the next stage of the challenging mode, there is no reward for beating the ascension mode. If we want more relics and cards, we can focus on playing as different characters until we max their levels.
Conclusion

Well done, fearless tactician! We’ve tackled the most challenging facet of Slay the Spire and emerged victorious (or very close to it at least).
Whether we poisoned our foes, dealt them a wrathful beating, or electrocuted them to dust, we Slew the Spire at its worst. While there are other challenges for us to try, like the daily challenges or self-imposed no-relic runs, we can confidently call ourselves masters of one of the most challenging roguelike deck builders around!
So whether we want to rub our achievement in friends’ faces, take a break from ascension mode, or return to the grind, we can enjoy a much easier experience with the Spire. So let’s punch a gremlin, befriend some vampires and teach this Eldritch horror a violent lesson! The Spire awaits!
Embark on a thrilling journey through the ever-shifting halls of Slay the Spire, where strategic deck-building meets intense roguelike action. With its dynamic challenges and endless combinations, test your skills and adaptability to ascend to greatness.
- Best Games Like Hollow Knight - February 25, 2024
- House Flipper 2 Review – In This World, It’s Clean or Be Cleaned! - January 1, 2024
- Dredge The Pale Reach Side Quests Guide - December 18, 2023