Introduction
Project Zomboid surprised me. I saw the screenshots and the odd bit of gameplay footage but passed the game off as yet another isometric zombie survival game — a sub-genre that is far too long in the tooth at this point.
Having actually played the game – and chastised myself for judging a book by its cover – I was more than pleasantly surprised. This is one of the most satisfyingly immersive survival games on the market right now, and its status of overwhelmingly positive reviews on Steam are testament to that.
With all that mechanical depth comes a great learning curve, however, and having now spent countless runs dying over and over again, I’ve learned a thing or two about Project Zomboid’s punishing ravaged town.
In this Project Zomboid Getting Started guide, I’ll walk you through everything you need to know about getting started with this addictive gem.
Bottom Line Up Front
There’s a lot of info to cover here, so if you’re in a rush, here’s the gist:
- Project Zomboid is a complex, detailed survival game that takes a lot of time to master. You will die a lot in your first few playthroughs.
- This guide covers how to get started, all the key items and locations, and some tips to keep you on the straight and narrow.
- If you don’t have much time, I recommend making the your first-day section a priority. This will give you a fighting chance when you begin the game for the first time!
If you have a little more time but not enough to read the whole article, I’d also suggest skimming the Key items, location, and mechanics sections. They’ll do a good job of getting you up to speed with some of the essential elements.
Note: I won’t be providing information on the UI in this guide: the short tutorial does an excellent job at explaining these aspects info-graphically and is a must-play for new players. As such, this article will assume you’ve finished or are going to finish the basic tutorial.
For more exhaustive coverage of traits and cooking, check out the separate traits and cooking guides here on Indie Game Culture.
Getting Started
A Project Zomboid game can take you a long time, or it can be over in minutes. This is a pure survival title, so there are no distinct levels, checkpoints, or other typical gamic hurdles. Instead, the game is best split up into the distinctions between the early, middle, and latter portions of a given playthrough. How far you get on that spectrum will depend on your survival skills.
In the Menus
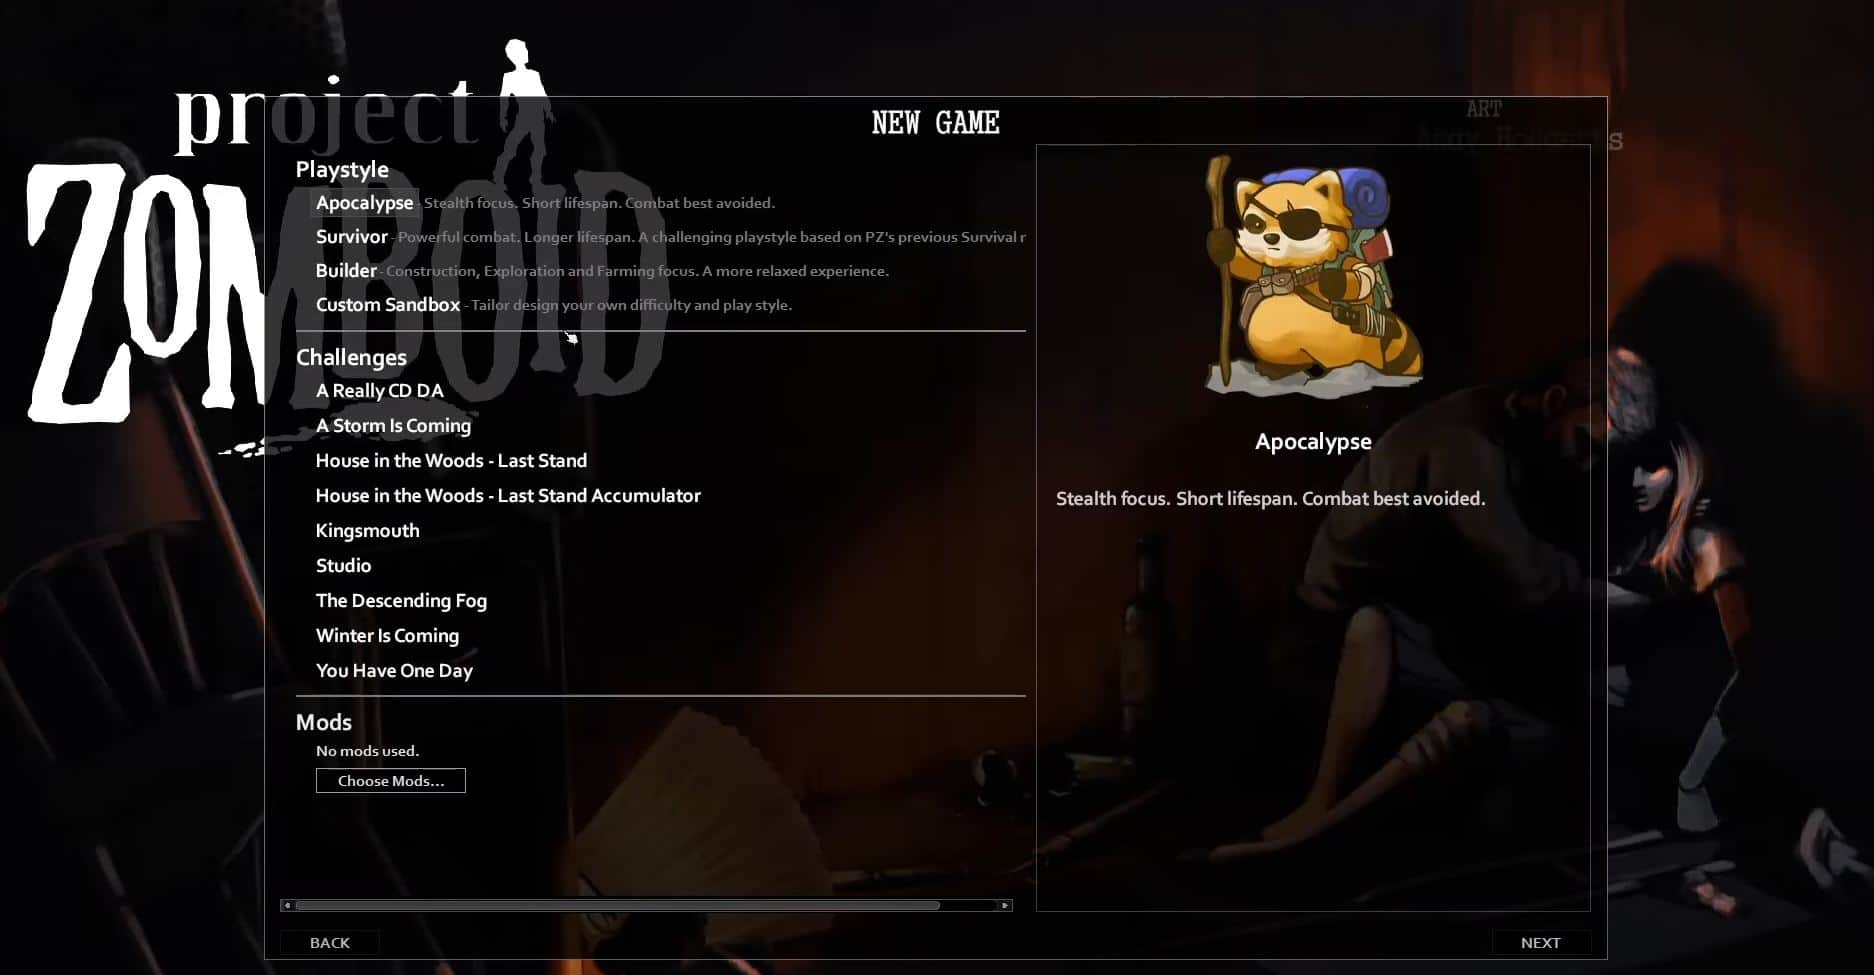
Before you even start playing, there are some tough decisions to make. On the main menu, clicking solo begins the process of making a new run, but you’ll then be presented with four possible game modes or playstyles to choose from.
Apocalypse is particularly difficult, focusing on stealth skills and avoiding combat at all costs. Survivor is more forgiving and prioritizes combat, and Builder plays more like a building and farming simulator with a more relaxed feel.
The general consensus for those starting out, however, is to pick Custom Sandbox. This mode gives you the option of dialing in your experience exactly how you want it, and as a beginner, it allows you to make an ordinarily unforgiving game a bit easier to manage.
Once you’ve selected your mode, you’ll be given the choice between four maps: Rosewood, Muldraugh, Westpoint, and Riverside. You can play the game for the first time on whichever map you choose, but I’d recommend Riverside. You’ll start in an area small enough as to not get overwhelmed, and the shopping area is just a short journey away from grabbing some killer loot.
Picking the Right Settings
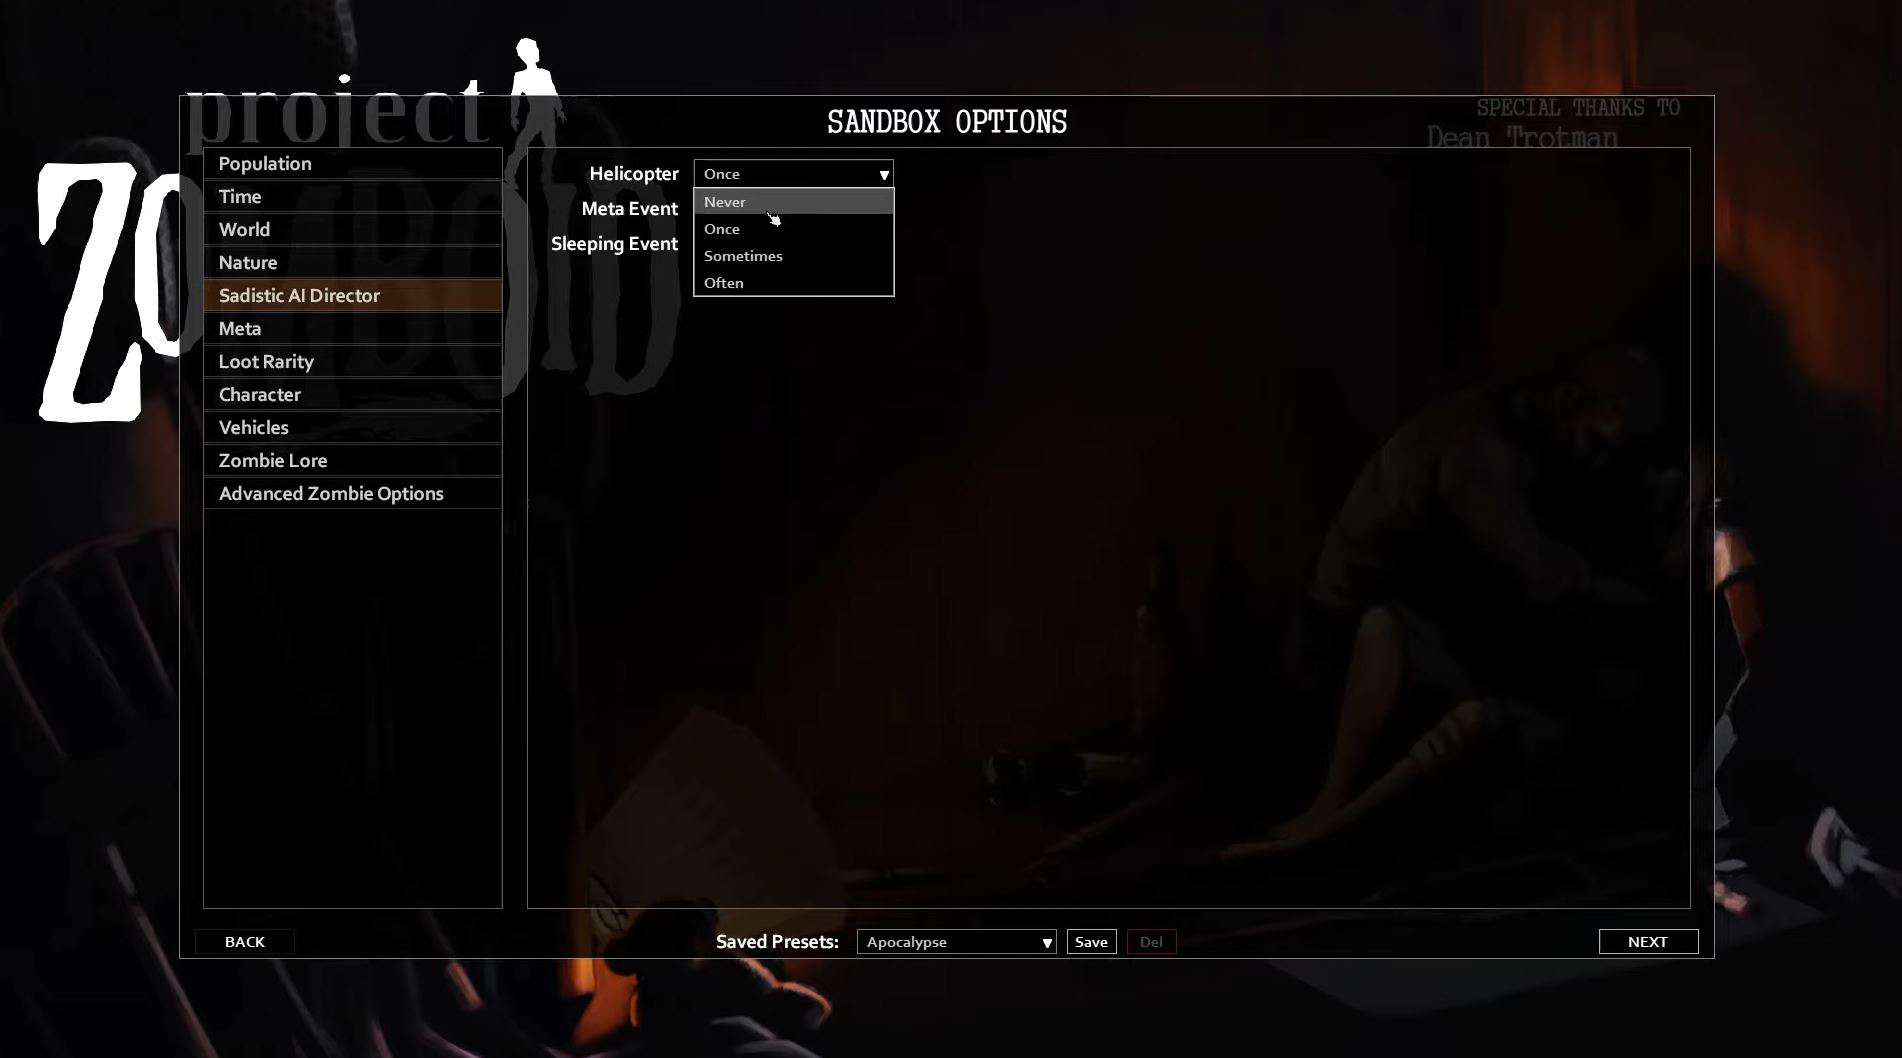
After choosing your map, Custom Sandbox mode will bring you to an overwhelming variety of different parameters to alter. I’ve played around with these a lot during my first few hours, and here are the settings I recommend. In brackets, I’ve included the tab where you’ll find each setting.
- Turn the helicopter off (Sadistic AI Director): Later in the game, a helicopter will start circling the play area, causing nearby zombies to swarm. This is a classic sticking point for new players and is more often than not the death of you, so switch it off for now.
- Change food rarity to extremely rare (loot rarity): This might sound counter-intuitive, but most of these sandbox changes make the game easier, and if it’s too easy to find food, you won’t be pushed to explore and take risks — a key component of getting better. Even on rare, most houses will be stocked with plenty of food. Setting the food rarity to very rare balances things out a lot and keeps things interesting.
- Change Zombie speed to Shamblers (Zombie Lore): Deaths in Project Zomboid always come from being overrun by zombies, and for newbies, reacting quickly enough is a big issue. Changing the Zombie speed from fast shamblers to shamblers gives you a little more room to think!
- Turn off Zombie respawn (Advanced Zombie Settings): Setting up a base and hunkering down in a single area is your best shot at surviving the early game, and it helps if you can clear out an area and be sure it’s relatively free of Zombies. Turning off Zombie respawn allows you to get set up much more easily, as the undead won’t keep turning up again in areas you already cleared. Change respawn hours to 0.0.
- Tick the Starter Kit box (Character): For a beginner, this is a must in my opinion. Checking this box means your character will start out with a water bottle, some chips, a baseball bat, and a hammer. These items go a long way in getting over that initial hump, and they can make all the difference in your survivability in the early game.
Your First Day
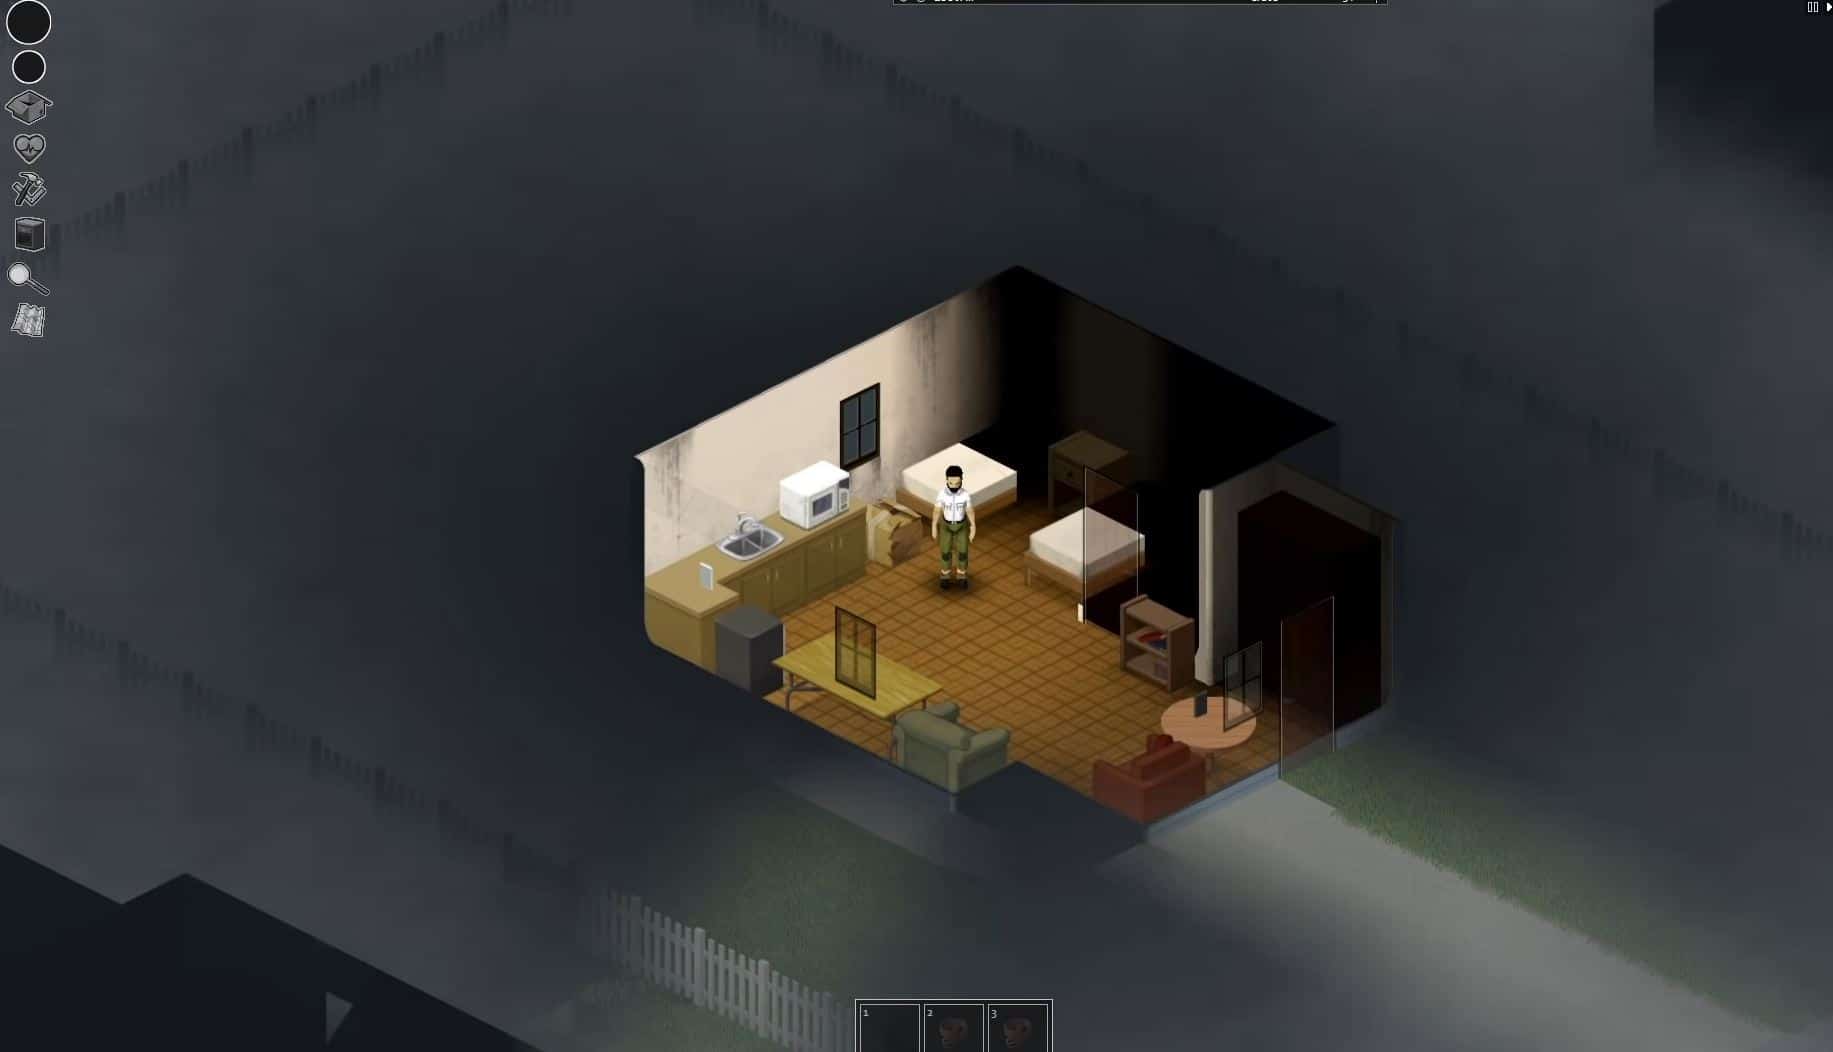
The default time for twenty-four hours to pass in the game is one real-world hour. You can change this, but I’d recommend sticking to that ratio for your first few playthroughs.
It might not sound like a lot of time, but you can get a lot done in your first hour/day. If I were you, I’d treat the following information as a template: it’s highly replicable at the start of each run, and it’ll help you negate some of the tedium that comes from playing the game over and over again.
The very first thing you should do when you load into a new game is searching the starting house. It won’t have everything you need, but if you’re lucky, thoroughly looting the place will get you off to a good start. Head down to the Key Items and Locations section below for some hints as to what you’re looking for; beyond those items, always be on the lookout for food. Head to the kitchen and search the cupboards and the fridge.
It’s also a good bet to check the bedroom for any extra clothing. You’ll likely not start out with many layers, so if you can find a jacket, a hat, or some gloves, put them on — these will protect you against the cold and the odd scrape, and if you get too hot, you can always take them off and put them in your inventory.
The starting house is also a great place to accumulate some knowledge. While an in-depth discussion about the way skills work is beyond the scope of this article, but, briefly: reading books and watching TV shows enables you to increase your proficiency in a given skill, and there will be TV along with a few books and magazines for you to get started with throughout the building.
Heading Out…
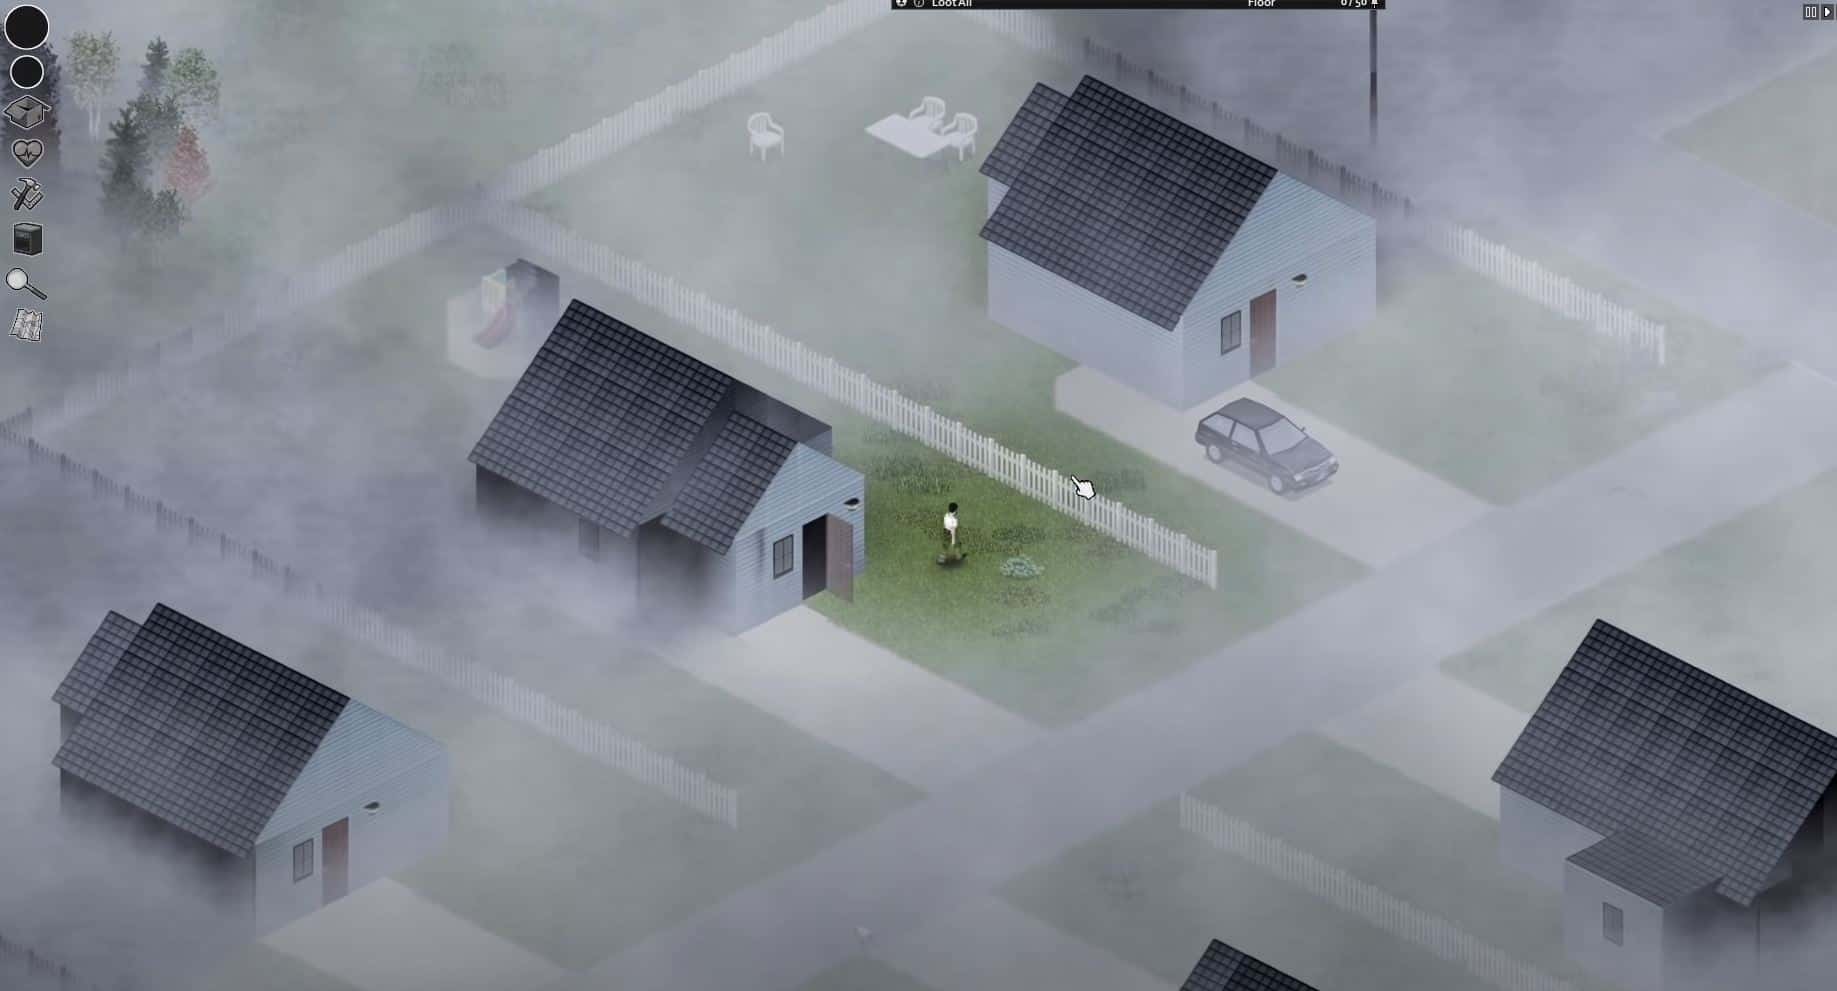
Once you feel ready to leave the house, It’s important to have a plan: you should avoid running off aimlessly and then forgetting where your house is, as the starting building is a good place to fortify and work outwards from. There will always be some nearby houses for you to loot, so this is where I go first (just be wary of house alarms).
Beyond neighboring houses, check the key locations section below for ideas for where to head next. There are no hard and fast rules here — you should explore yourself to get a feel for the map. Looting your own house and others nearby will likely bring you to the end of your first day, however, so exploring those bigger areas and establishing a base is a topic for the next section.
Choosing a Base and Fortifying It
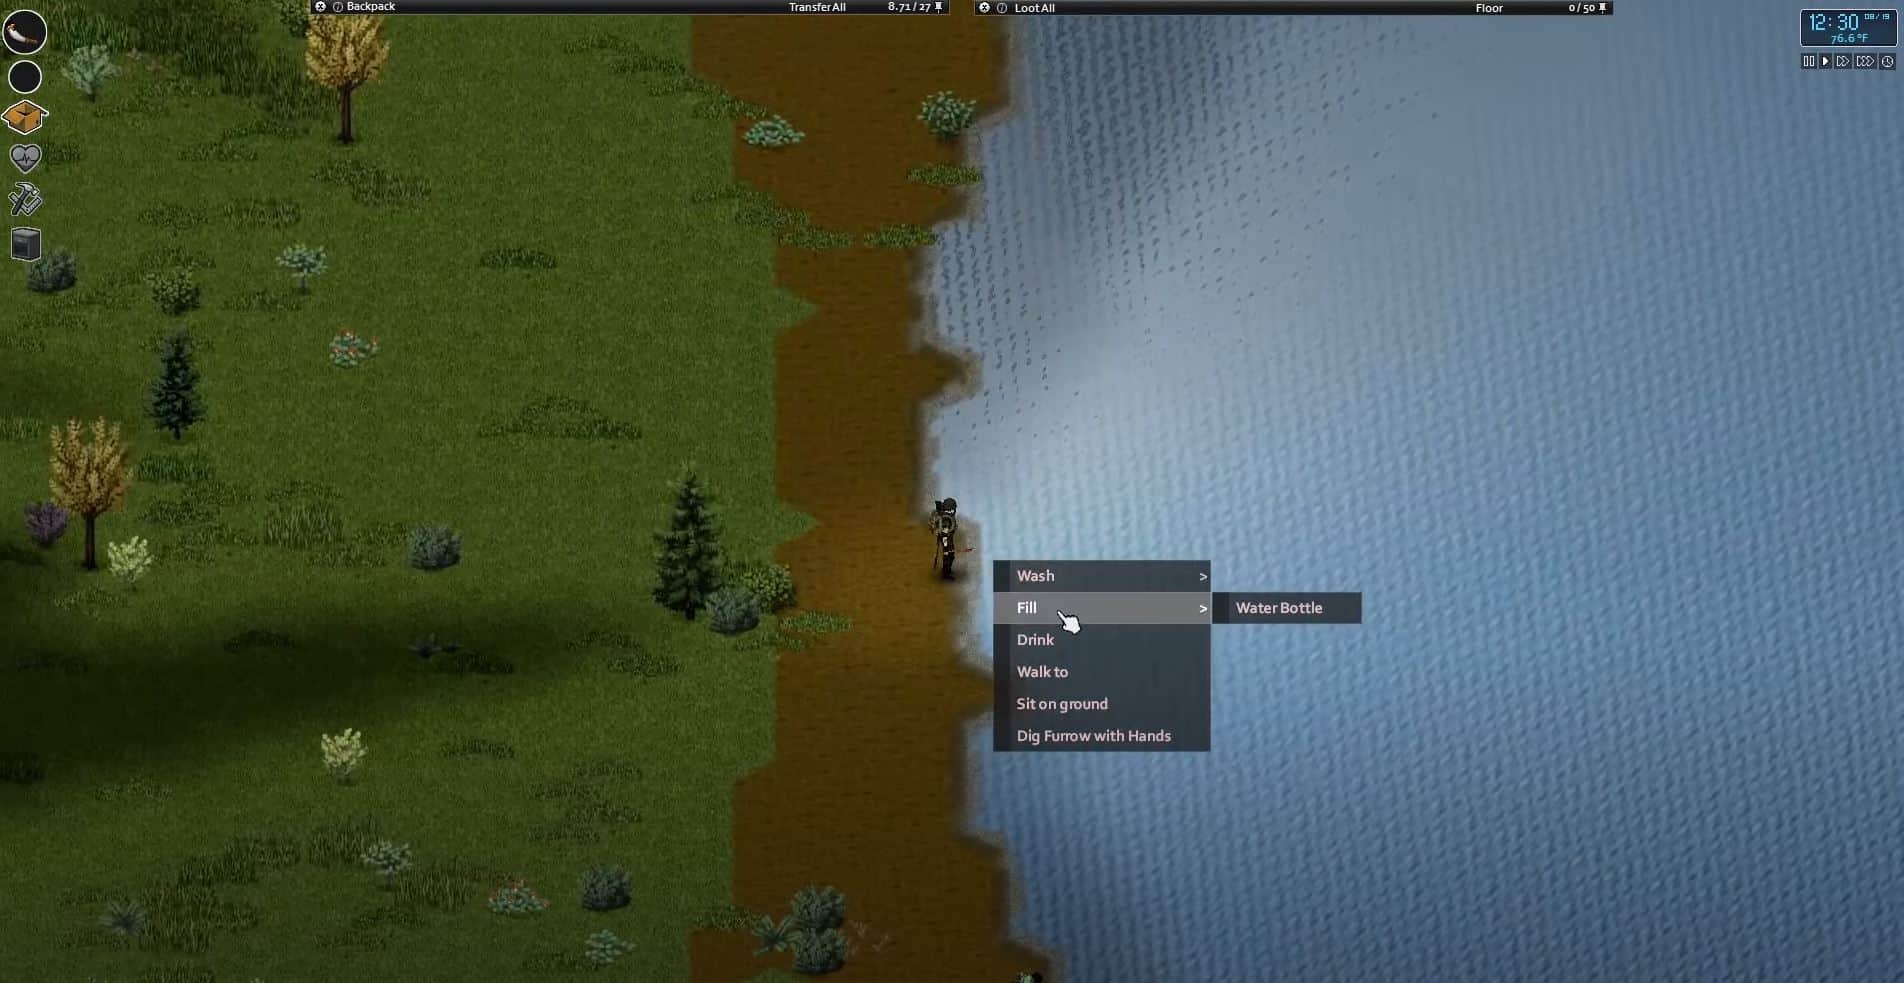
There are many different aspects to consider when choosing a base. How close is it to the nearest stores, medical centers, and hardware stores? Is there fresh water nearby? How difficult is it to fortify? What is the zombie population of the area like? Is there enough storage space within the building?
These are but a few aspects you need to consider, and as you play, you’ll get a feel for what else you’ll need to add to that list. I’d say fortification is the most important aspect to consider when you begin, however; if zombies manage to break in, your home will likely be too small and cramped for you to make a stab at fending off the horde.
It’s also a good idea to choose a base with two floors. A key strategy in the later game is to use a sledgehammer to break down the stairs and run your survival operation entirely from the upper levels. Zombies can’t get to you without stairs, and you can use a sheet rope to get in and out of your house through the windows. The more floors the better: making the lower level inaccessible cuts out a lot of potential storage space, so if you have a three-story house, you’re giving yourself that much-needed extra surface area.
Project Zomboid is all about planning. When making the choice to hunker down, you need to consider how your choices will affect you in the later game. While I can give you tips here, the best way to learn is to experience it yourself — to die several times and get that bit better each run.
Fortification
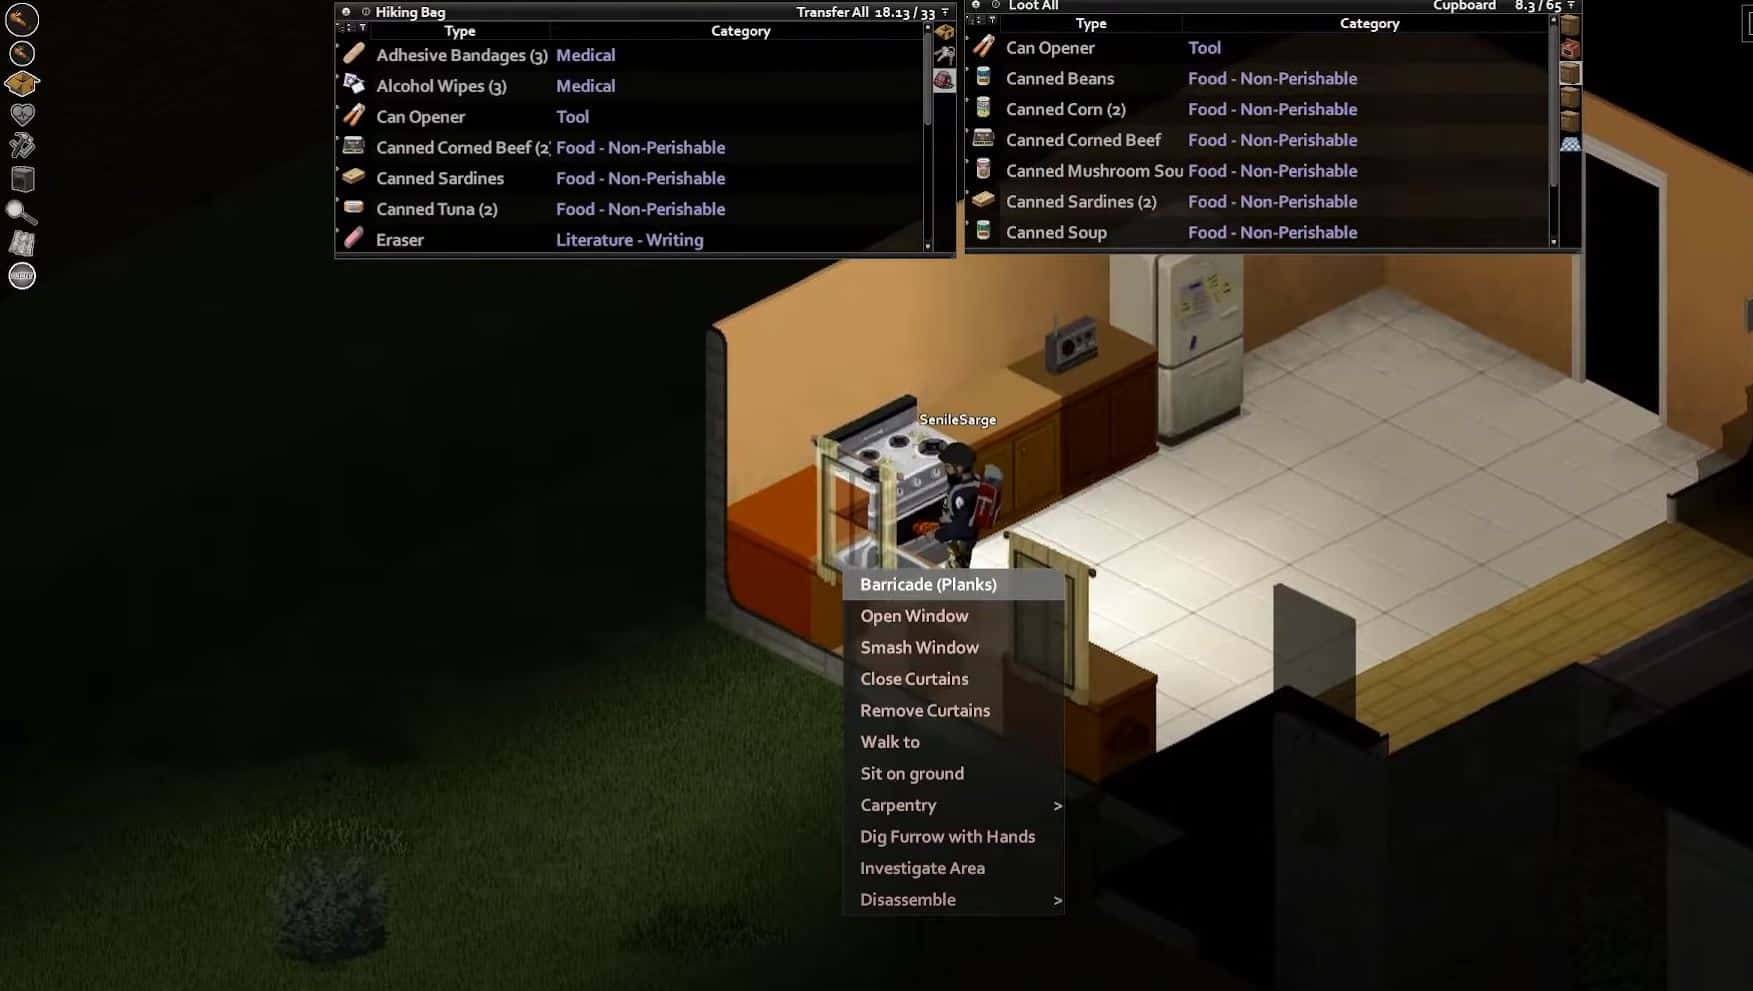
Barricading the windows is your first job, and the simplest way to do this is to chop down trees for wood or break down furniture, cut the wood into planks, and fix them to the area. You’ll need an axe, hammer, saw, and nails. The standard window will need eight nails to fix your planks. Each of these four construction items can be found in warehouses or hardware stores, and the act of barricading is as simple as right-clicking on a window and selecting barricade.
Building walls around your property — either to funnel zombies down a set path or to block off certain areas — is also an invaluable skill. For example, you can experiment with narrow passageways joined to your front door, which will help prevent zombies from breaking through in large numbers all at once (especially if your windows are blocked off).
Again, wood is an invaluable material here. Wooden walls come in levels one, two, and three, each offering increasing amounts of protection. Each level will require a subsequently higher carpentry skill.
Right-clicking on the area you want to place the wall and selecting the appropriate level wall will enable construction, providing you have the necessary amounts of wood and the right tools (which are the same as those required for window barricades). What’s more, adding paint to the walls (you’ll need paint and a paintbrush) causes zombies to ignore your D.I.Y structures completely.
Key Mechanics, Items, and Locations
Project Zomboid doesn’t hold your hand at all, and beyond the basic tutorial, you’ll be pretty much left alone to figure things out for yourself. While this sentiment does fit with the general premise of the harsh reality of survival, I and many others wish the game had a few more tutorials.
This section covers the most important mechanics, items, and locations you need to know about as you get started and beyond!
Mechanics
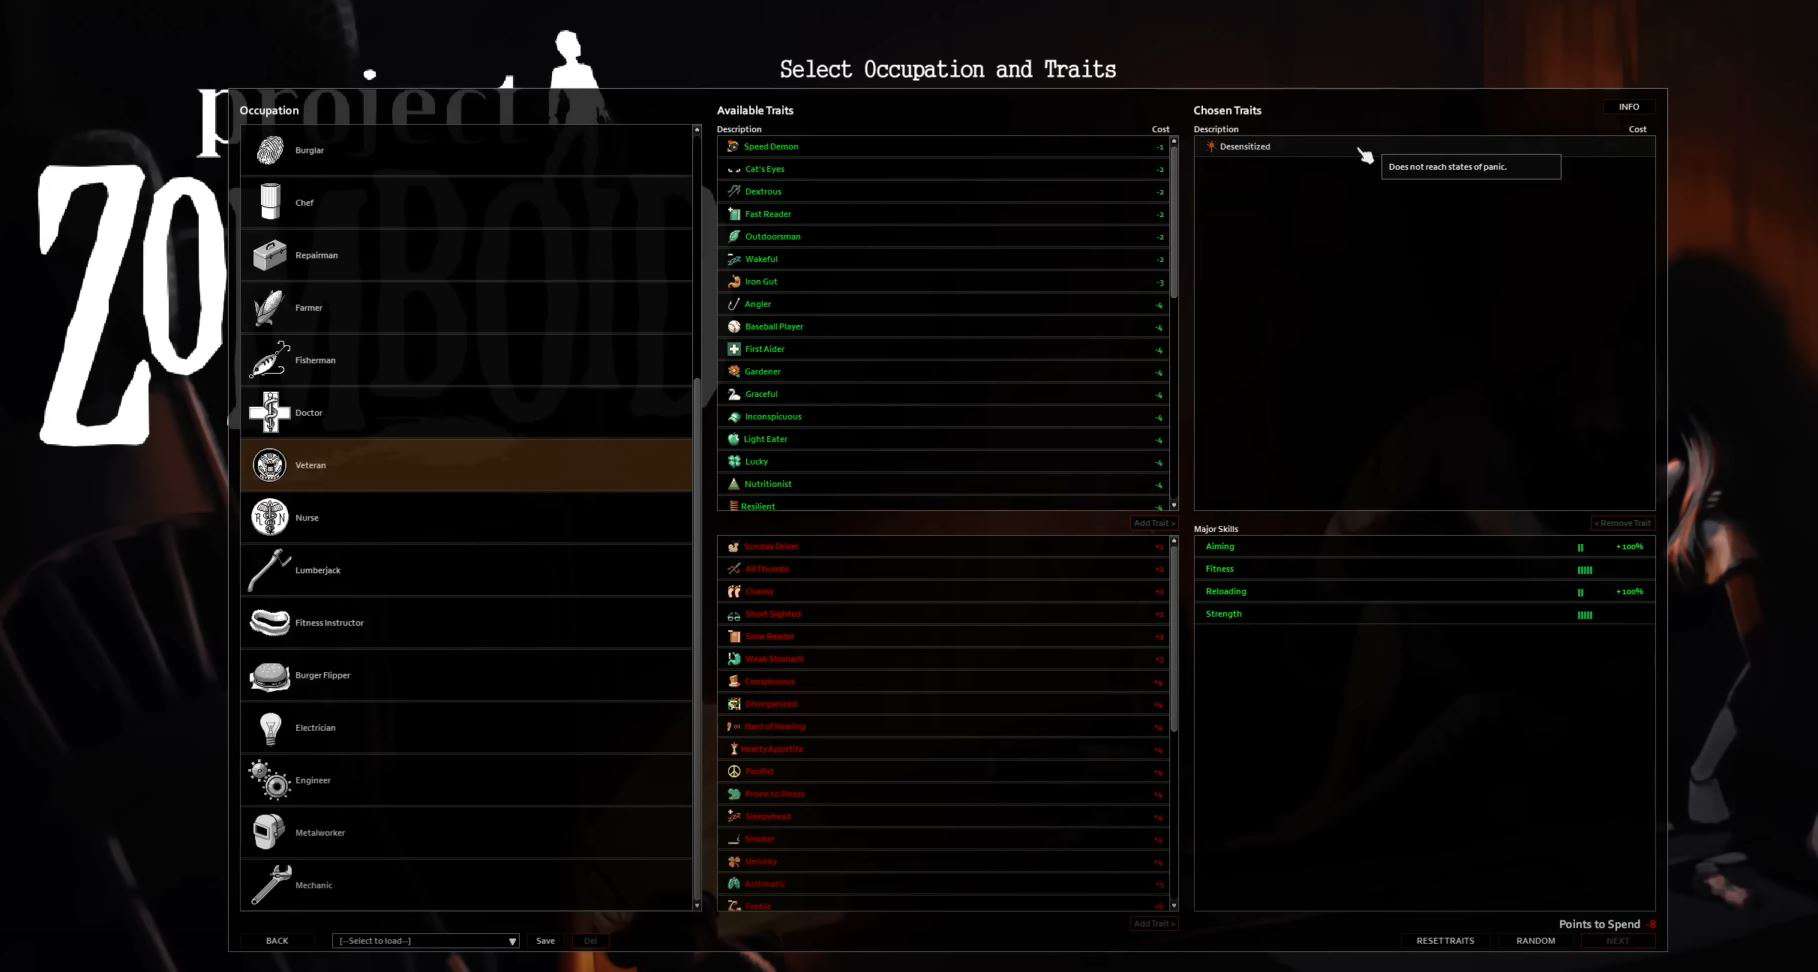
- Traits: Traits represent a selection of positive and negative characteristics you must assign to your character before starting a new game. Positive Traits improve the player’s abilities, while Negative Traits hinder them. At the start of a new run, you must spend a set number of points balanced between positive and negative traits. This can be quite a nuanced topic, so I recommended checking out our dedicated Traits article.
- Skills: Skills are learned abilities that help you survive in the game. There are currently five skill categories: firearm, crafting, agility, survivalist, and combat. Each of these categories contains multiple skills you can learn and level up in, and depending on the occupation you select at the start of the game, you’ll be assigned some base skills to build upon.
- Other than performing the tasks associated with a skill, you can level up a skill by reading topical books and magazines.
- Moodles: Moodles are small emoticon images that reside at the top right of the screen. There are currently 21 Moodles, each representing a different status effect such as hunger, temperature, bleeding, or bored. They enable you to quickly assess your character’s vast array of needs at a moment’s notice, and clicking on a Moodle will bring up more information. There’s a lot about Moodles that is beyond the scope of this article, so I recommend checking out this page for more in-depth information.
Items
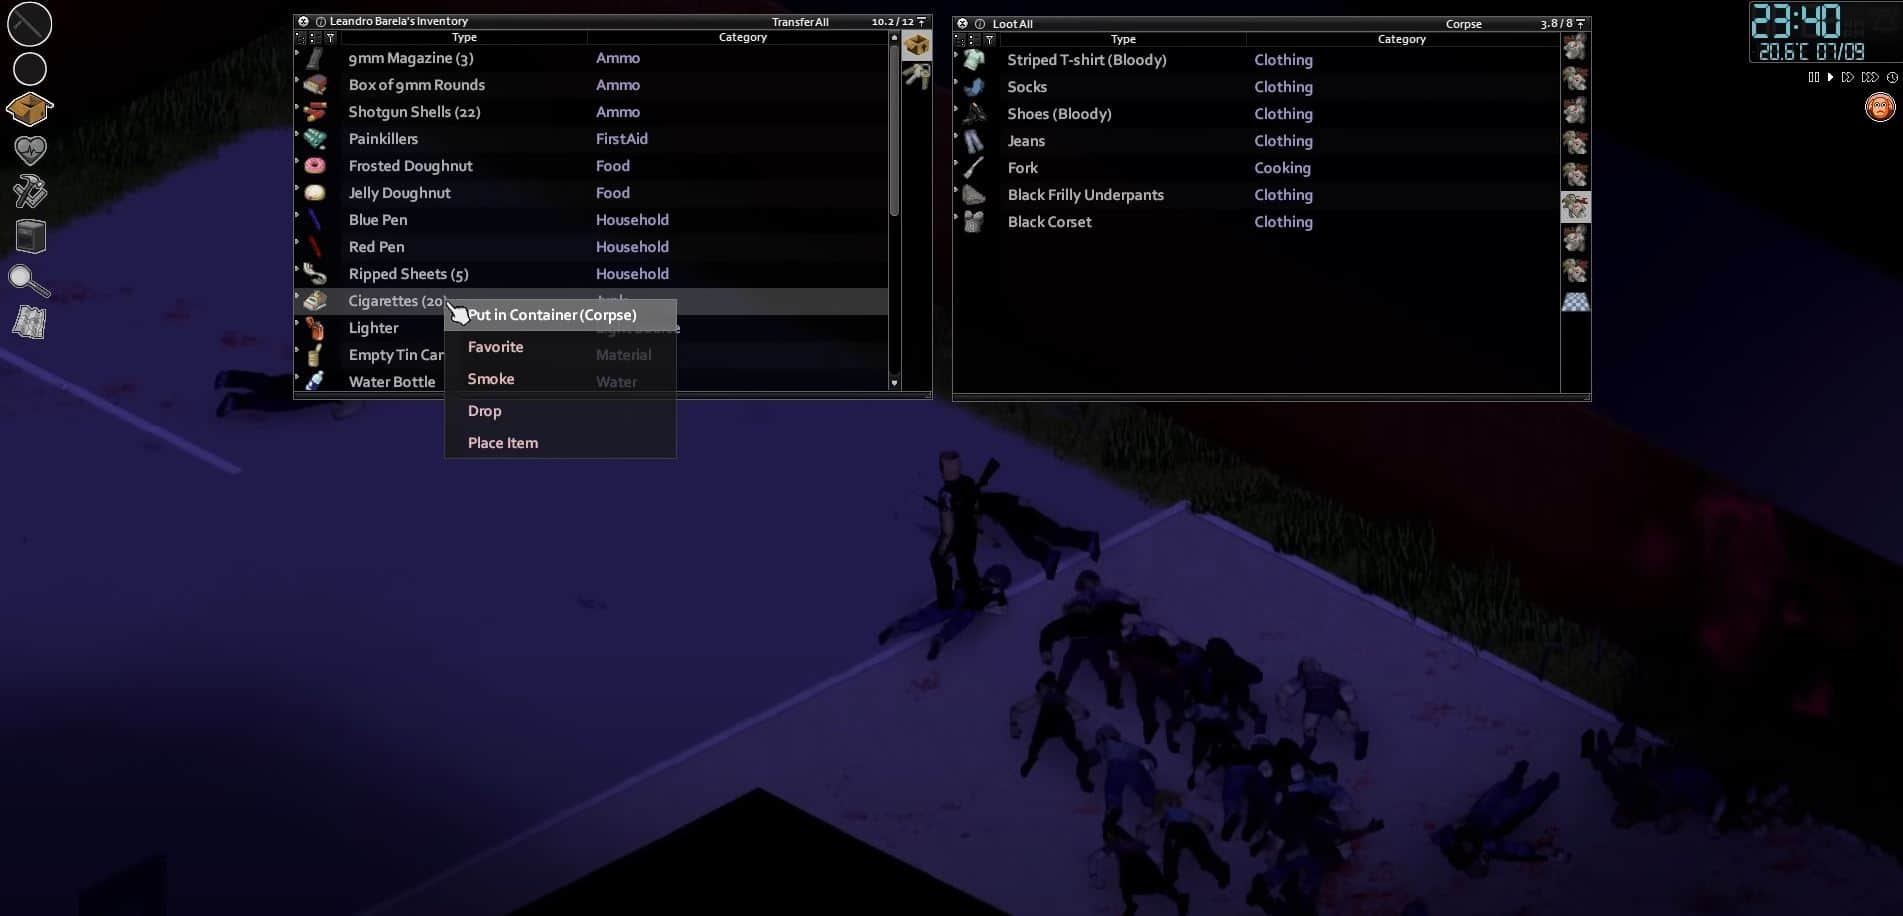
- Melee weapons: Guns are great and all, but if you can master the art of the melee weapon, it’ll serve you well. If I were to suggest three, it would be the Axe, Machete, and the Baseball bat: these items are commonly available and can be found in crates and hardware stores.
- Backpack: You might not have a lot when you first start a run, but you’ll quickly accumulate a vast array of items you deem essential. Getting a backpack will remove the stress of having to dump one important thing from your inventory for another. They’ll increase your weight slightly and reduce movement speed, but they’re more than worth it. Backpacks are found in camping shops, survivor zombies, and military personnel.
- Can opener: A large portion of the food you’ll find on any given run is in cans, and there’s nothing more ridiculous than dying of starvation with a bag of beans and tuna fish you can’t open. It might not be a shiny new shotgun, but it’ll likely get you out of just as many hairy situations. You can usually find them in kitchen cupboards.
- Military boots: Military boots are the best sort of foot ware you can find in the game. In the detailed and meticulously simulated world of Project Zomboid, they cover all bases. They’re brilliantly insulated to protect against all weather types and temperatures, and they’ll stop any scratch or bite from a zombie. They’re more difficult to come by than other types of footwear, but you’ll find them most commonly in clothing stores and on zombie soldiers and construction workers.
- Bandages: In these games, even a relatively minor scratch can be enough to kill you if left untreated. As such, it’s best to make sure you’re fully stocked up on bandages when you travel. I’ve also found that panicking about scrapes and scratches has caused deaths through frantically searching dangerous locations. If I’d just had the bandages on me, I wouldn’t have needed to put myself in harm’s way in the first place.
- Crafting tools (screwdriver, hammer, saw, and nails): I’ve decided to group these items together as they function most effectively as a unit. Boarding up windows (and construction with wood in general) is going to be a key skill for fortifying your base. Keeping these four items handy gives you all you need to make some makeshift defense, and if you need materials, you can always break down unused furniture.
- Bottles: It may sound silly, but my biggest problem during my first few runs was locating a vessel to store water. I quickly learned never to leave my base without one, as thirst was usually the first thing to drop to low levels if I wasn’t prepared. Make it a priority to locate a few bottles and fill them up before you go out adventuring.
Key Locations
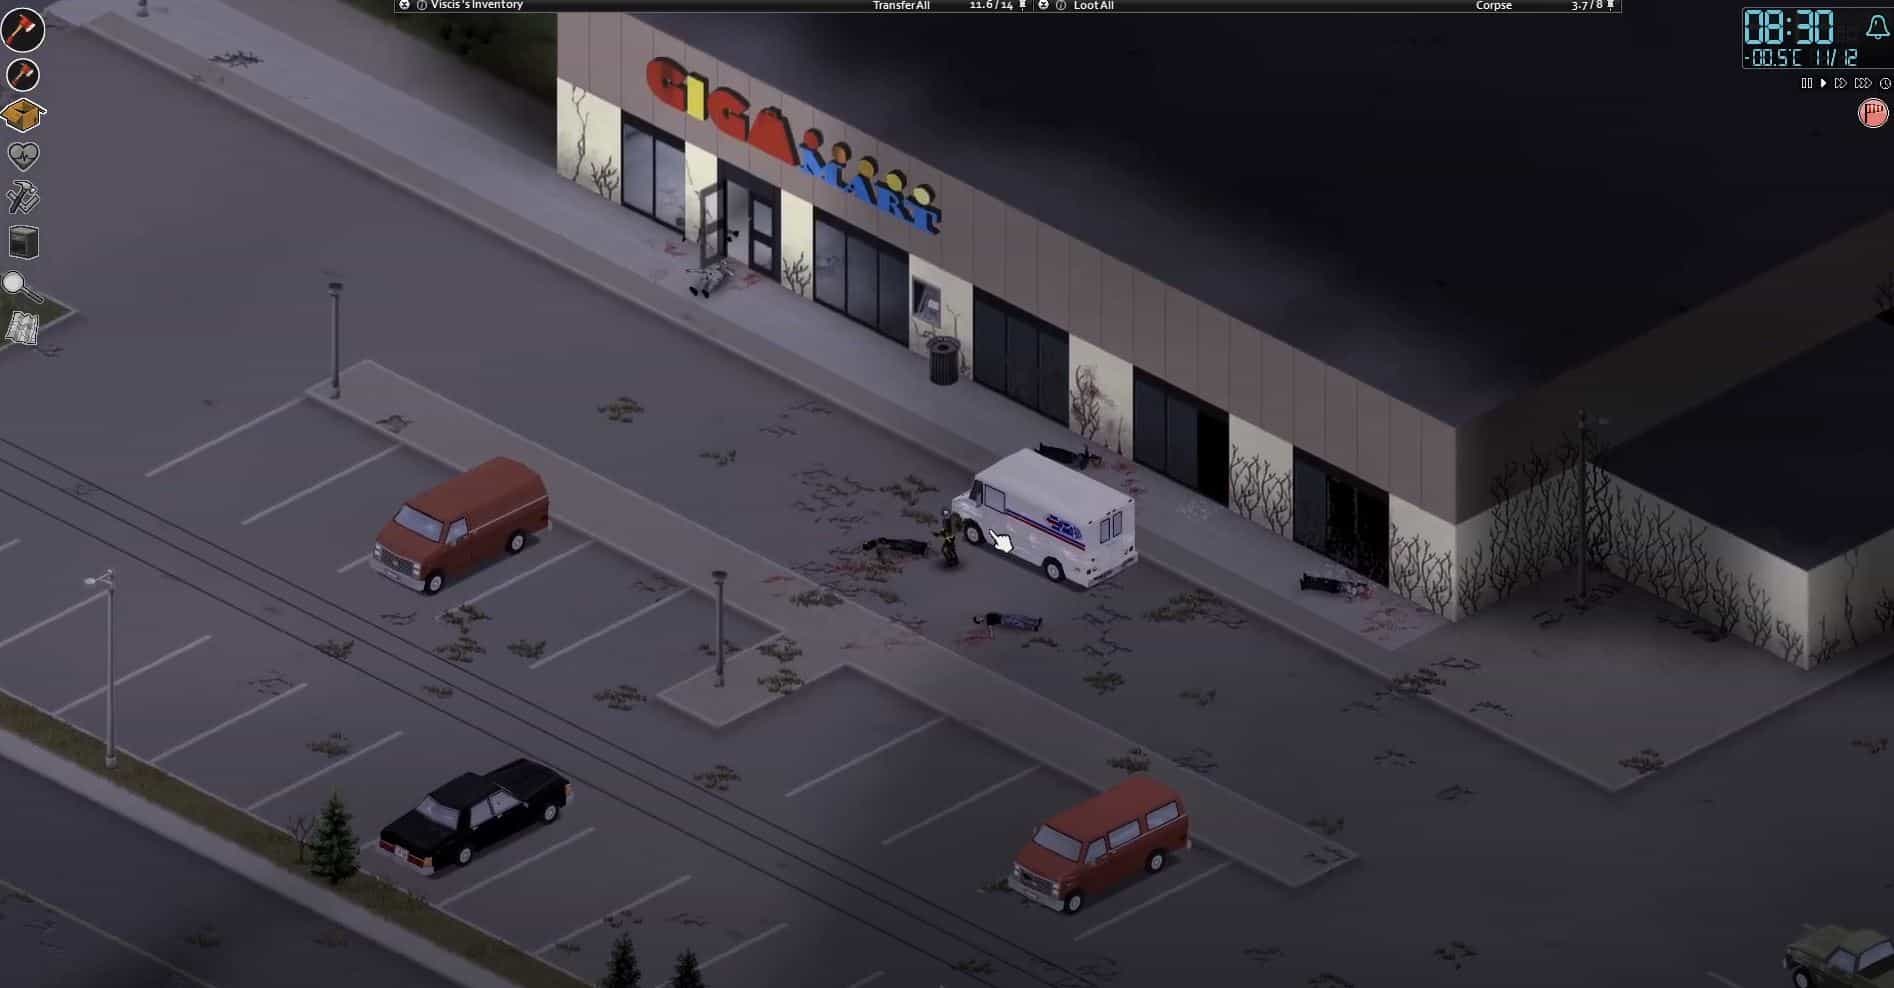
- The GigaMart: The GigaMart is a large chain of supermarkets that are found in various locations throughout the Project Zomboid maps. It’s a brilliant place to source fresh food: shelves are stacked with fruits, vegetables, and canned products of all varieties, making it a priority for any player to visit on any given run. The GigaMart has also become a favorite base choice amongst the community.
- They’re huge buildings with an abundance of shelving and freezer space, making for what many deem a perfect hideout if you can make it secure enough.
- Police Stations: As one can imagine, police stations are always a perfect choice for finding weapons. Guns are typically located on the northeast side of the building. You’ll also often find a water dispenser or two, alongside bulletproof vests and nightsticks (which are a great melee weapon choice). Outside, it’s also worth looting the cars: you can usually find some extra ammo there.
- St. Peregrin Hospital: It might be renowned for being infested with zombies, but for medical supplies, there’s no better option. The facility is huge, encompassing two large buildings connected by a sky bridge each with multiple floors. Located on the outskirts of Louisville, this is a place you should come prepared to: you’ll find a wealth of medical supplies inside including bandages, antibiotics, sewing kits, and alcohol wipes, but the place is swarming with zombies.
- Have St Peregrin Hospital as an ultimate goal, but in the early stages, I recommend going for smaller medical establishments like Pharma Hug or the dentist’s office.
- The ‘secret’ military base: In Rosewood, a secret military base can be found on the northwest edge of the map. Taking the highway that points north, you’ll come across a dirt path roughly halfway down. Traveling this long bumpy road will eventually bring you to the base. As you may expect, the base is filled with a wide variety of high-end military equipment: resistant clothing, M16 rifles, and armored vehicles are yours for the taking if you can brave the horde waiting at the gates.
- Warehouses: The many Warehouses throughout Project Zomboid are a great resource for loot of all varieties, from tools, food, materials, and even guns. As such, you’d be remiss for not visiting these locations at least once during your playthroughs.
- Unless you consider it cheating and want to go in totally blind, I’d recommend using the annotated Project Zomboid map to discover the above locations.
My Personal Do’s and Don’ts
Before the end of the article, I thought it would be helpful to provide you with some more general tips to cap off what you’ve learned so far.
Do’s
Use fences and windows to your advantage
Despite not being able to run as fast as you (when you’re in good health), a horde of twenty zombies is impossible to tackle head-on. If you’ve learned anything so far, it’s likely best to run rather than fight, and if you can hop over a fence or dive through an open window — do it! While you can nimbly hop through and over these obstacles, zombies get to the other side in a much more slow and labored fashion: this can be one of the best techniques to put considerable distance between you and your undead adversaries.
Be aware of burglar alarms
Some houses — usually the larger ones — have burglar alarms installed. If you break in and one of these starts ringing, you can bet all the zombies in the audible vicinity will be heading straight for you. You can’t tell whether a house does or doesn’t have an alarm, but once it sounds, don’t hang around. You might think you can quickly grab what you need, but 90% of the time you’ll be overrun within seconds. Get the heck out of there!
Make your base near a well
On each map, many wells provide drinking water. Locating water was one of the main struggles in the early game when I first started playing, so now, I make a b-line for wells that provide a limitless supply. If you can, locate a well first and situate your main base accordingly. That way fresh drinking water will be one less thing you need to worry about!
Visit the Louisville baseball factory
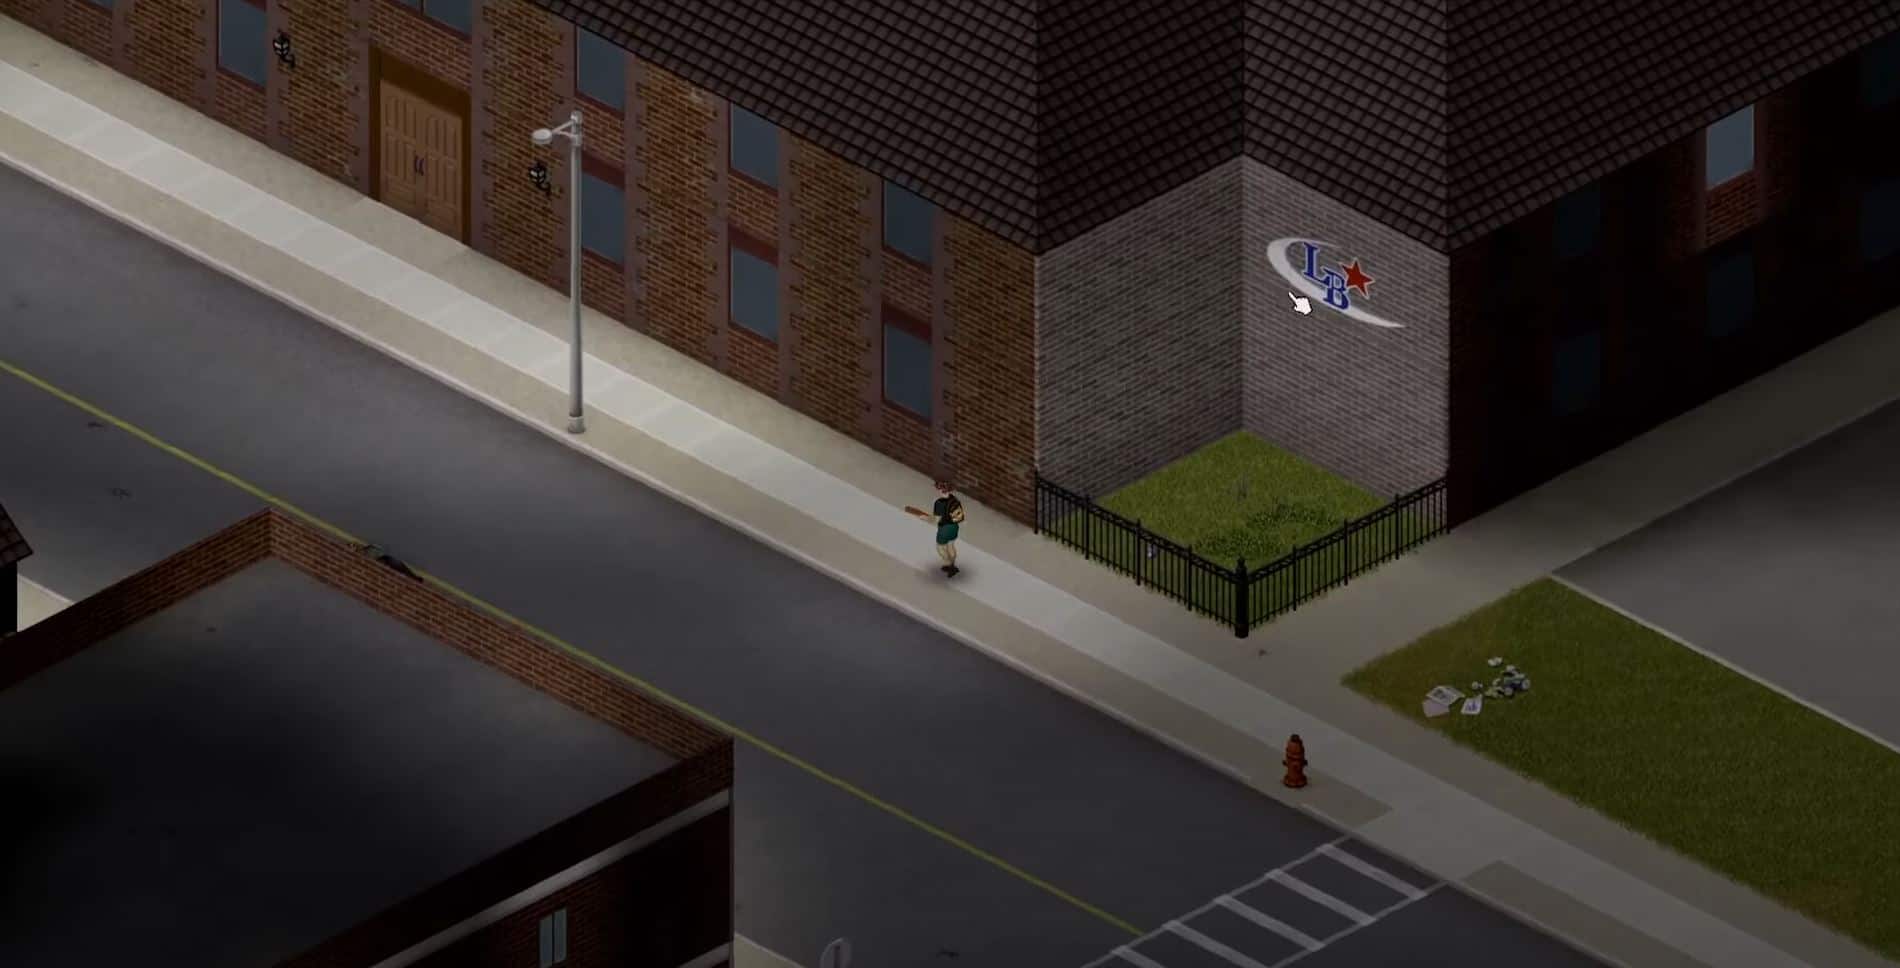
As described above, blunt weapons are an incredibly useful tool in this game, and the baseball bat is up there with the best of them. There’s a baseball bat factory with a plethora of pristine bats you can loot. With these weapons being both excellent starter and mid-game weapons, heading here is a no-brainer.
Don’ts
If on foot, don’t take on more than a single zombie at once
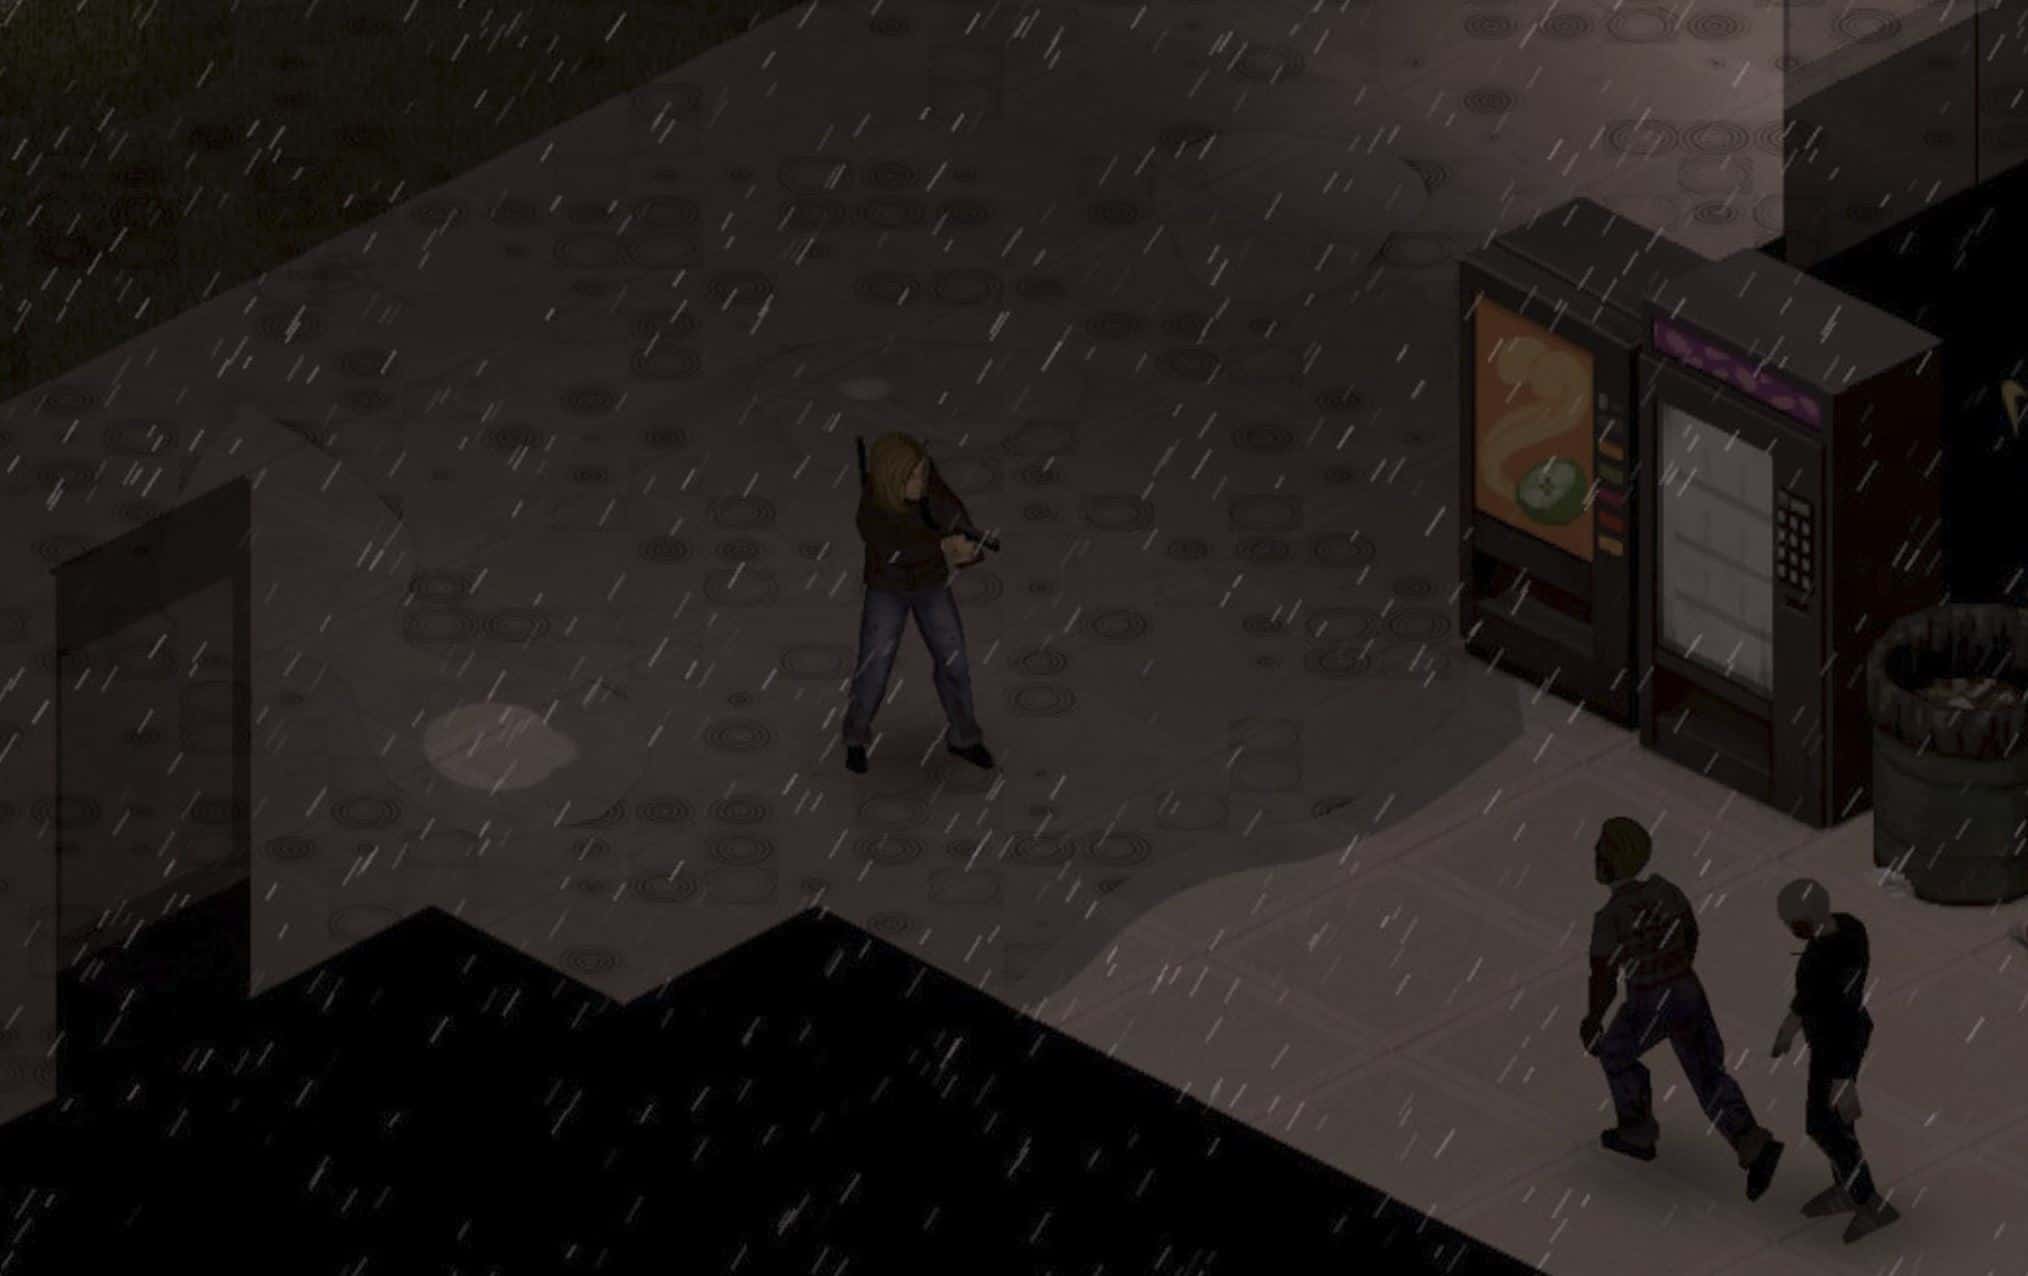
That’s not to say you can’t coordinate fending off against a small group, but you can’t hit more than one zombie with a melee weapon at one time. This means that while you’re putting one down, the other has a clear shot at you while you’re in the attack animation. I made this mistake over and over before I realized it, so don’t be like me!
Avoid using guns in the beginning
While it might be tempting to utilize the wide spread of your new double barrel shotgun, save it for when your life depends on it or for the late game. Guns can often do more harm than good in the beginning: the noise always draws a ton of zombies, your aim isn’t going to be very good, and you probably don’t have much ammo. Once you’re stocked up, more skilled, and have access to a vehicle, though, guns become essential for the mid and late-game.
Don’t disregard your character’s exhaustion
It can be easy to get caught up in the moment — running around taking out zombies and quickly dashing away again. When you’re in the swing of things (quite literally), never forget to check your character’s exhaustion moodle. If you get caught off guard, you could have a horde of angry zombies chasing you with no energy left to make your escape!
Don’t get cocky
In all honesty, some of my most stupid decisions in Project Zomboid came when I’d already survived for a long time. I’d consider myself safe and secure in my base, picking off zombies with an M16 and kitted out in military gear, but then forget I left a window open. Make sure to keep those early game survival instincts with you no matter how advanced you get.
Frequently Asked Questions
Question: Is it possible to survive indefinitely?
Answer: Technically, yes. It’s possible to be fully self-sufficient by the late game to the point that if you don’t make any mistakes, you can survive forever. The likelihood of not making mistakes, however, is very slim. The game is constantly trying to trip you up, but who knows? Master your survival skills and you just might make it.
Question: My PC isn’t that powerful. Can I still enjoy the game?
Answer: Most certainly. So long as you have a somewhat modern rig, you’ll be able to enjoy Project Zomboid. The game isn’t graphically intensive at all, but be sure to check out the system requirements on the Steam page before buying just to make sure. While a slower computer may run the game, you might start to experience a slowdown when a lot of zombies are on the screen at once.
Question: Is it possible to play the game using a controller?
Answer: The does have controller support, but I found it to be problematic. Firstly, if you’re using a controller, you’re probably playing the game on a TV from the comfort of your bed or couch; the game revolves a lot around menus that feature small text that can be hard to see even on a monitor.
This is amplified on a TV — even with the Big Freakin’ Fonts mod. The controls also take a lot of getting used to and are not as efficient as a mouse and keyboard. If you have the option, a standard PC setup is your best bet.
Conclusion
It might seem like information overload right now, so be sure to study this guide more than once if you need to — and have it handy as you play. I’d say good luck, but that will only take you so far. Do have fun, though, and be sure to refer back here if you get stuck with anything.
- Oxenfree & Oxenfree 2: Lost Signals Endings Explained - December 12, 2023
- Doomsday Paradise Review | Don’t Die Single - November 24, 2023
- The Talos Principle 2: Story Fundamentals Explained - November 2, 2023
