There were so many incredible indies that blew us away in 2022. The outstanding speed run platformer Neon White. The colorful Cult Management sim Cult of the Lamb, and the chilling text-based adventure Norco to name but a few.
However, it’s hard to believe that we got a top-down adventure RPG that managed to take the Zelda formula and elevate it further.
Tunic is an outstanding game and one that can be tricky if you don’t give the title the respect it deserves. Yes, the little fox is cute, as is the world. But if you don’t stay alert, you’ll probably die a lot.
So, with that in mind, we aim to offer a full walkthrough that allows you to make it from start to end with as little issue as possible. So let’s get going. This is Indie Game Culture’s Tunic East Forest Guide.
Getting Started
Okay, so let’s get going on this grand adventure. The first thing we need to do is get ourselves some sort of weapon. You know, because it’s dangerous to go alone and all that nonsense.
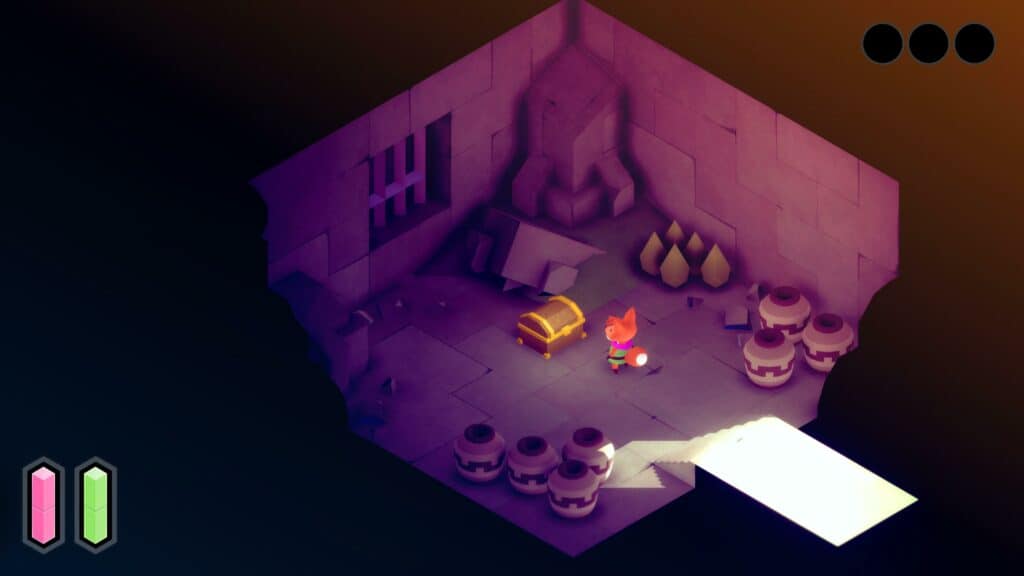
So head from your starting point forward, and you will eventually come to a doorway with torches on either side. Enter and open the Chest. This will give you a Stick. It’s not exactly the most proficient weapon, but it’s better than nothing.
Using this, you will be able to progress along the opening area and defeat the Blob enemies in your path.
There isn’t much to do in the opening area other than get your bearings, but you’ll need to access a Key that will open the door to the East Forest.
This is in the top left corner of this starting area. It shouldn’t be too hard to find. But here is a visual for those struggling to find it.

Then, you can return to the Locked Door from before, and you can exit to the East Forest area.

Through that door, you will find your first Game Manual Page, which will essentially teach you the base controls, but it is best to seek these out as they not only act as collectibles but offer tips and info that may help you in a pinch.
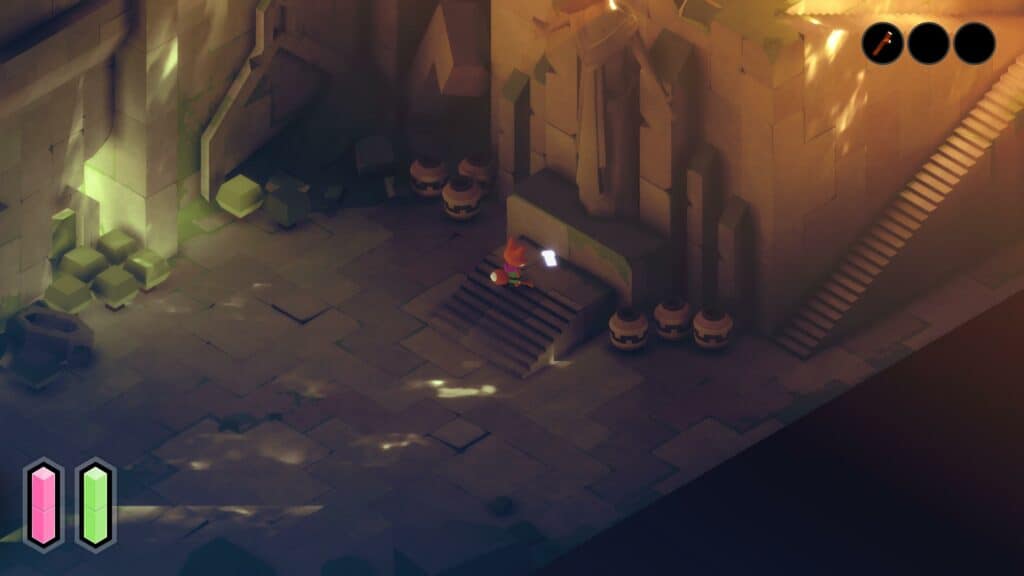
You’ll then pass through an area with a few more Blobs and another Manual Page, and after dropping down a Broken Ladder. You’ll find yourself in The East Forest.
Finding a Sword
First things first, you need to upgrade that Stick for a shiny new Sword. Not only because it will allow you to beat enemies easier, but also because it will allow you to chop Small Trees and access new areas.
Head out into the Forest and immediately be on alert, as you’ll encounter new Hedgehog enemies that can shoot Shards from range. It’s best to hit and roll to avoid taking too much damage.
Then, after dispatching them, head onward and to the right. This is where you will find a new Checkpoint.
Before you enter the Guardhouse up ahead, you’ll want to head back toward the door on the left, which will take you into a cave with a bunch of slimes. You can fight them off or avoid them. Then, head up the Ladder.
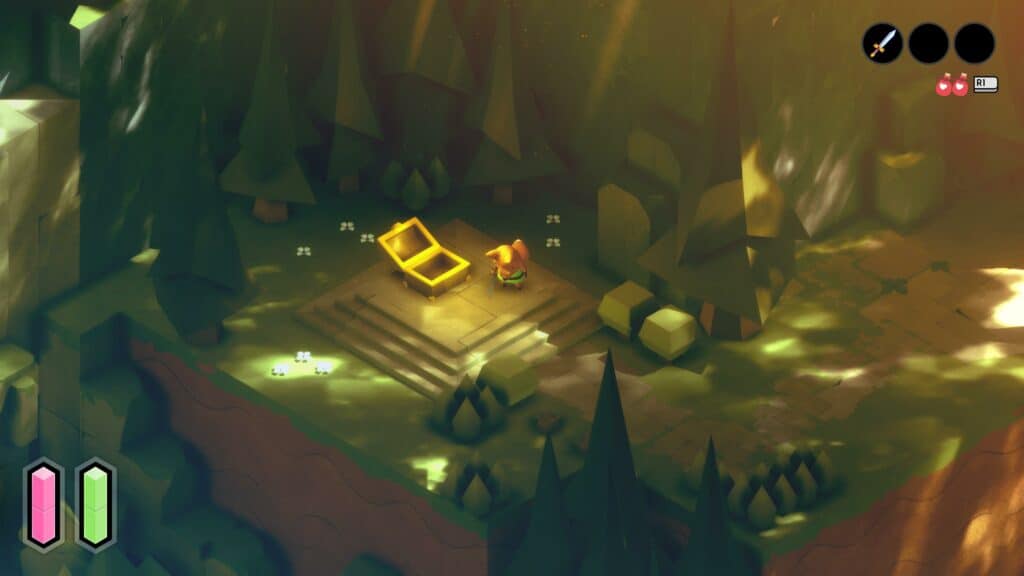
Here, you will have to fight a Hedgehog on a narrow ledge, so try to exercise caution. When you defeat them, head outside, and in a chest, you’ll find your first Magic Potion, which can be used to replenish HP.
Now, return to the Guardhouse Door from before, but instead of going into Guardhouse 2, head down the narrow path around to the right. This will lead to the Path To Hero’s Grave.
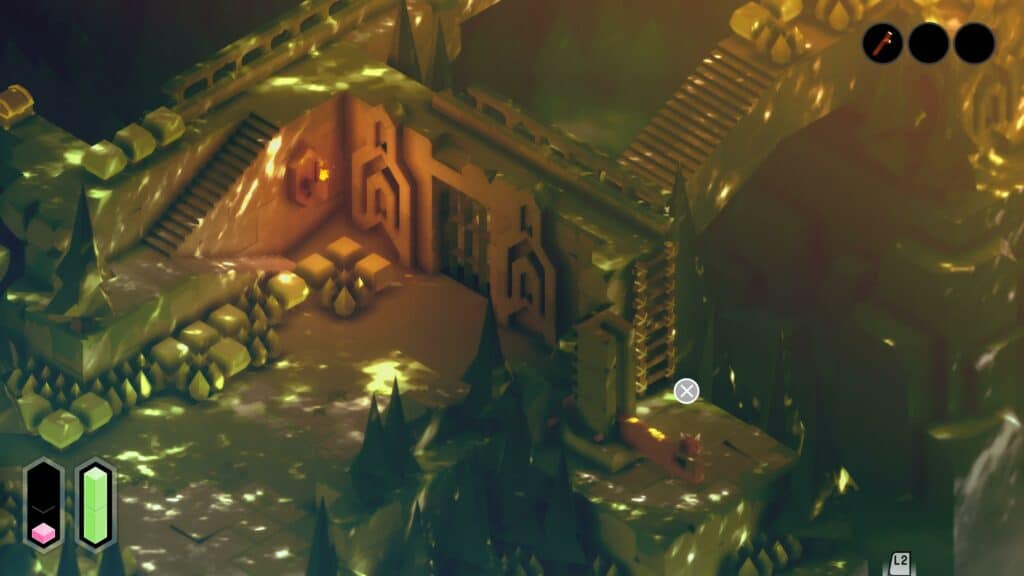
Here, you will need to fight a series of Hedgehogs and Rudelings. You’ll have to fight your way up the stairs near the metal gate. Then, go across and down the Ladder on the right to activate a Lever, which will open the Metal Gate.
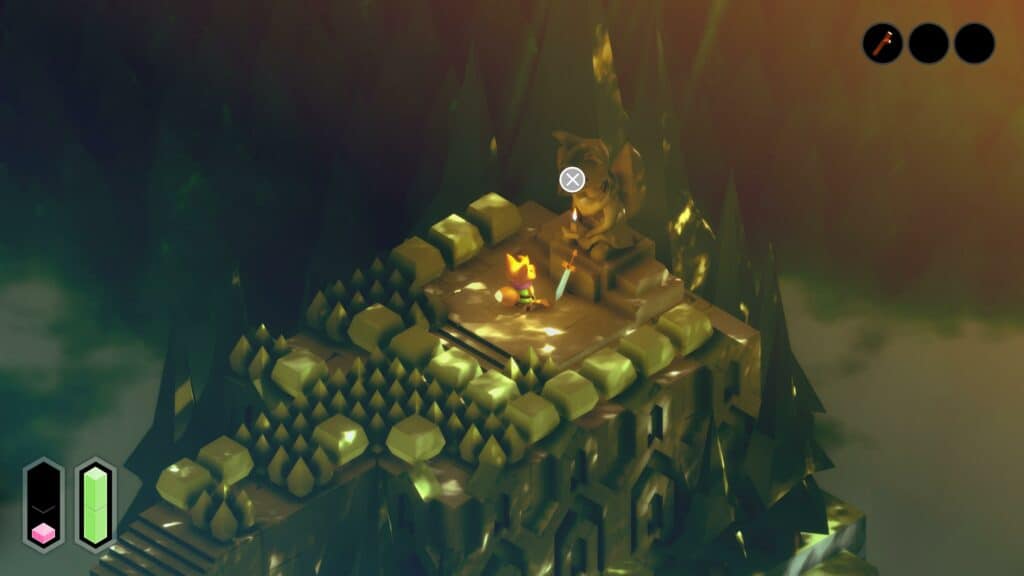
You can then return to the Gate, head on through, and at the top of the Stairs, you’ll find a Fox Statue holding a Sword. Be sure to swap this out for your Stick, as it will allow you to get to new areas and Chests.
Ringing The East Forest Bell
Now head back to Guardhouse 2 again, and use your new Sword to chop the Small Trees blocking the Ladder up. You’ll have to fight more Rudelings to get to the next Locked Metal Gate. To combat these enemies, it’s best to stay on the offensive to stagger them and fight them one-on-one if possible.
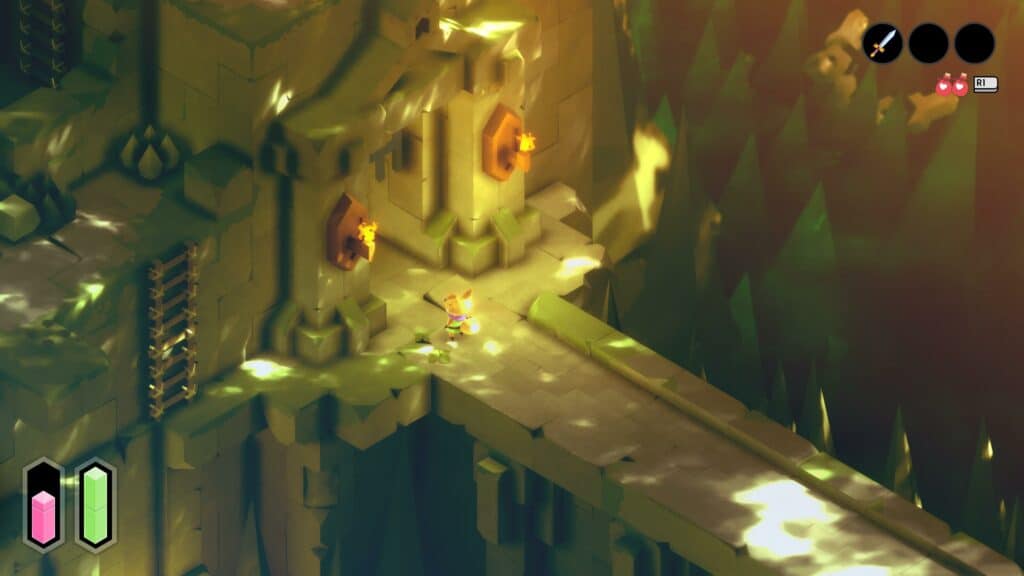
Chop Trees and kill Rudelings as you go, and then use the Lever at the top of the tower to open the Metal Gate down below. Then, clamber down and head inside. You’ll find yourself in Guardhouse 1 now, and you can use the Lever inside to open the Metal Gate up ahead. And you can also open those two chests nearby for some lovely loot. The second Chest is in the bottom right corner, in case you missed it.
Then, to cap off this East Forest section, you’ll need to fight the Guard Captain. He is a formidable foe who hits hard and has a Rudeling Grunt fighting alongside him.
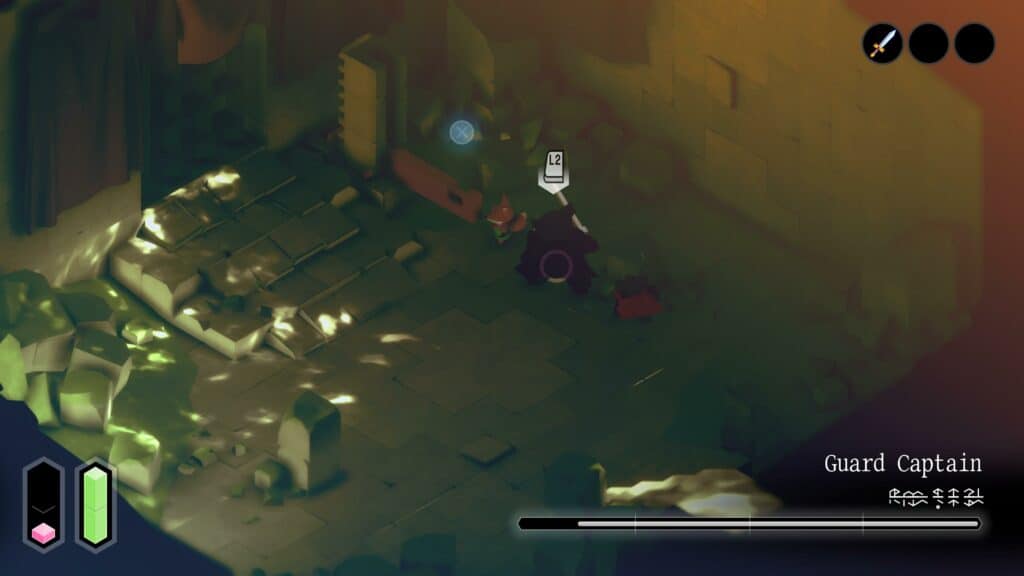
It’s best to take out the lone Rudeling and then turn your focus to the Guard Captain. He tends to work off a pattern of a swipe attack and then a lunge attack. So wait until he’s performed both, get a few hits in, and get your distance. Repeat this a few times, and they should go down.
You can then move to the next room, where you will find a Chest containing another Magic Potion.
You can explore the Lower Forest for some additional items, but you’ll now have all the essentials from the East Forest, so you can now head up the stairs past the Chest, up the Ladder, and you’ll be back in the East Bell Tower.
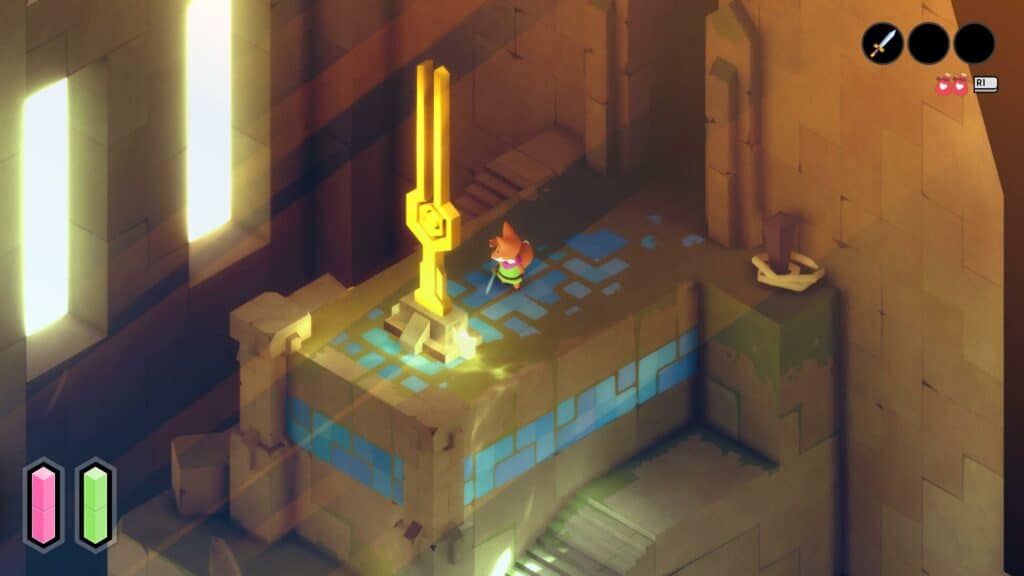
From there, all that’s left to do is smack the Bell with your Sword, and Voila, you’ll have completed the initial section of Tunic. But our adventure is just beginning.
Cunning Like A Fox
There you have it, a beginner guide that will get you moving in the right direction when taking on Tunic. Tunic is a challenging game that will test your exploration, puzzle-solving, and combat skills to their limit, unless you mess with the Accessibility settings.
But with the help of our guides, you should be able to make it through without too much stress. So I’ll see you in our next Tunic Guide, and as always, thanks for reading Indie Game Culture.
- Best Beginner Hades 2 Keepsakes - May 13, 2024
- 15 Beginner Tips For Hades 2 Newbies - May 9, 2024
- What’s New In Hades 2? - May 8, 2024

