So, you now fully understand how to speak in the tongue of the Devotee, and you’ve solved the puzzles allowing you to bypass The Warrior blockade and ascend to the Fortress.
An impressive achievement, no doubt, but The Fortress is an area within Chants of Sennaar that will test the player in new ways, offering much more stealth-based gameplay and, of course, a whole new language to decipher.
It’s a tricky task, but in this Chants of Sennaar Fortress Guide, we intend to give you all the tools needed to slip in amongst Warriors unnoticed, ring the bells, and ascend to The Gardens in no time at all.
Well, all that’s left to do is get started then. Here is Indie Game Culture’s Chants of Sennaar Fortress Guide.
Games Like Chants of Sennaar
|
4.8
|
3.5
|
4.3
|
All Chants of Sennaar Walkthroughs
Before you get started, just in case you’d find them useful, here are all the other Chants of Sennaar Guides that will help you through each portion of the game and get you to the top of The Tower:
- Chants of Sennaar Abbey Guide
- Chants of Sennaar Gardens Guide
- Chants of Sennaar Laboratories Guide
- Chants of Sennaar Exiles Guide
Chants of Sennaar Fortress Guide – Our Full Walkthrough
Slipping In Unnoticed
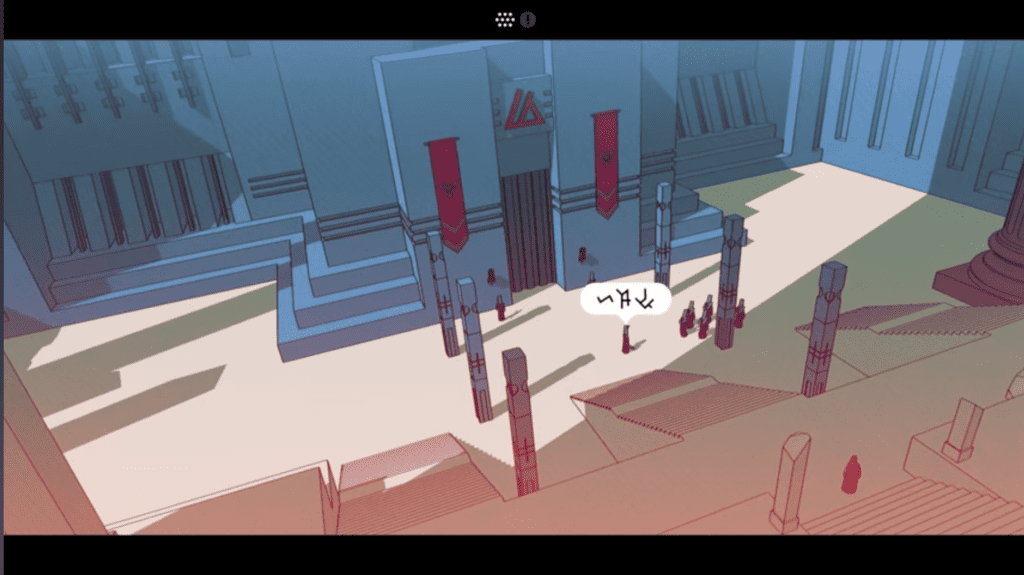
After heading up the huge set of Stairs leading to The Frontier Region, you’ll come to the doorway leading to The Fortress.
You’ll watch a scene where guards are granted access, but believe me, if you try to walk in the front door, it won’t go quite as smoothly. So, instead, take a walk to the right and slip through a break in the wall to a hidden room.
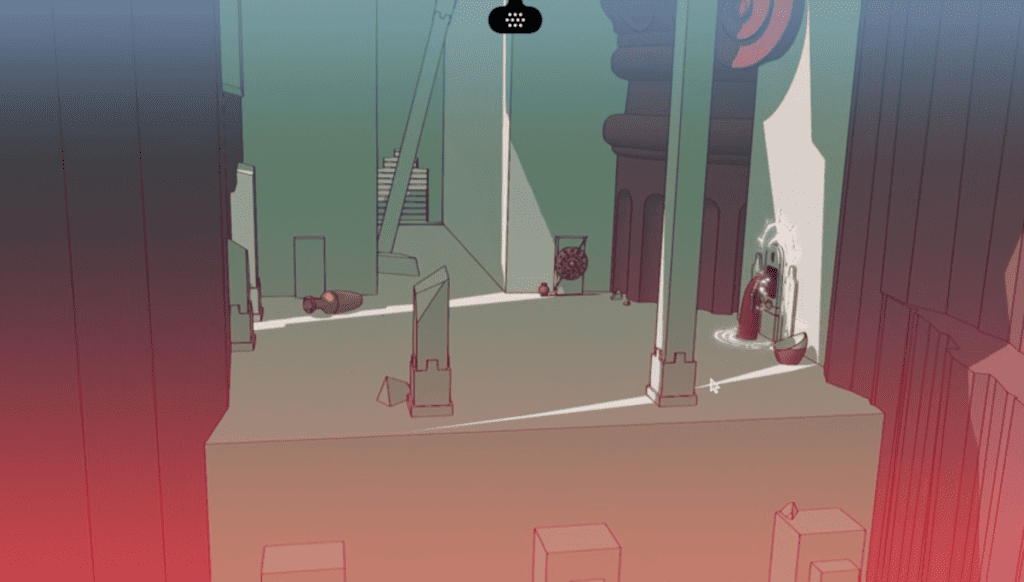
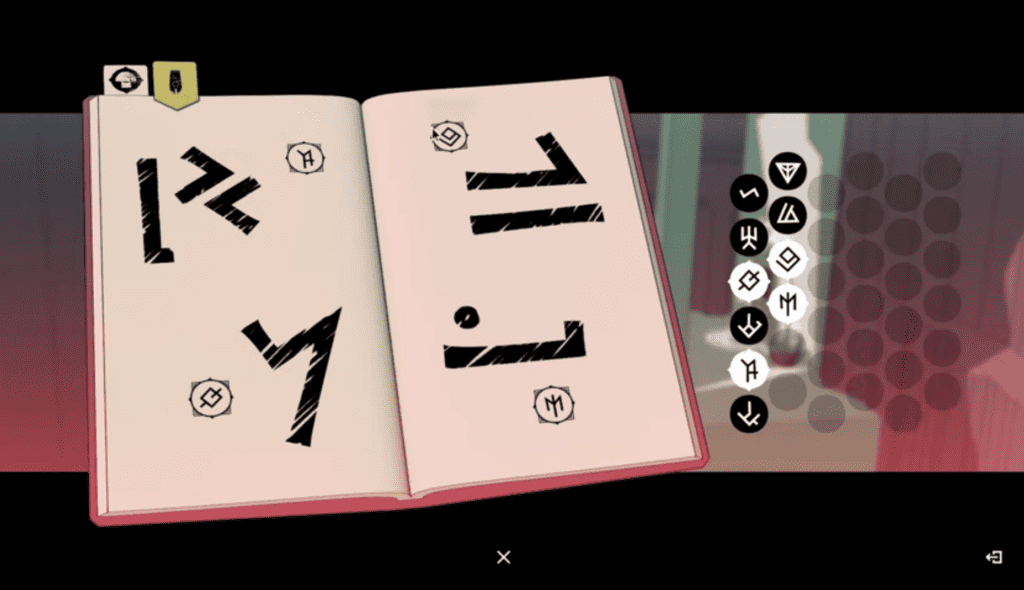
Inside this room, you will find a Teleporter/Portal, and you will also find a Shield on the wall with both Devotee and Warrior Glyphs. This can be used to translate the Warrior Glyphs using the already-known Devotee ones.
Using what you know so far, you should be able to work out the Warrior Glyphs for the words ‘Warrior,’ ‘Likes/Loves,’ ‘Death,’ and ‘Not’.
After you exit this room, you will come to an area with a couple of pillars. The one furthest right is your ticket in. Using the Spear found in the room with the shield. Push the pillar to create a path into The Fortress.

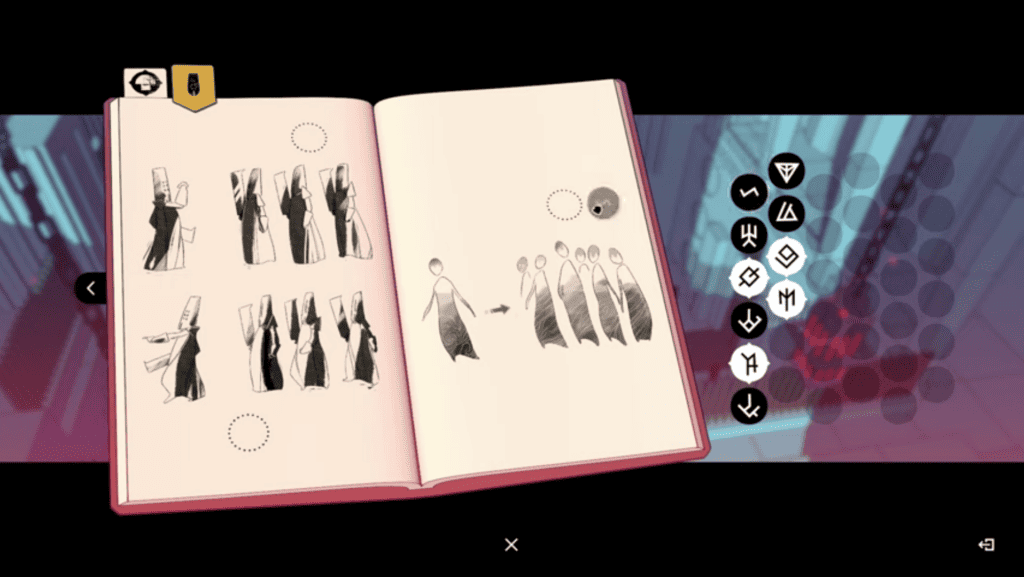
You’ll happen upon another interaction between Warriors as you watch from the rafters, and you’ll get access to a few more mystery Glyphs.
Using some deductive reasoning, you’ll be able to work out the Glyphs for ‘Go/Pass,’ ‘Wait,’ and the symbol for ‘Plural,’ which is a new quirk belonging to the Warrior tongue.
From here, you’ll want to go right and downstairs and past the large statue in the middle of the room to the door to its left. Then, climb the stairs again to reach a room with a Hamster Wheel and a Lever.
This will allow you to rotate the statue in the middle of the room to reveal new carvings and Glyphs. Rotate this twice to see all the statue has to offer, and the game will add the messages under each for later reference in your Journal.
Then, you will also have access to another page of Glyphs to enter. You’ll have to piece this together based on the statue, and the Glyphs presented rather than contextual clues, but there is just enough there to work out the Glyphs for ‘Impure,’ ‘Chosen,’ and ‘Protect.’
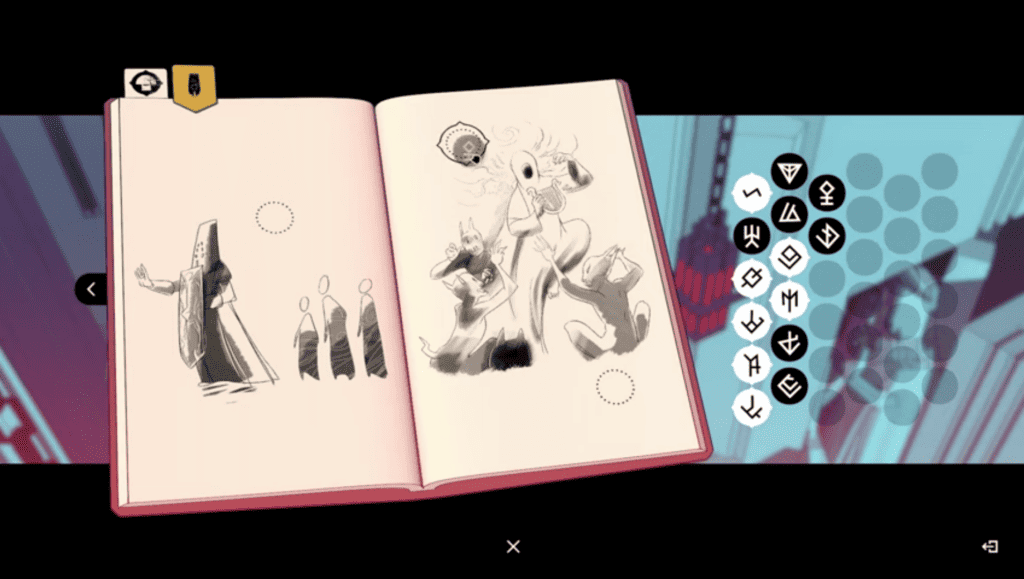
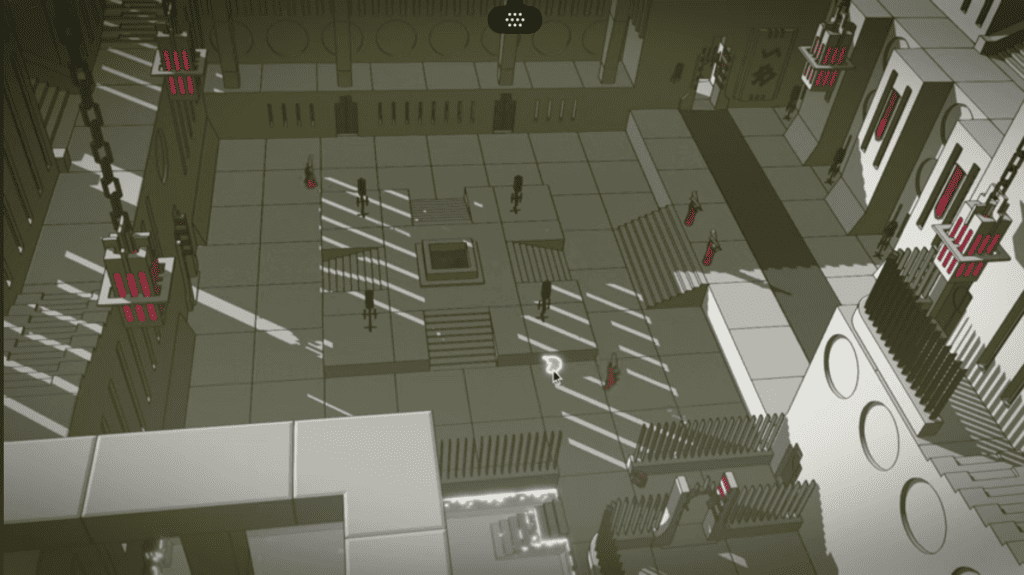
After you do this, you’ll want to go downstairs again and out to the far left door. This will lead you into a courtyard, and this is where the stealth-based gameplay begins.
It’s Sneaky Time
You’ll need to pick a good moment to move to the wall, and then you’ll want to follow the direction of the two patrolling Warriors, working your way around until you reach the door on the left of the screen.
Next, you have a slightly trickier section where you will need to use the matching guards as a cover to get through undetected. Firstly, get from one wall to the next by remaining behind the main pack.
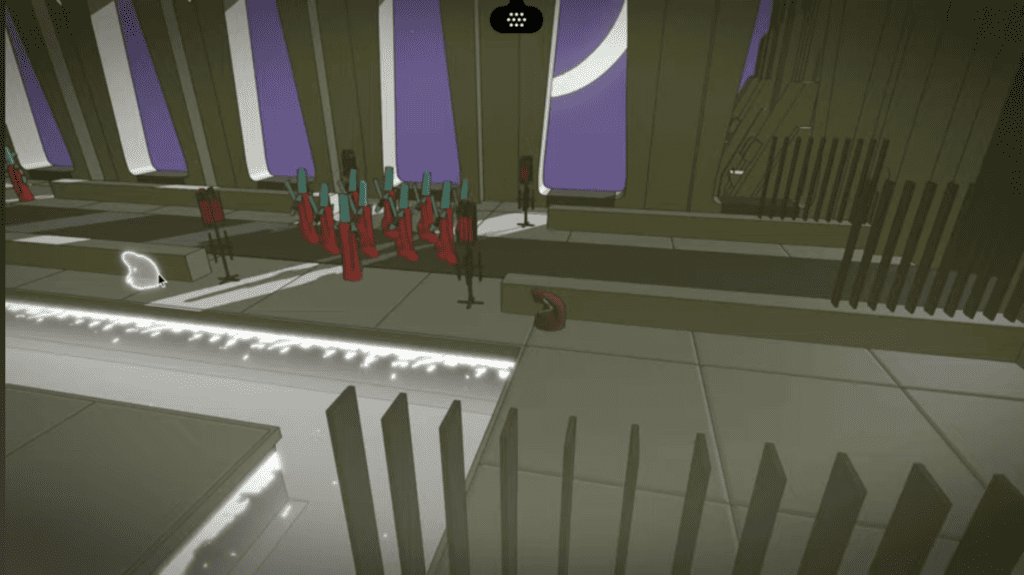
Next, you’ll want to use the pack of guards to shield you from the view of the onlooking warrior guard. So be sure to time your movement to align with theirs.
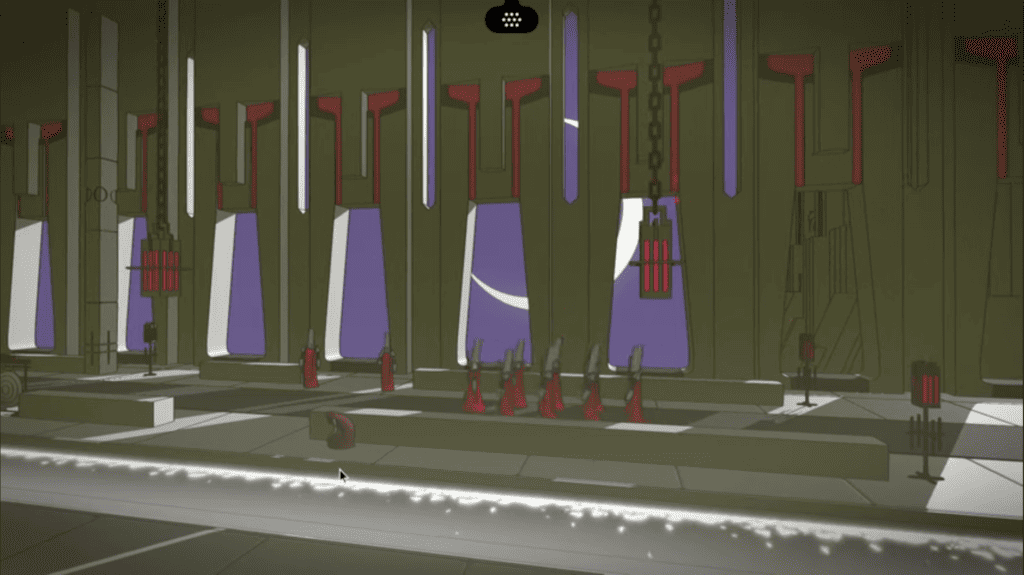
Then thirdly, you will need to use the Gong near the wall to distract the pair of guards. This will allow you to get to the other side of the room, and then, as the gaggle of guards enters the next room, you can do so as well, entering the door on the lower level.
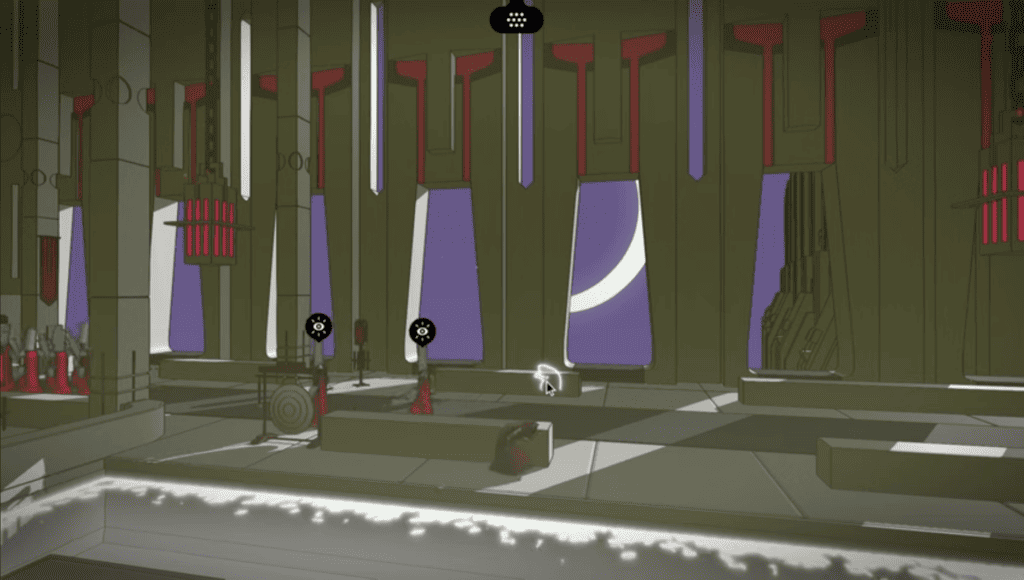
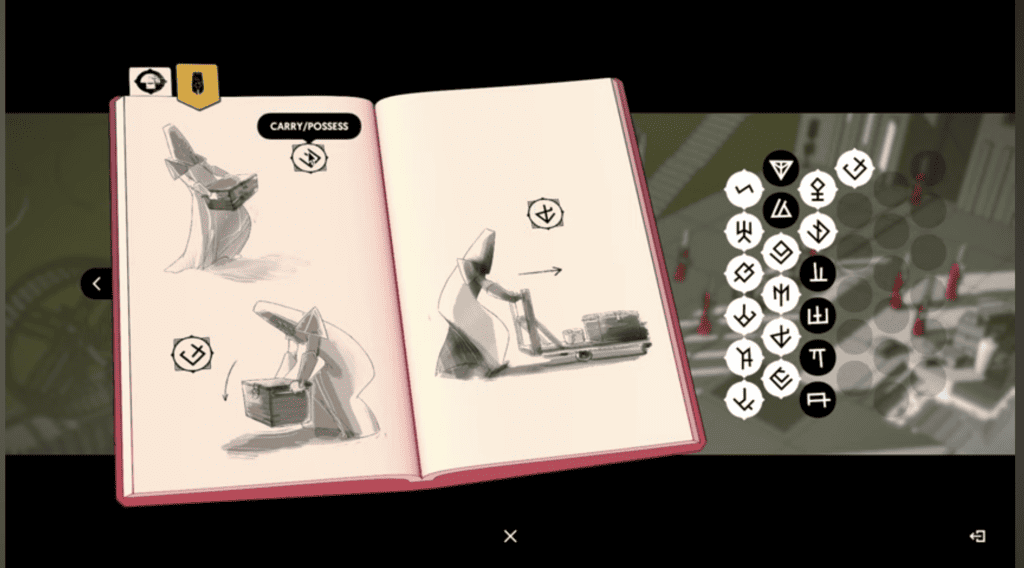
When you enter the next room, you’ll be able to sit back and listen to the guards giving instructions to the workers. Just stay out of sight and take in the scene. This will give you enough knowledge to piece together the Glyphs for ‘Push,’ ‘Carry/Possess,’ and ‘Lay’.
Stay undetected and head out of this room through the door near the Elevator. You’ll then want to head down the hall to the left and you’ll come across an area with loads of boxes and bottles.
Take a moment to rest here and analyze the Glyphs. This will then give you enough pieces of the puzzle to work out which Glyphs mean ‘Box,’ ‘Bottle,’ ‘Small,’ and ‘Big.’
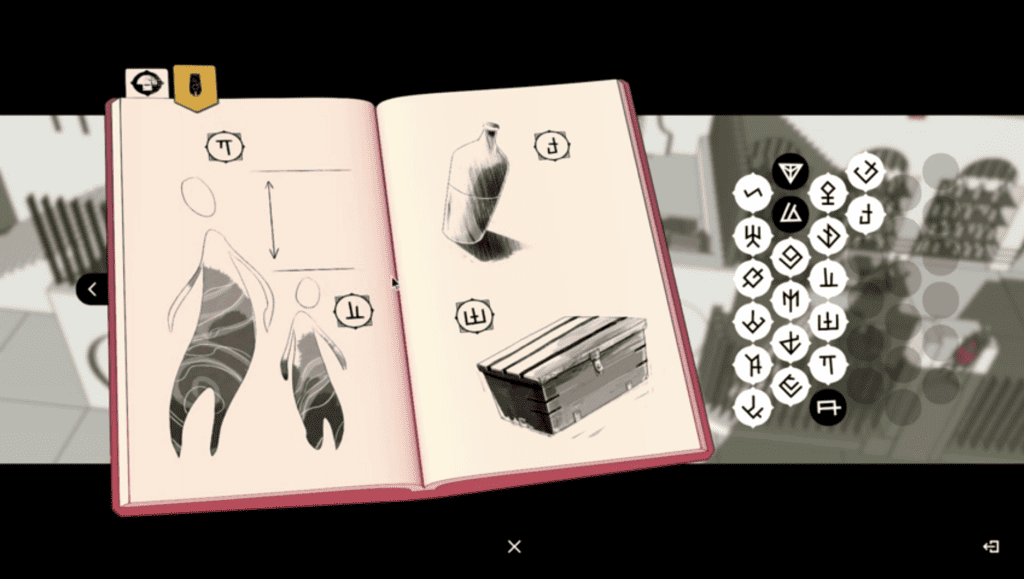
Now that you have this page filled, you can now keep following the path to the left. You can take a box from the box storage to make this area a little easier, but with reasonably tight timing, you simply use the box already on the Elevator as a makeshift cover to get to the door without being seen.
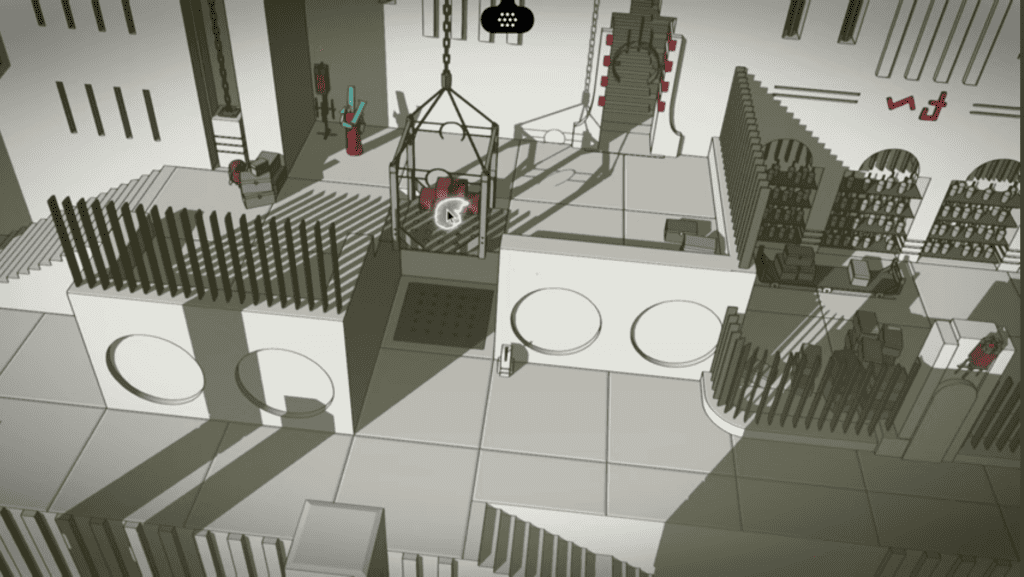
Then comes the longest, but thankfully, the last stealth area of The Fortress. Let’s break this one down into parts.
The first part is pretty simple: from the starting point, head out to the side where the man is pushing the cart, and then work your way back into the middle.

Secondly, you’ll want to head up the middle and time your run so that you avoid the patrolling guard and make it over to a little area with crates and pots.
Here, you can throw some loose debris to ring the Gong on the other side of the area to distract the guard. Then, you should quickly make it past the patrolling guard.

Then, thirdly, you’ll want to use the pillars in the right corner of the room to gradually work your way closer to the Armory Door. Then, when you see an opening, get yourself in there.
Exploring The Fortress
It may not seem like it, but you are finally in the clear. The game has color again, rejoice!
That being said, unless you get your disguise right, you’ll be right back in the game situation when you step outside again. So when in the Armory, you’ll want to put on a set of Bracers, and you’ll also want to wear the Tall Helmet.
Get this right, and when you step outside, your enemies will see you as a friend. Or a colleague, at the very least. Now, head back where you came from and head toward the door beside the cart tracks.
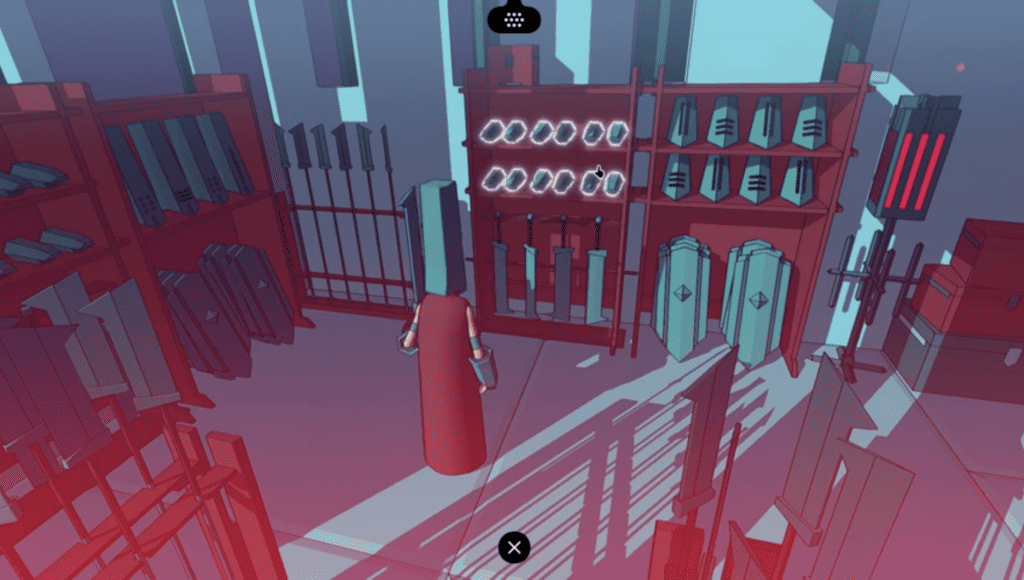
When you walk through here, you will see some Warriors receiving training from their leader. After hearing their powerful speech, you will get another page to fill in your Journal.
Along with some Glyphs from before, and some from right this moment, you should be able to match the Glyphs for ‘Weapon,’ ‘Duty,’ and ‘Cart.’

Head forward, and eventually, you will come across a room with a huge Weapon in the middle. From here, you’ll want to double back on yourself briefly by using the Elevator in the bottom right corner of the room.
This will take you back down to the box and bottle storage center. Nip in there and grab a bottle. It’s not apparent why right now, but it will save you a trip.
Now, take the Elevator back up and head through the door at the top of the room. This will take you up some stairs overlooking a large pantheon. Then, when you come to an area where you can turn right, do so.
This will take you to an area that has a little building that is currently locked, with an interesting book inside, which can be viewed through the window, and then you have a series of Bells on the right.

Ignore the bells, and on the bench outside the building, you’ll want to leave the Bottle you acquired. Then, you’ll want to leave the area to allow some time to pass. While you wait, you can head up the hall to the left and through to the next room, where some statues will teach you some new Glyphs.
Note: If you just want to get things done fast and don’t care about enjoying the puzzles laid out by the developer, then skip to The ‘Ringing The Bells’ Solution below, as this will allow you to access all areas of the Fortress freely.
At the end of this room, you’ll find your way up to The Gardens, but your way is blocked for now, so just head back to the building where you left the Bottle.
When you return, you’ll find a man on the roof enjoying your offering and the door unlocked. Head in there and read the Book. It seems unimportant, but these notes will help later when you can make sense of them.
Now, you’ll want to head back to the big sword room and head to the southernmost door, then past the doorway with the two guards.
This will take you to The Observatory. Up there, you will be able to find a few new Glyphs and use the Telescope to see some constellations, which seems like an afterthought, but trust me, do it because it’s important.
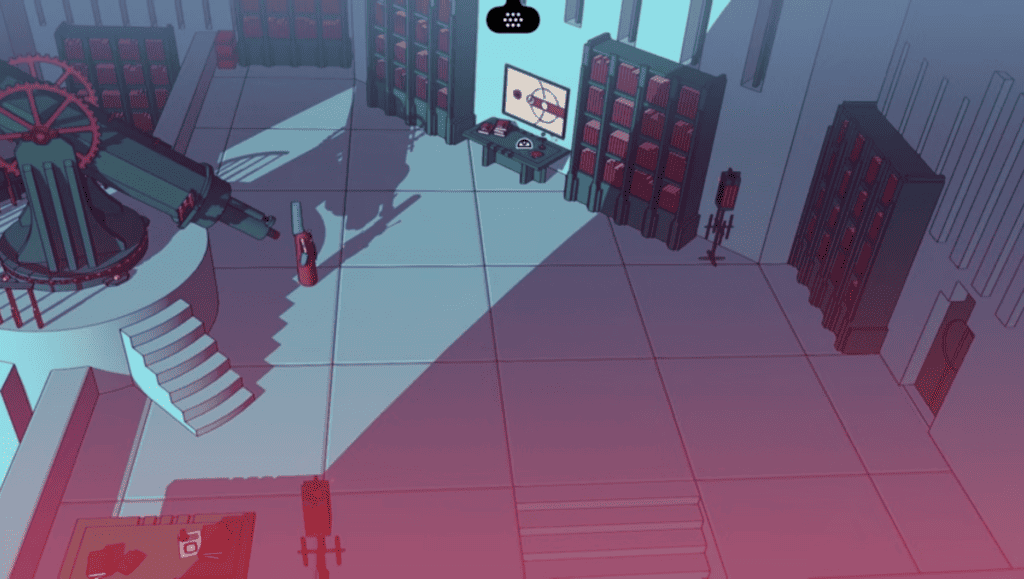
If you look at everything in this Observatory, you should be able to fill out another page of the Journal. This time granting you the knowledge of the Warrior words for ‘Sun,’ ‘Moon’ and ‘Bellman.’

Okay, now we have some more sneaking to do, but now it’s more a case of hiding in plain sight.
Blending In
Now, you’ll want to leave the Observatory and head south to an area with a conga line of guards that you can latch onto. You’ll want to do this to access an area of the map that is otherwise off-limits.
However, when you pass through the doorway, you will then have to follow the instructions of the guard. He will ask you to lift a Big Box from the pile, so do this and rejoin the line.
Then, in the next room, push the cart when instructed and run to the next room when the guard’s back is turned.
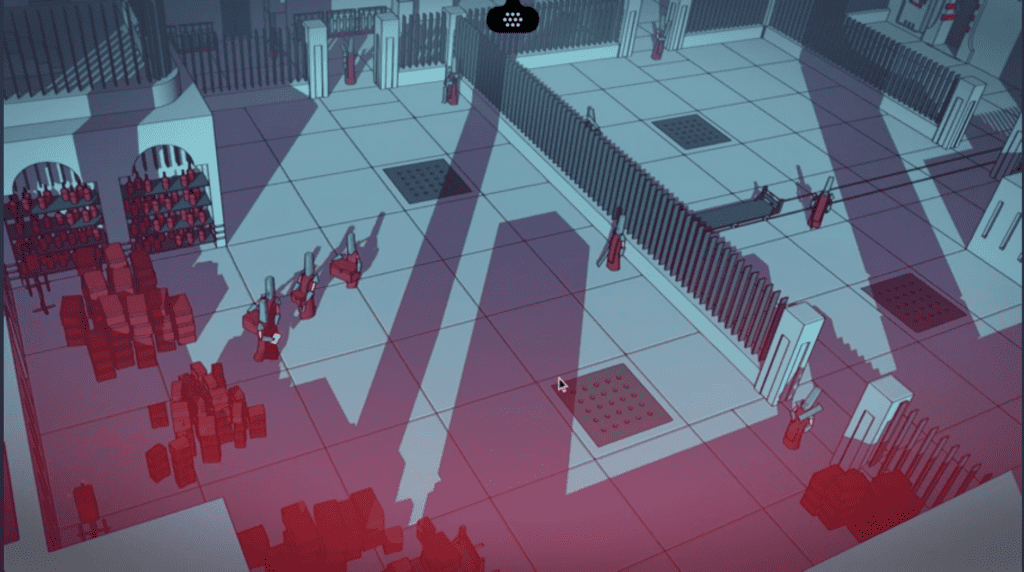
This will lead to a new area with some colorful artwork on the wall. There may be a new Glyph to learn here, so give it a scan. Then, at the end of the hall, head down the stairs to the lower levels.
Here, you will find a room with some Glyphs on the wall and a torch. Grab the Torch and head through the door to the right.
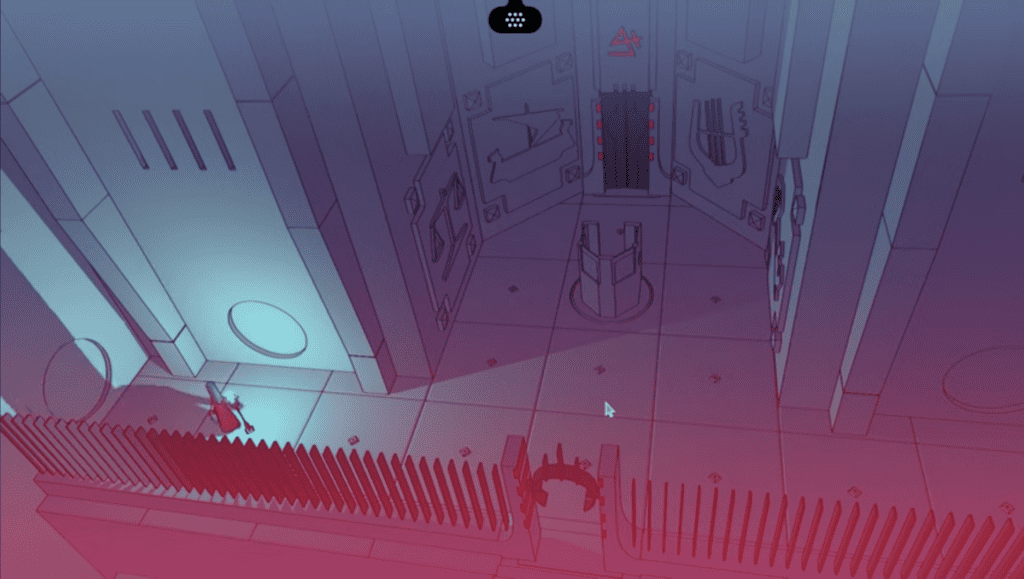
When you get downstairs, you can use the door a little further on to unlock a new Teleporter/Portal. Then, return to the room and place the Torch in one of the holes in the ground.
Then, head to the raised Octagonal Pillar. You’ll want to turn that pillar four times and then take your Torch and head back upstairs.
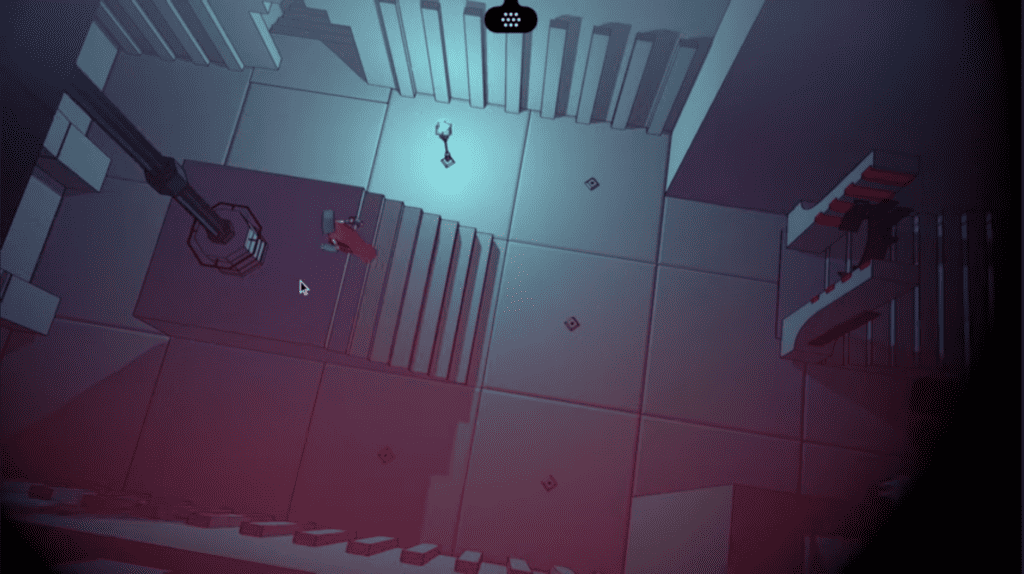
When back upstairs, take your Torch and place it in the fixture in the middle of the Glyphs. This will cast the light onto each of the Glyphs, so be sure to examine each; then, you’ll want to head through the newly opened doorway ahead.
This will lead to an area that contains lots of treasures and oddities. And speaking of which, when you get in there, you should have access to another page of Glyphs. You’ll now be able to match the words for ‘Treasure,’ ‘Call,’ and ‘Fortress.’
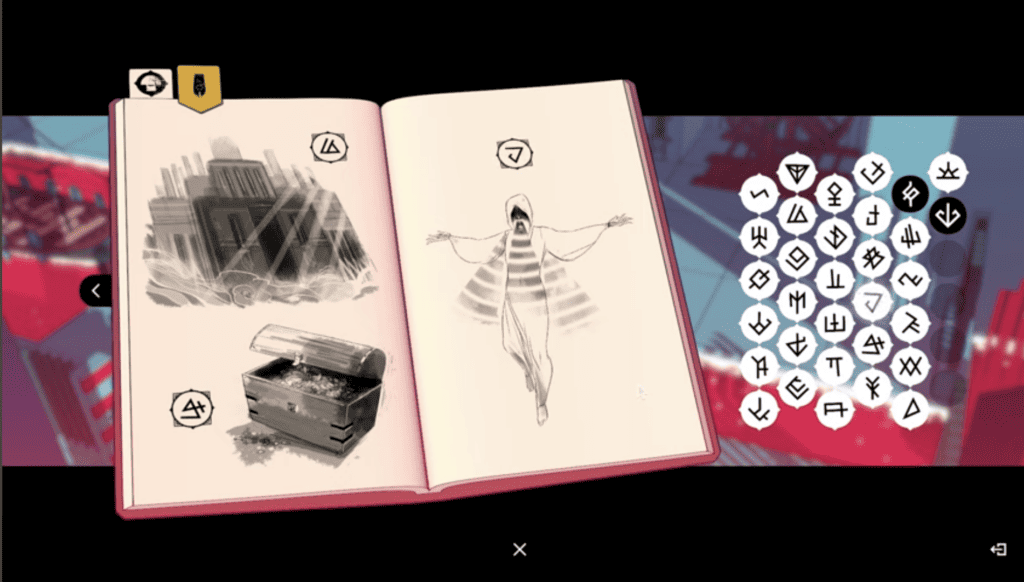
You should now turn your attention to the collection of trinkets on shelves in the room. You’ll want to grab the square-shaped Lens up high. So, use the hamster wheel to charge the crank enough to raise four levels, and then slip the ladder one across, as shown.

Then, just before you exit using the Elevator to the left, you’ll want to examine the Shield. This will offer a few more Glyphs to learn as you approach full mastery of the Warrior language.
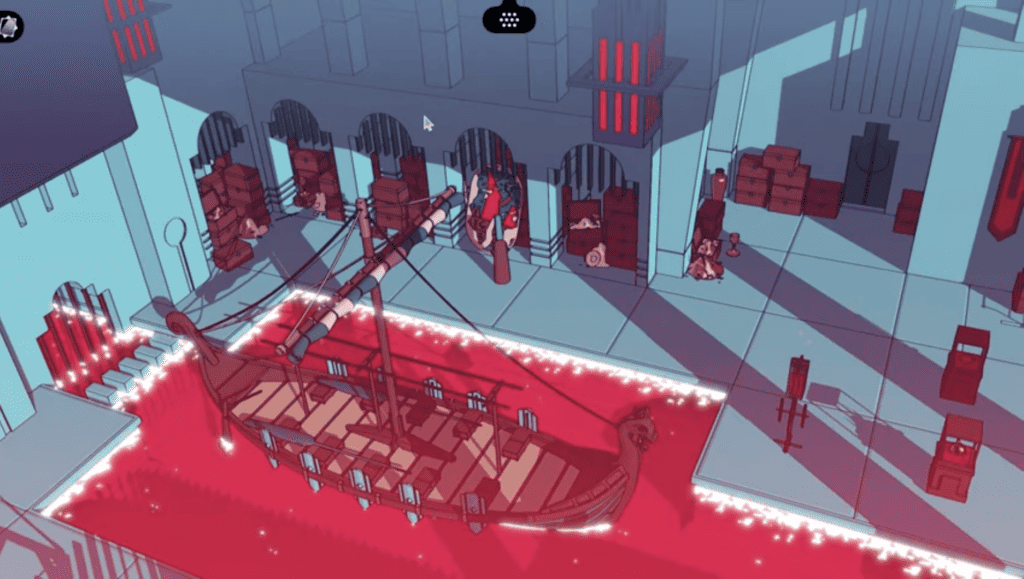
Thanks to your precious mastery of the Devotee language, you’ll be able to translate the Glyphs for ‘Seek,’ ‘Help,’ and ‘Scientist.’

Getting close to the end now; just two more quick stops!
For Whom The Bell Tolls
Now, use the Elevator to get back to an area near the building where you left the Bottle for the man. But before you head back there, head south to the Observatory. Then, use the Square Lens on the Telescope.
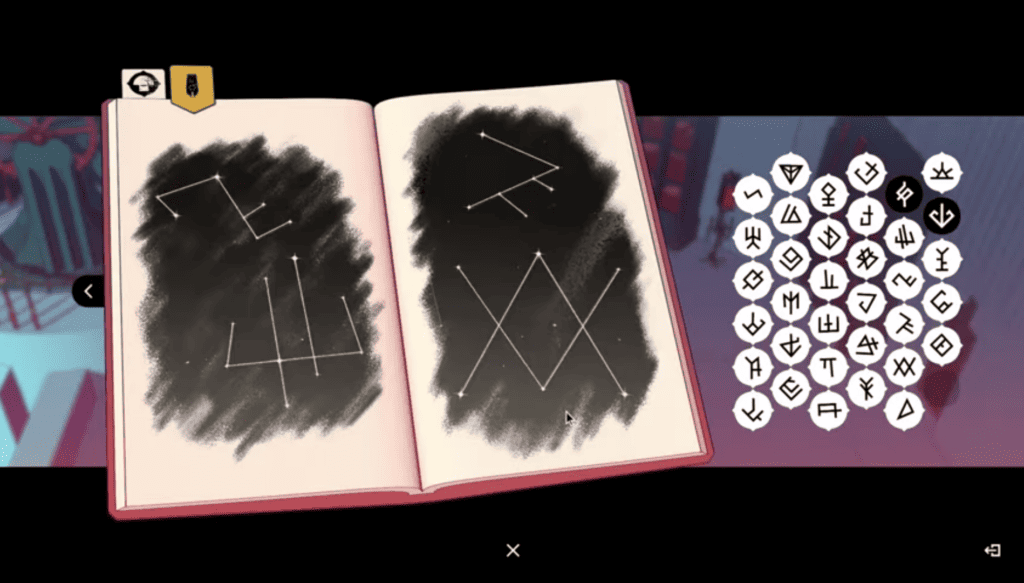
If you peer through now, you will see that each Constellation looks like a Glyph you found in the Torch Room, and you will now be able to match the constellations with the Glyphs for ‘Instrument,’ ‘Balance,’ ‘Vessel,’ and ‘Key.’
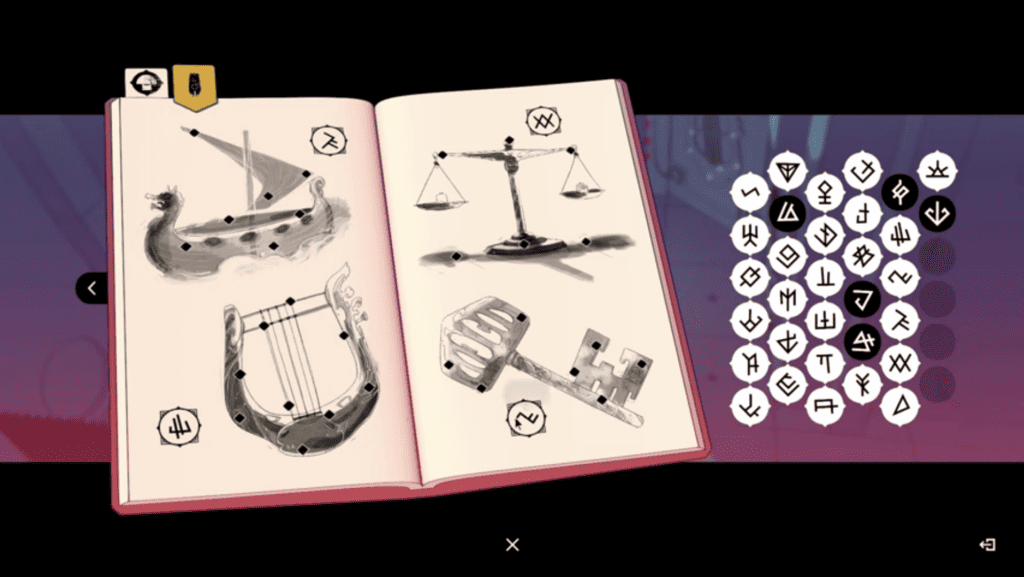
Now comes the final puzzle and your moment to return to those Bells you saw earlier. Here’s the thing: if you ring those bad boys in the wrong sequence, guards will come and nab you pretty quick, but if you play them just right, you will trigger a mass exodus from the Fortress to the Pantheon you saw earlier.
To make this happen, you’ll need to strike the bells in the following order
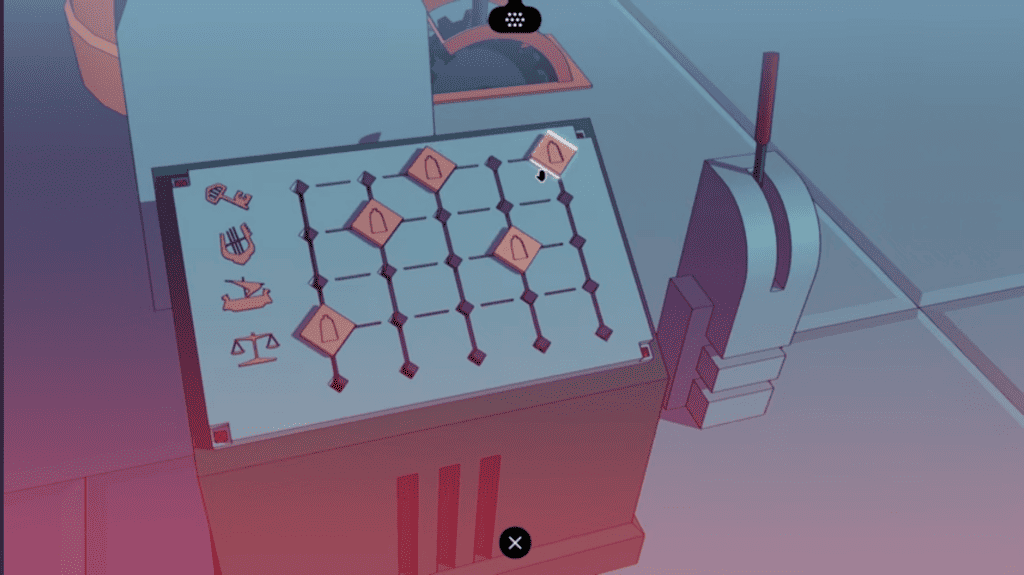
‘Balance, Instrument, Key, Vessel, Key’
Do this, and this will cause all of the Warriors to leave the area, and when you head to that stair set you previously climbed, you’ll see all the Warriors gathered for the ‘Call of Duty.’ I don’t see the appeal, really; I haven’t cared since Black Ops, to be honest.
Jokes aside, you can now leave the area, but just before you do, you’ll want to get the ‘Fashion Victim’ achievement, which is earned by returning to the Armory and putting on the wrong disguise after the call has been made.
After you’ve made this particular fashion faux pas, head to the area just beyond the Bells, and you’ll find an Elevator waiting that will lift you up and into the infinitely more colorful and cheery Gardens.

Plus, if you haven’t already had these trigger until now, you may have a couple of words still to learn, which will pop up as you are about to leave the area. These are the words for ‘Music,’ ‘Fear,’ and ‘Make/Create’. Thus cementing your mastery of the Warrior’s tongue.

Congrats, you’re now bilingual, and you’ve completed Chants of Sennaar’s second segment.
The Way of The Warrior
Phew. You made it through the rather hostile and uncomfortable Fortress. It’s an area that can be very confusing if you don’t know what order to go about things.
Plus, the stealth-based gameplay can be a real pain at times. However, with the help of this guide, you should be able to ring the Bells, ascend to the Garden, and get a pop of color back on your screen. As always, thanks for reading Indie Game Culture!
Games Like Chants of Sennaar
|
4.8
|
3.5
|
4.3
|
- Best Beginner Hades 2 Keepsakes - May 13, 2024
- 15 Beginner Tips For Hades 2 Newbies - May 9, 2024
- What’s New In Hades 2? - May 8, 2024


