If you’ve been following our Chants of Sennaar Guides to this point, you will have just mastered the Bard’s Language, and will now to waving goodbye to the pastel colors of The Gardens for the more muted and measured look and feel of The Laboratories.
While The Gardens can be a tough nut to crack thanks to the labyrinthian Sewers, The Laboratories probably offers the toughest puzzles in the game, asking players to do quite a lot of mental gymnastics, and even with all the Alchemist’s Glyphs unlocked, this can still be a tough one to solve.
However, we aim to ease that burden by offering a guide on how to master the art of Transmutation, and get you up to The Exiles in no time. So here is Indie Game Culture’s Chants of Sennaar Laboratories Guide.
Games Like Chants of Sennaar
|
4.8
|
3.5
|
4.3
|
All Chants of Sennaar Walkthroughs
Before you get started, just in case you’d find them useful, here are all the other Chants of Sennaar Guides that will help you through each portion of the game and get you to the top of The Tower:
- Chants of Sennaar Abbey Guide
- Chants of Sennaar Fortress Guide
- Chants of Sennaar Gardens Guide
- Chants of Sennaar Exiles Guide
Chants of Sennaar Laboratories Full Walkthrough
There Be Monsters
We begin at the other side of The Compass Puzzle from the last guide. From here, we can climb the steps to progress, but immediately, there is an eerie feeling that we are not alone.
Continue on, and you’ll be ambushed by a Xenomorph-looking monster, but the good news is, as long as you’re not in complete darkness, they won’t be able to get to you.
So, to make it through this next segment, you’ll need to use the light to your benefit and keep the Monster at bay. This is done in the first room by using a lever to create a clear path to the next room.
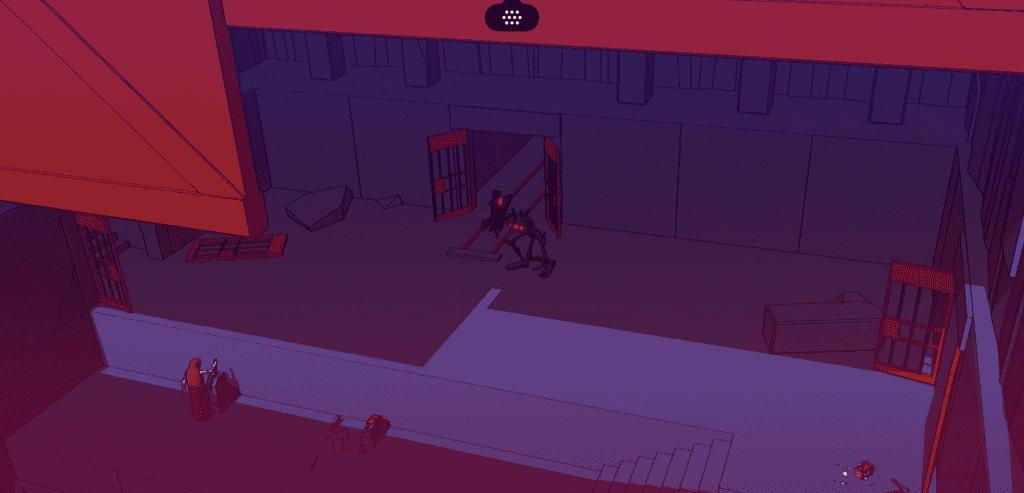
This will take you to a new area where you will need to engage with the stealth mechanics again, but thankfully, this is the last time in the entire game.
You’ll want to make your way around the perimeter of the rock wall sections, moving clockwise and avoiding the Monster’s patrols.
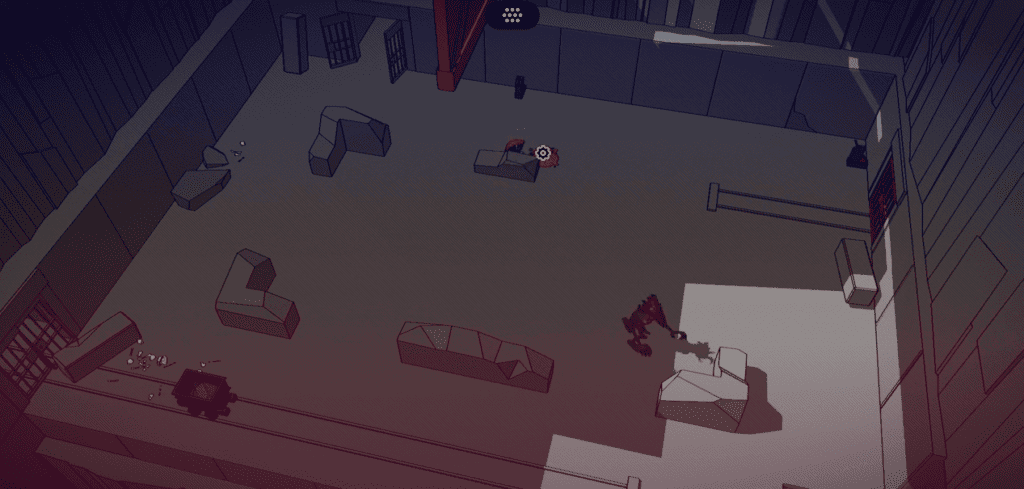
Then, when you get to the little orange pile of rubble, you’ll want to toss a stone at the Mine Cart. This will lure the Monster over, and in this small window, you can pull the lever behind you to create a patch of light near the door to your right. The Monster will immediately react, so run as soon as you pull the Lever.
After this, run up the path to the right, and you’ll see The Monster bounding down the hall at speed. Push the Mine Cart beside you, and this will reveal a Lever. Then pull it, and this will lock the Monster away for good.
This will lead you onto an area with an Elevator to take you up to the Laboratories proper, but before you do, head into the cave ahead, and you’ll find a Teleporter/Portal, and a tablet to help you translate the first words of the Alchemist’s Language, using the Bard’s Language as a guide.
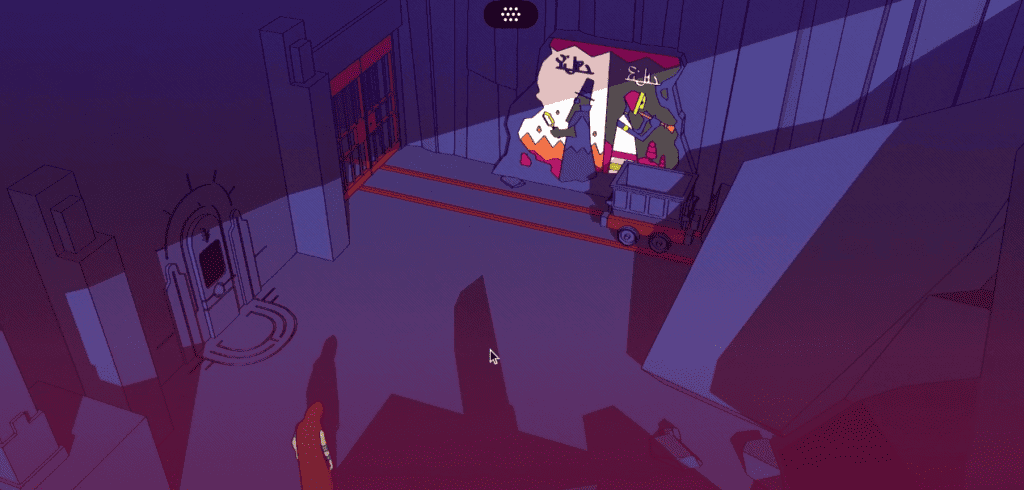
This will reveal the words ‘Me,’ ‘You,’ ‘Plural,’ Find,’ and ‘Seek/Want.’
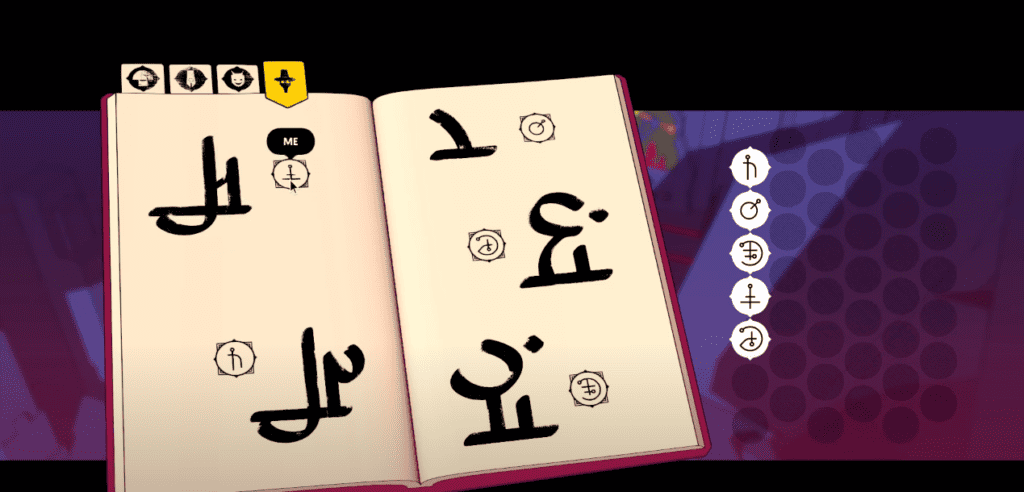
You can now head out to the Elevator again, and you’ll need to interact with the control panel to get it going. You’ll need to do certain actions in a particular order, and this will essentially teach the player how to count to Five in the Alchemist Language. The Order is as follows:
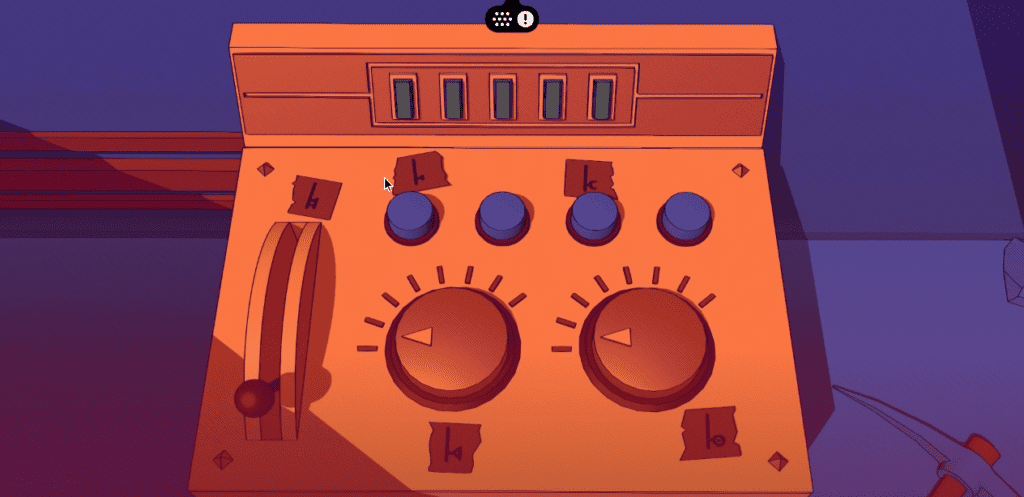
- First Blue Button
- Lever
- First Dial
- Third Blue Button
- Second Dial
This will teach you what Glyphs correspond with each number, and you can then input the Glyphs for the numbers ‘One,’ ‘Two,’ ‘Three,’ ‘Four,’ and ‘Five.’
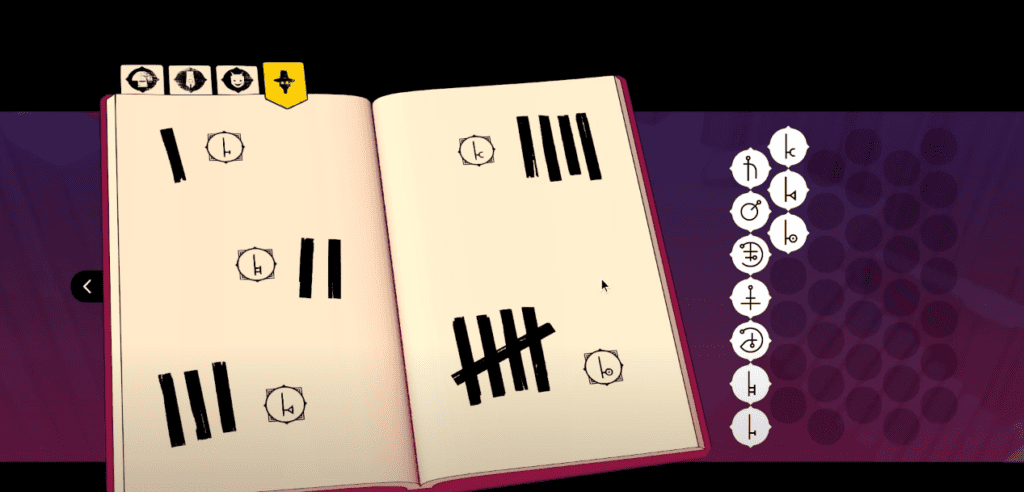
Once you have completed this task, you are free to ride the elevator to The Laboratories and meet The Alchemists working up above.
Acquiring Booksmarts
You will now find yourself in the heart of discovery amongst intellectuals. There isn’t really a set way to explore The Laboratories, and the only thing you need to do initially, is walk around, talk to everyone, and get your bearings.
But to stop you from doubling back on yourself or missing anything important, here is the order of exploration we would propose.
Where do you go if you want to learn something? Yes, the internet, but before that, people had to go to the Library and read a book. I know, barbaric, right?
But that’s exactly what we need to do here, too. You’ll want to head left from the elevator, and this will bring you down to the Mining Area. Read the Glyphs and explore, but don’t get in the Mine Cart; we can deal with that later.
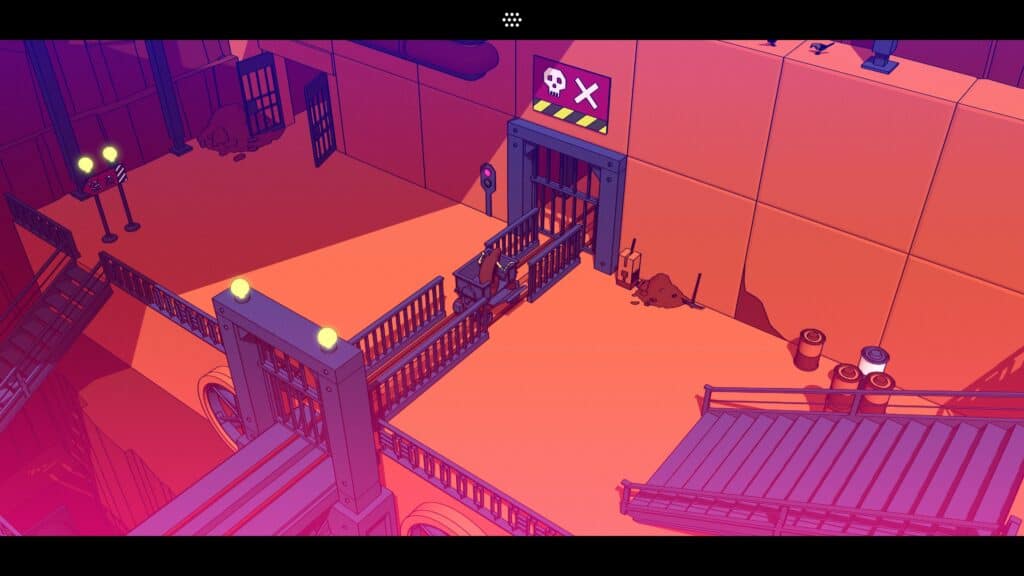
Head out the far door and then up the stairwell, and you’ll arrive on the ground floor of The Library. You’ll want to take the time to read all the notes laying around and talk to everyone in the building. This will give you some understanding of the items you need to find, and the role Transmutation plays in this community.
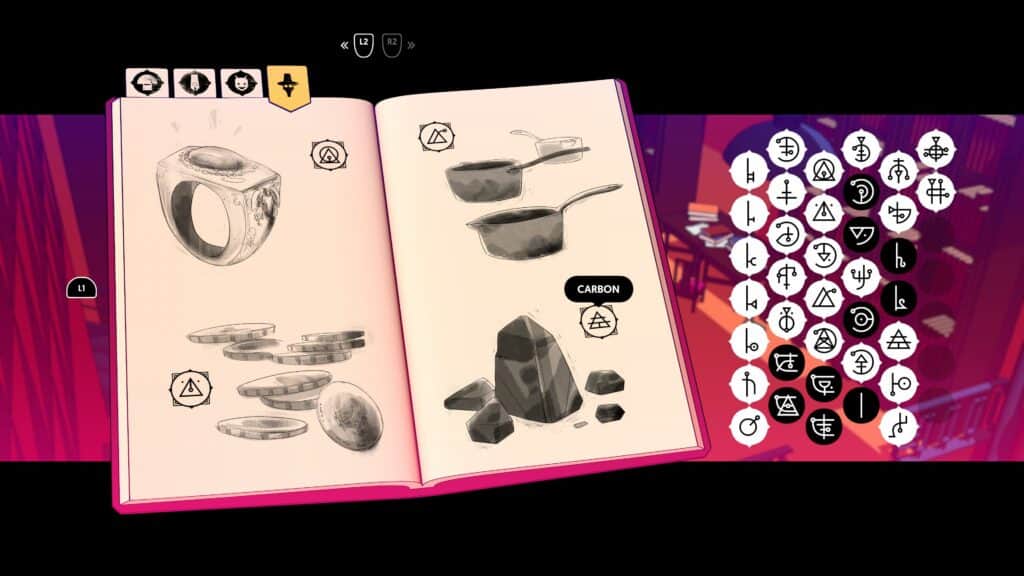
The main things you’ll want to take note of here are the things you find in each glass display case, specifically making note of what they are made of.
Once you look at each of these Display Cases, you’ll be allowed to input the Glyphs in your Journal for ‘Gold,’ ‘Silver,’ ‘Copper,’ and ‘Carbon.’
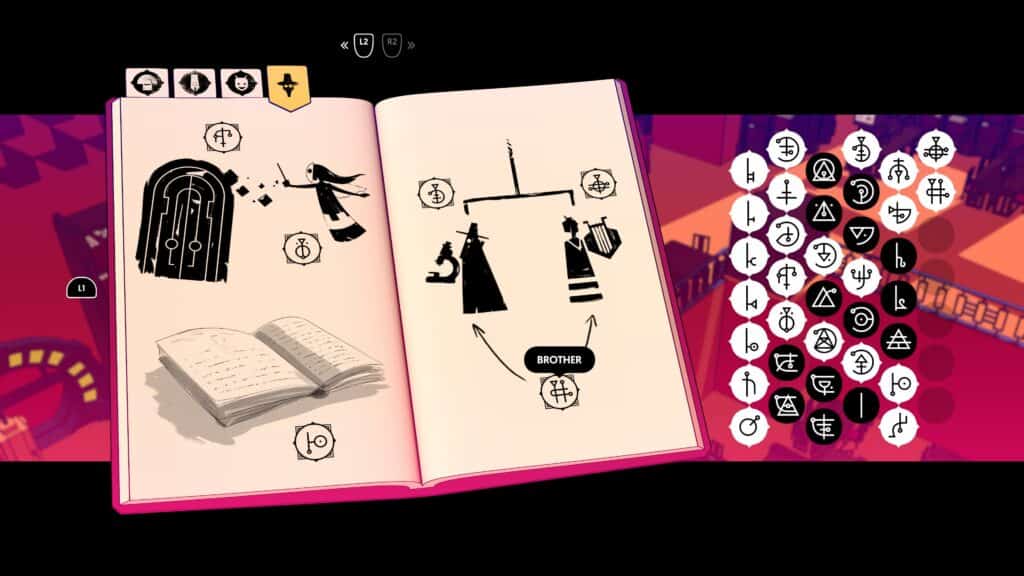
Plus, you’ll want to look at the Mural on the top floor, as this will give you the context for Glyphs translating to ‘Door,’ ‘Fairy,’ ‘Book,’ ‘Alchemist,’ ‘Brother,’ and ‘Bard.’
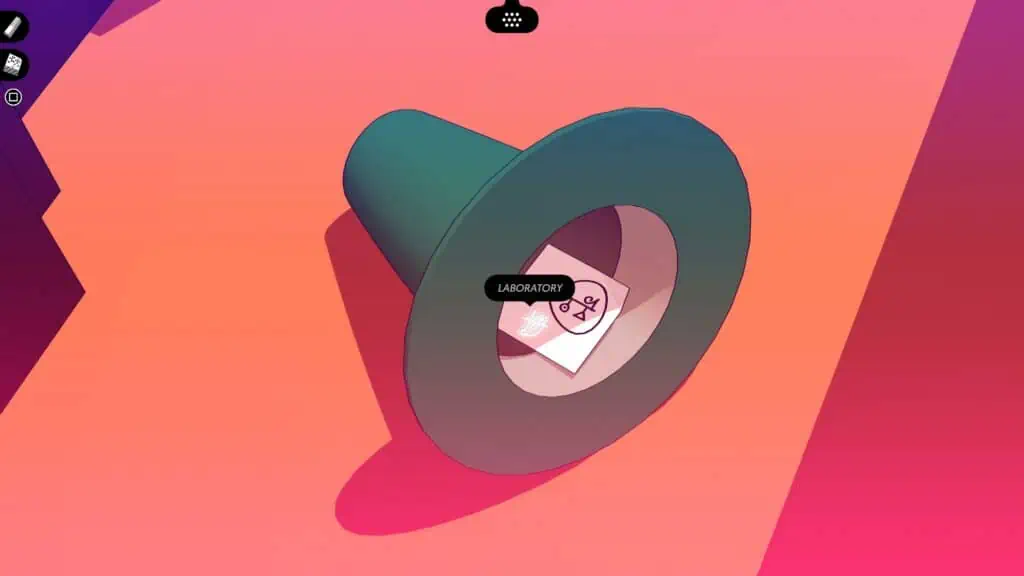
Also, be sure to look on the floor of the room where you find Carbon, as inside a Hat, you will find a scrap of paper that will hold the key to deciphering a puzzle later.
Head out the nearest door, and you’ll find another Portal/Teleporter. Then, head to the front of The Library and out the nearest door; this will take you back to the Elevator as we now look to explore The Laboratories.
Doing Your Research
From this area, you’ll now want to head right, and you’ll immediately come to an area where Alchemists are locked out of their Refectory.
Even smarty-pants have to eat, it seems. You need to wait around for the Lunch Bell to ring, and that happens at 4 O’clock. If it’s way off, it’s best to push ahead and loop back to this part, but for the sake of convenience, let’s say you waited and the bell just rang.
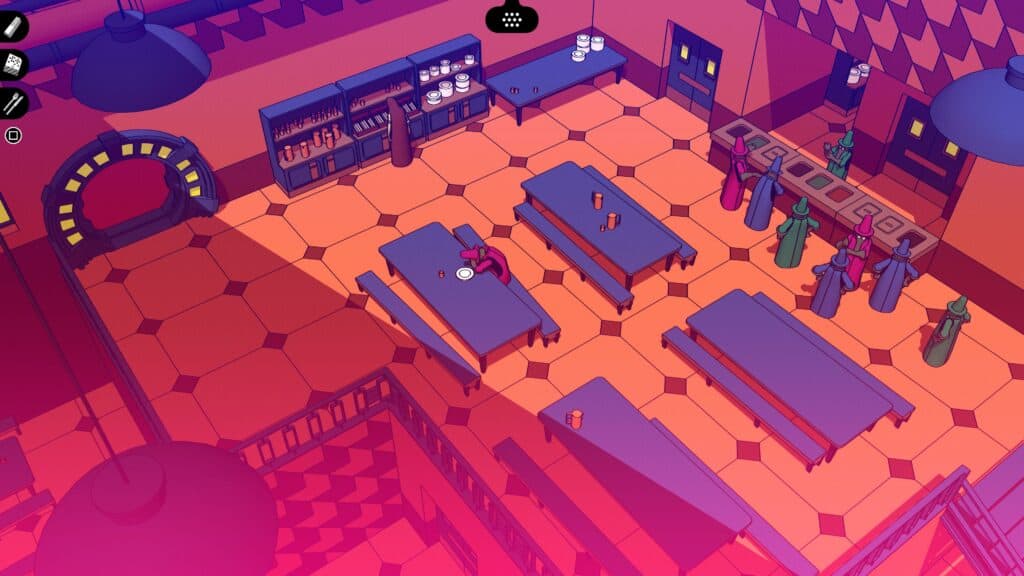
You can now enter the Refectory, and in the back, you’ll see an area with lots of Silver Cutlery. You’ll want to grab this, as it will be useful later.
After that, there’s nothing all that exciting about the Refectory, so head down the stairs on the right, and this will take you to a stairwell. Descend, and you’ll end up outside the inaccessible Laboratory 3.
When you get to this area, you will have visited all the main sectors of this portion of the Tower, and you’ll be able to fill in the Glyphs for ‘Library,’ ‘Laboratory,’ ‘Refectory,’ and ‘Mines.’
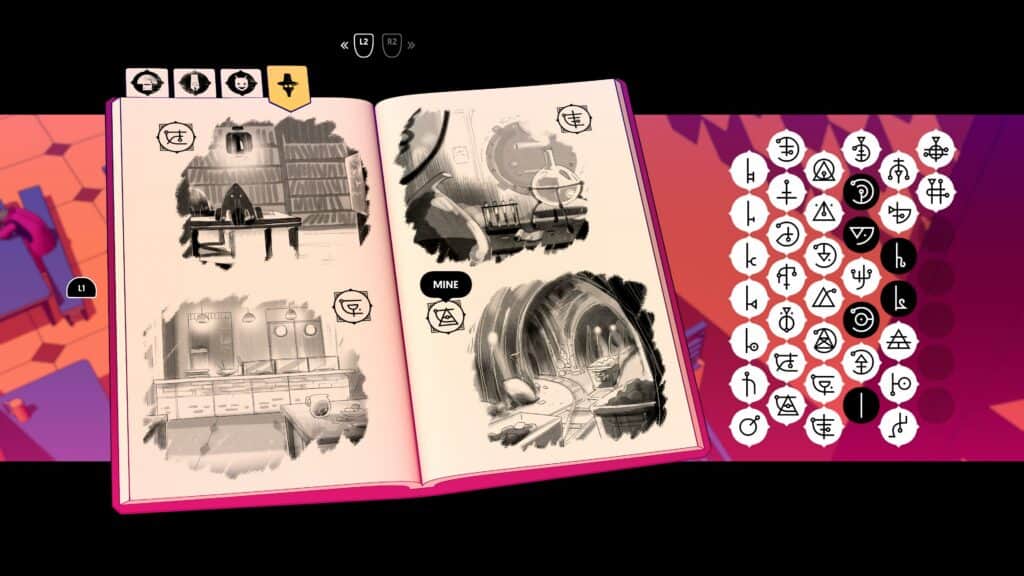
Once that’s done, turn your attention to the Laboratory, and be sure to look around and learn whatever Glyphs you can from the machines within.
But for now, this is largely unimportant, so head down the stairs, and this should take you to an area where you’ll see some crude artwork on the wall depicting a Monster and Fire. Be sure to look at this and then keep heading forward.
This will take you down to Laboratories One and Two. Be sure to speak to the Alchemists and look at everything that is interactable in each room. If you do, you should get a prompt to fill in the Glyphs for ‘Monster,’ ‘Formula,’ Transform/Transmutation,’ and ‘Fear.’
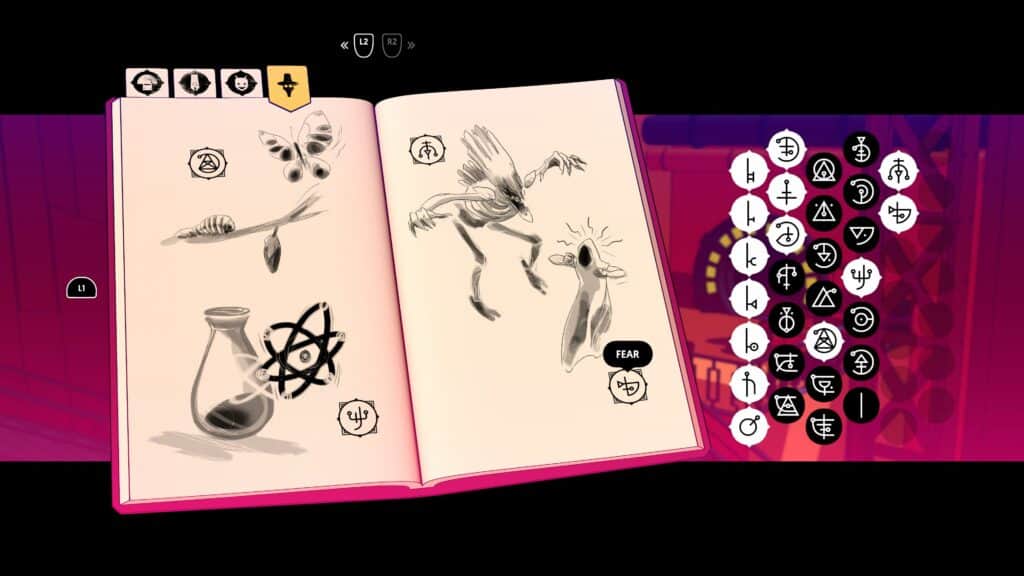
With all of these areas explored, what you have done is gathered nearly all the context you need to make a good go of cracking this puzzle, but there is one area you haven’t visited. So return to The Mines.
Mining For Gold
Remember that Mine Cart we told you to ignore earlier. Well, this time, pull the nearby Lever and hop in the thing. This will take you to a new area where you will need to travel from left to right, avoiding falling rocks as they tumble down.
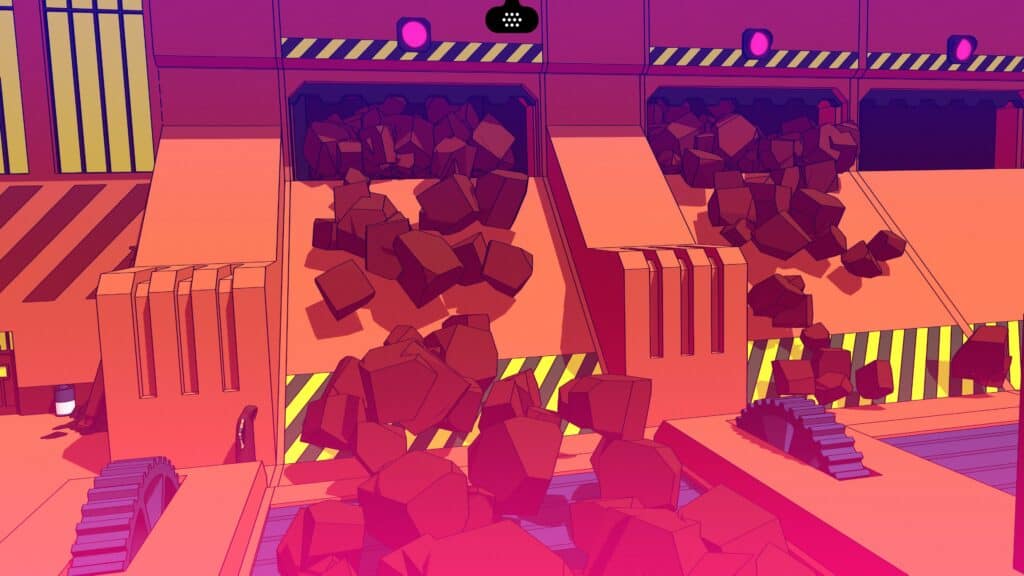
It’s a simple matter of timing your movement, which you should have no issues with, but here’s a small tip. The hitboxes on the Rocks aren’t great, so before moving, give it just an extra half-second and then move.
If you are successful, head up the stairs at the other end, and you’ll come across a Control Panel with a number of pipes. What you’ll want to do here is as follows:
- Turn the Dial on the left
- Insert the Silver Cutlery into The Machine
- Pump the Lever until the notch hits the Red Section
- Press the Blue Button
If you do this correctly, you will have made a Silver Ingot, which will be used for the Final Puzzle later. Plus, you’ll now have the context to enter the Glyphs for ‘Death,’ ‘Open,’ and ‘Close.’
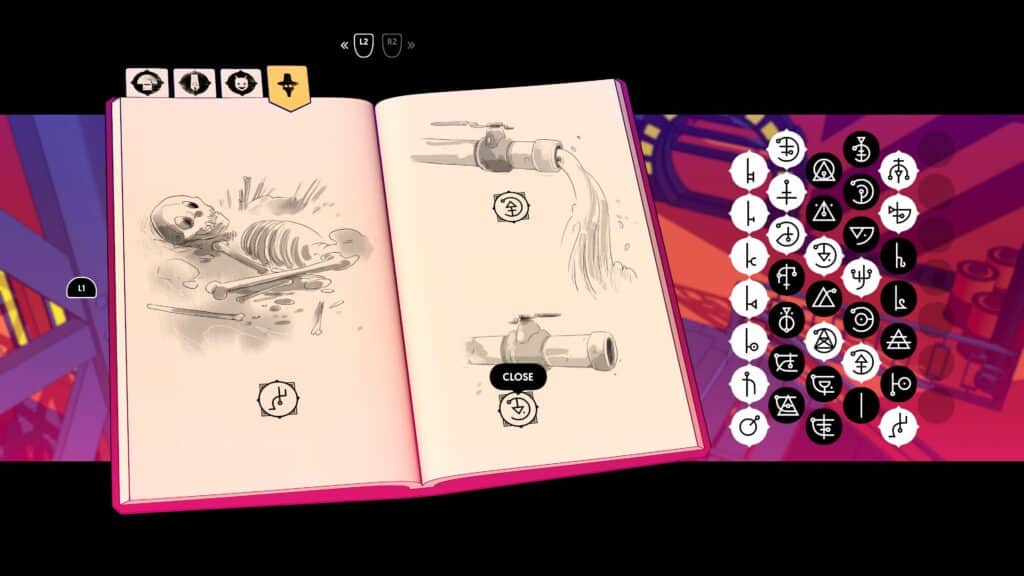
Then, in the next room, you’ll find a wealth of Gold Ingots just begging to be stolen. But we aren’t money-crazy bank robbers, so you need only take one.
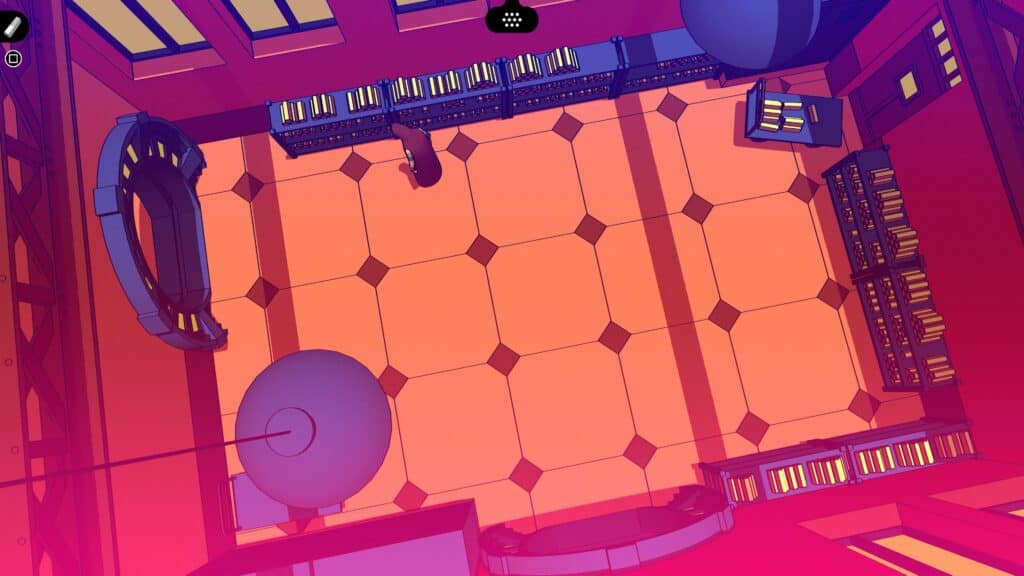
Head forward again, and in the next room, you’ll find a series of Lockers. Most of these have nothing of value, but you’ll find a set of Keycards that will allow you to access the rest of The Mines.
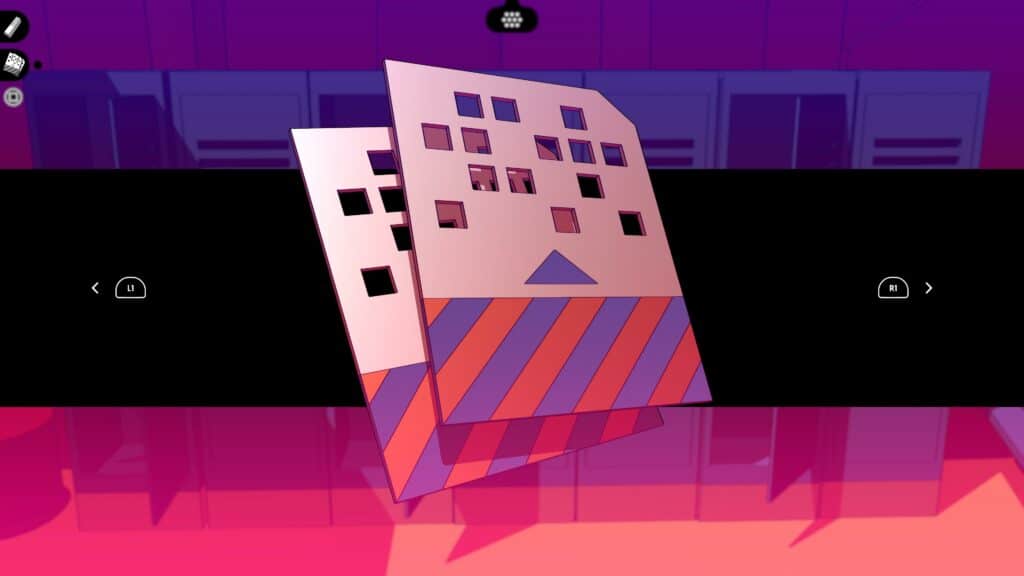
Head out, and this will take you back in a loop to the Mine Cart you boarded earlier. Head past that and down the stairs on the left, and use the Keycard on the Panel to access The Silver Mines.
Here, you’ll find a man trapped behind a Mine Cart. So you’ll want to help him, and when you do, you’ll reveal a Lighter that was sitting nearby. Which can now be used to access the Dark Room near the Artwork depicting a Monster and Fire from before.
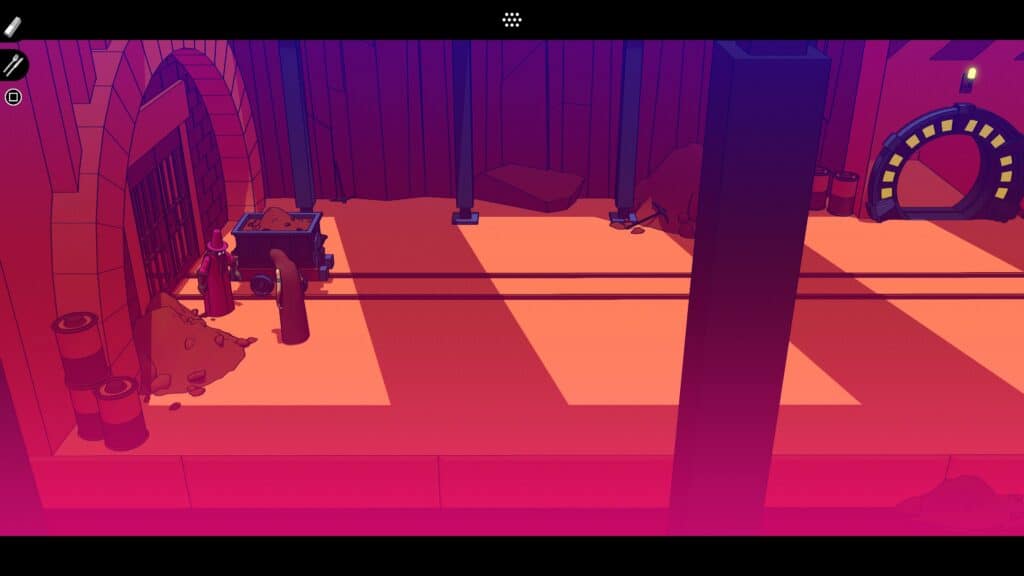
Just before you do though, head left and down the stairs of The Silver Mines, and you’ll find an area with a Portal/Teleporter, and a Tablet, which will allow you to translate more of the Alchemist’s Language. This will reveal the Glyphs for ‘Warrior,’ ‘Not,’ and ‘Plant.’
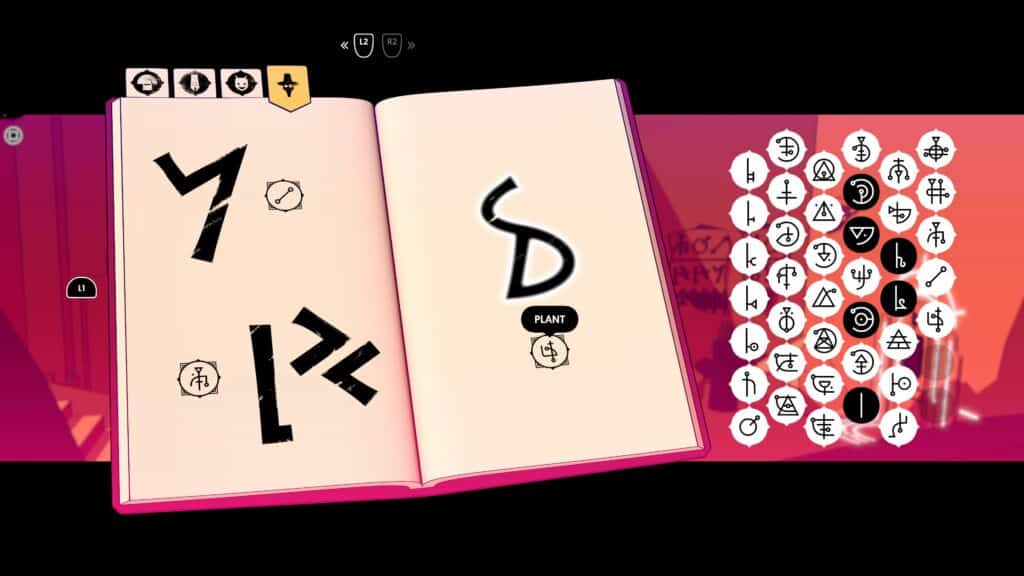
Then on the way, you’ll want to revisit the Machine in the area above Laboratory 3. If you take a look at the Scrap of Paper you found in The Hat earlier, you’ll now be able to put two and two together and understand that this represents a larger number beyond 0-9 within the Alchemist’s Language, and you need to use the Machine to replicate that.
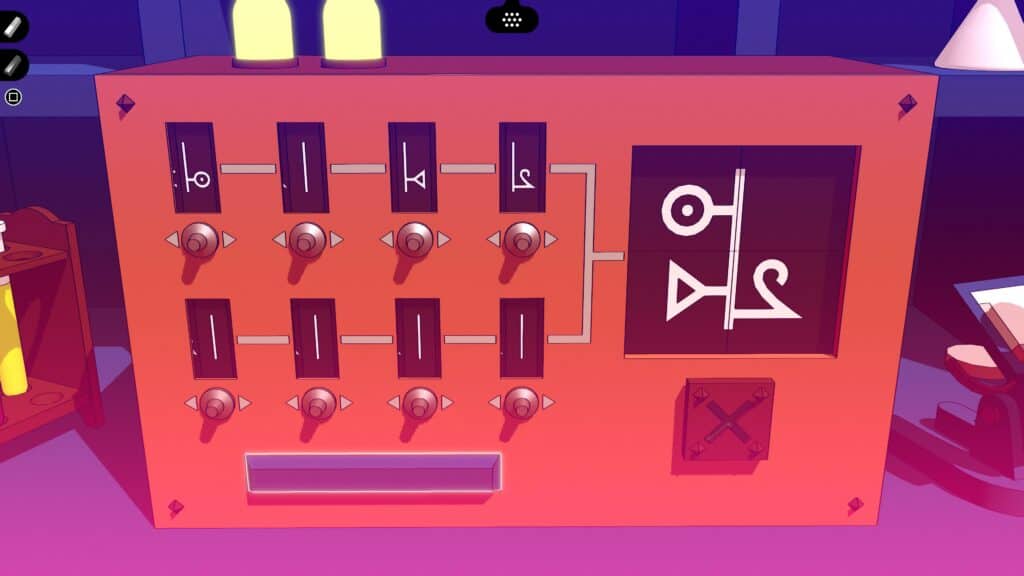
If you use the Glyph shown to backward-engineer the 4-digit code correctly, you should come up with the code 5039. Remember this code, as you’ll need it in a second.
Also, now that you’ve seen all the numbers for 0-9, you’ll now be able to fill in the Glyphs for the numbers ‘Zero,’ ‘Six,’ ‘Seven,’ Eight,’ and ‘Nine.’
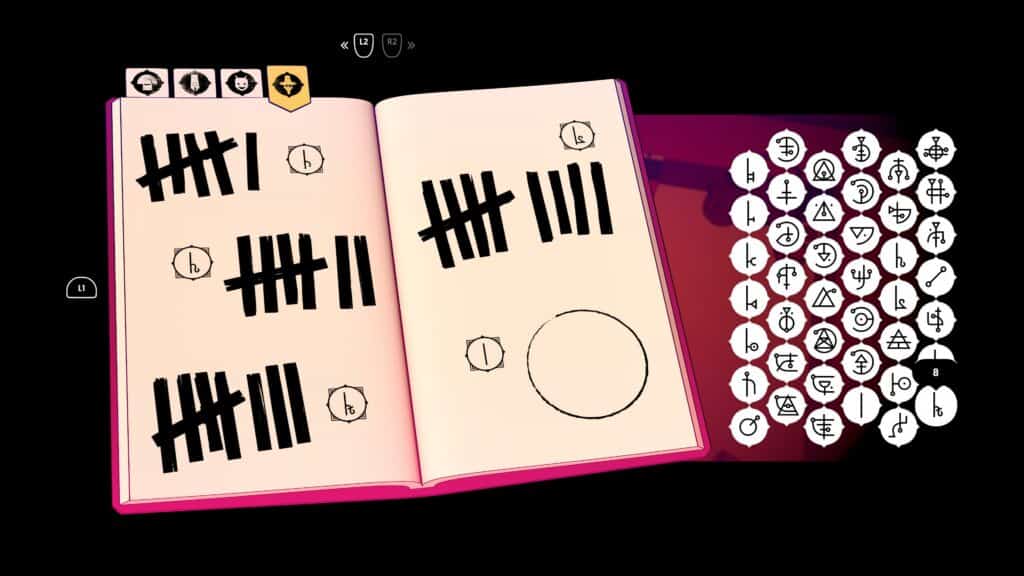
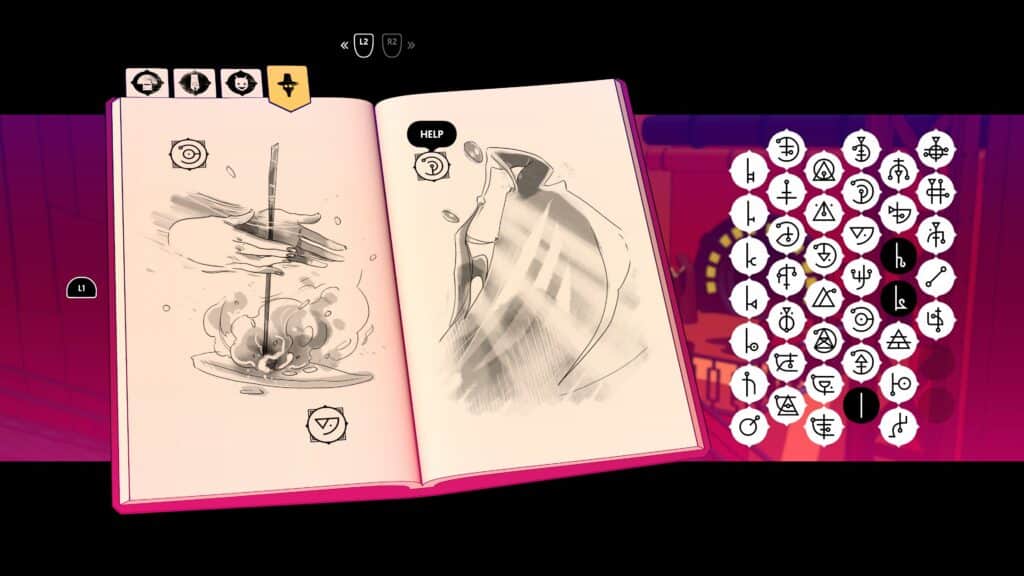
Now, head back to the Fire Monster Artwork. You’ll see a Lantern, which you can now set alight with the Lighter, and this will allow you to enter the nearby room. Plus, you’ll unlock the last Journal page that will allow you to input the Glyphs for ‘Fire,’ ‘Help,’ and ‘Make.’ Congrats, you’re now fluent in Alchemist.
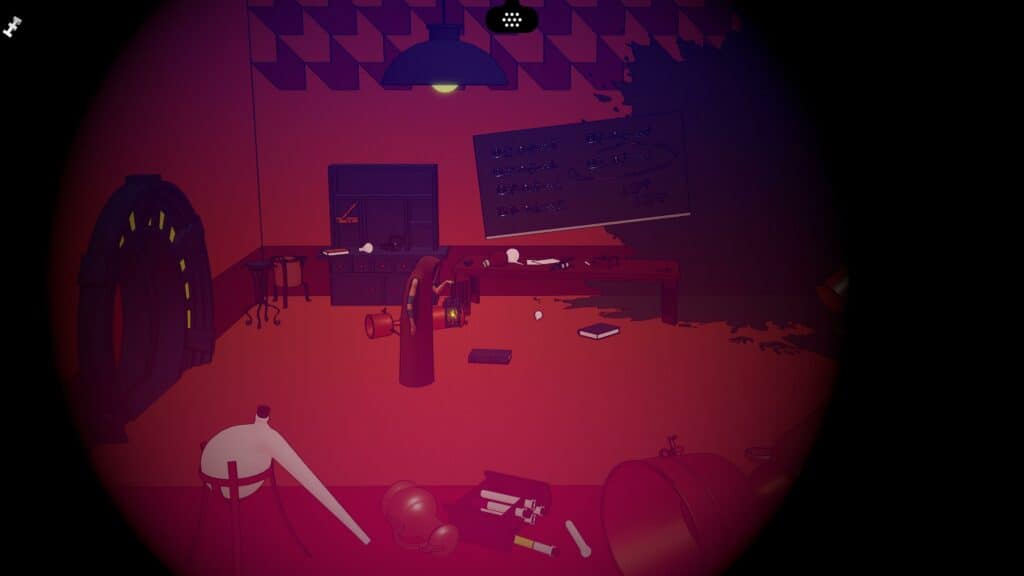
Now, head Inside, and you’ll find a Keypad that needs a code. So enter the code 5039, and you’ll be able to enter. Inside this room is the formula for The Final Puzzle. Which means it’s time to Transmute!
Becoming An Alchemist
Reading the Board in Laboratory 3 will save an entry in your Journal of The Formula, which showcases various elements and some figures alongside them. With this info, you need to return to the area above Laboratory 3, where you cracked the code.
You can then use this Machine to figure out what each number represented in the formula is, but to save you time and effort; the numbers are the following:
- 1405
- 0812
- 0046
Once you know the numbers within The Formula, you’ll want to take the Elevator up, and head to the Transmutation Room, which is the room wedged between The Refectory and The Giant Blue Door. This is where all of this fact-finding pays dividends.
Firstly, you’ll want to use the Machine on the left and input the Silver Ingot and the Gold Ingot to make sure all the bars are maxed out on the display.
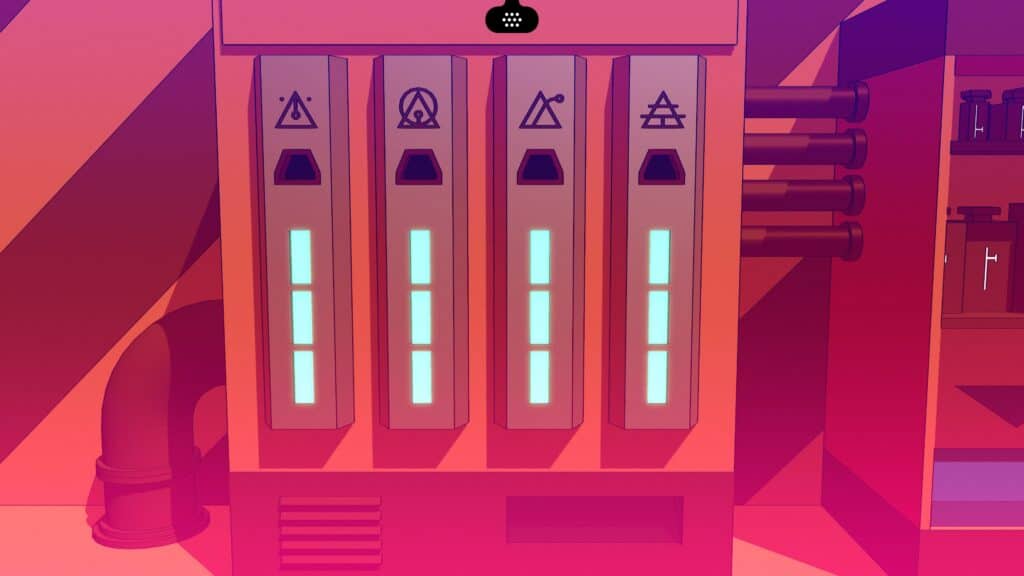
Then using the Machine in the middle, you’ll want to follow the formula, which essentially means picking the elements as they are listed in your Journal in order, and then selecting weights that correspond with the figure listed.
This can be a little hard to wrap your head around, so here is a rundown of each:
Silver – Press the Second Button, Then use the Entire Bottom Shelf plus one 5lb weight
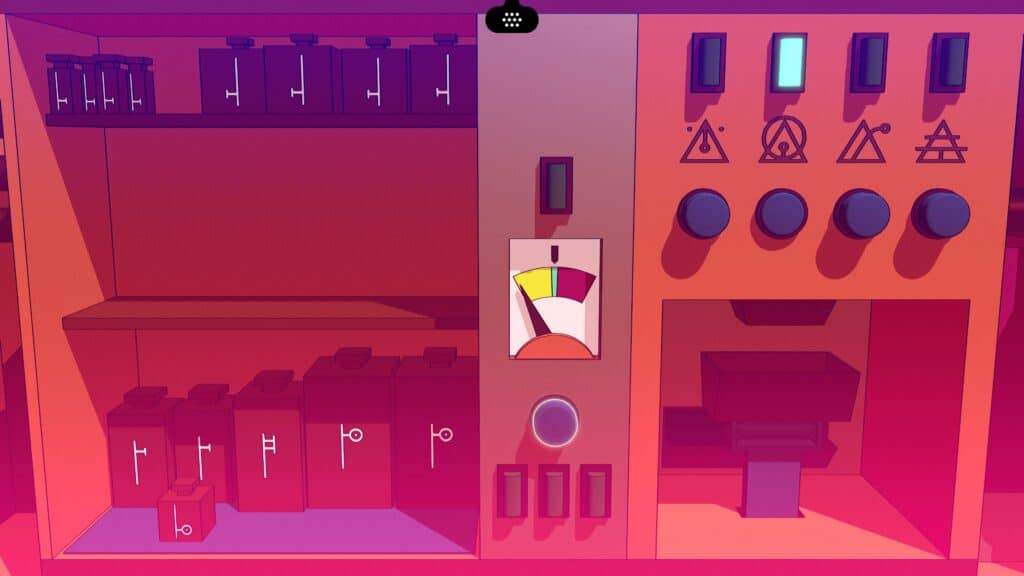
Gold – Press the First Button, then one 500lb, one 200lb, one 100lb, one 10lb, and two 1lb weights
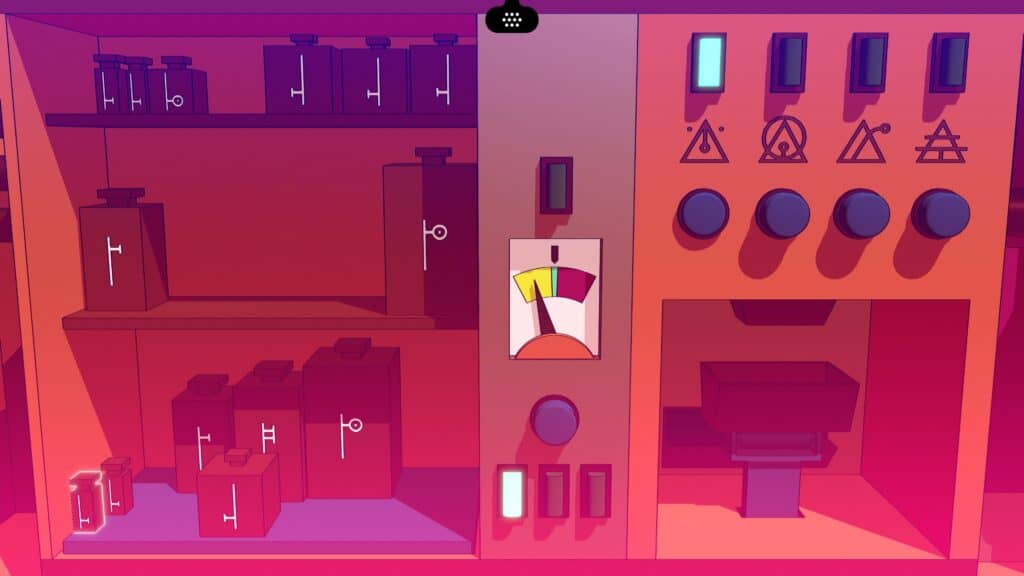
Carbon – Press the Fourth Button, then use four 10lb, one 5lb, and one 1lb weight
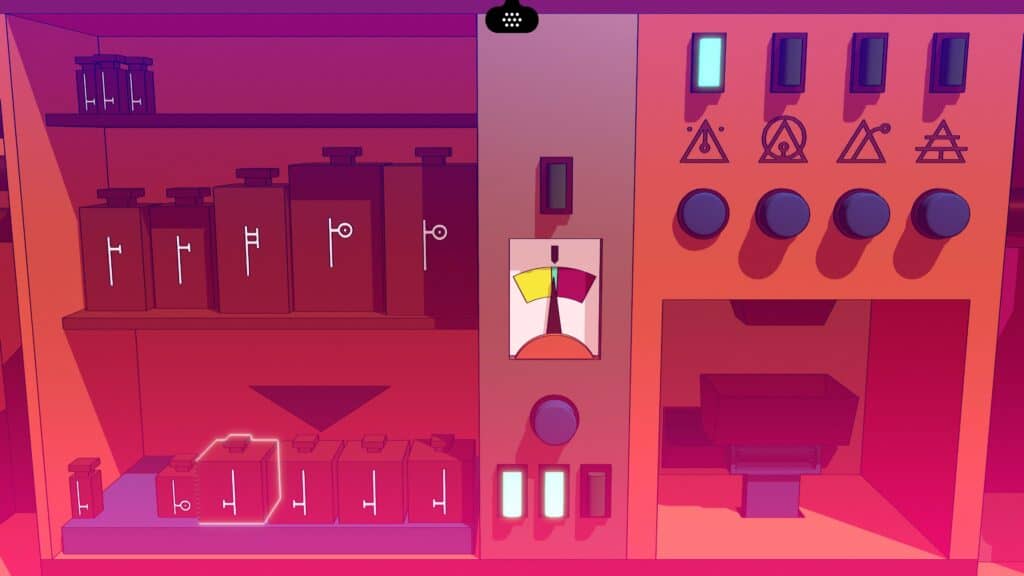
Once complete, use the machine on the far right and press the Blue Button. This will create a Key for the door just up the stairs from this room, and if Transmuted correctly, this will open the door and allow you to ascend to Chants of Sennaar’s final area, The Exiles. Well done!
I’m Something Of A Scientist Myself
So there you have it, the formula needed to get through The Laboratories and rise to Chants of Sennaar’s final area. Those clever scientists couldn’t seem to crack the code, but you made it look easy!
I hope that this guide has helped you overcome this tricky hurdle, and as always, thanks for reading Indie Game Culture!
Games Like Chants of Sennaar
|
4.8
|
3.5
|
4.3
|
- Best Beginner Hades 2 Keepsakes - May 13, 2024
- 15 Beginner Tips For Hades 2 Newbies - May 9, 2024
- What’s New In Hades 2? - May 8, 2024

