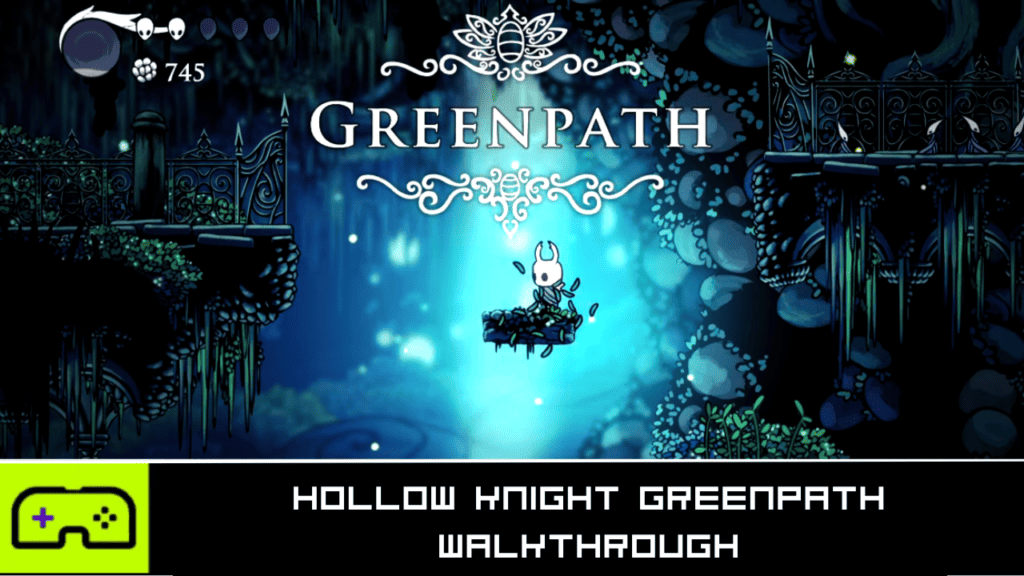
Okay, so now that we have taken out the Gruz Mother and rescued Sly, it’s time to leave the Forgotten Crossroads for a while and head to a new area of the map known as Greenpath.
Thanks to your Vengeful Spirit Spell, you’ll now be able to access this new area, but beware as this new location is filled with tougher enemies, more environmental hazards, and plays host to a tough boss who may or may not be the protagonist of the upcoming Hollow Knight sequel, Silksong.
It’s a tough area to explore, and unless you proceed with caution, you’ll end up corroding in a pool of acid, or being killed by a sneaky enemy masquerading as a shrub. But we are here to help, so here is Indie Game Culture’s Hollow Knight Full Walkthrough – Greenpath.
Immerse yourself in the hauntingly beautiful world of "Hollow Knight," where every step unveils secrets and challenges waiting to be conquered. With its captivating art style and intricate gameplay, embark on an epic journey filled with mystery, danger, and discovery unlike any other.
Hollow Knight Full Walkthrough – Greenpath
Greenpath Location & Early Moments

To begin your expedition of Greenpath, you’ll need to actually find the place. To do this, head back to the long vertical room near Dirtmouth, where you access the Grubfather and head about two-thirds of the way down.
On the left-hand side, you’ll find a pathway that is bursting with foliage. This is the path you’ll want to take toward Greenpath.

If you had come here earlier, this area would have been inaccessible due to the Elder Baldur blocking the path, but you can now take them down by using your Vengeful Spirit ability. Remember, if you run out of SOUL, just take out the smaller Baldur’s to regain SOUL. Once you take out the Elder Baldur, head inside.

Head through this opening area of Greenpath and you’ll be introduced to a few of the new enemy variants on offer in this area. You’ll find a Mosscreep, a Beetle enemy that hides in bushes to catch you off guard.
Then you’ll also encounter a Volatile Mosskin, an enemy that will spew harmful gas when attacked and leave behind an explosive when killed. Be sure to take care when taking on your first one of these.

Another tip when exploring this area. When you uncover a Geo Cache or a hidden area, be sure to look out for movement below your feet, as a Fool Eater may be waiting to snap at you from below. This is a cruel trick that happens more than once in Greenpath.

After you make it through the opening few screens, you will then come to an area where you can take platforms to an area up above, and up there, you will find your first bench in Greenpath. So take a quick rest, and then get moving again.
Tracking Hornet
As you continue exploring Greenpath, you’ll encounter Hornet for the first time, who just so happens to be the boss of this area. The best way to think about these encounters is that if you see them, then you are on the right track, as it can be quite easy to get lost or sidetracked in Greenpath.

Then, just below this area, you will encounter your first Squit, which is like a Vengefly, but it targets the player with a piercing attack. It’s guarding a Small Geo Cache so be sure to help yourself to that too.
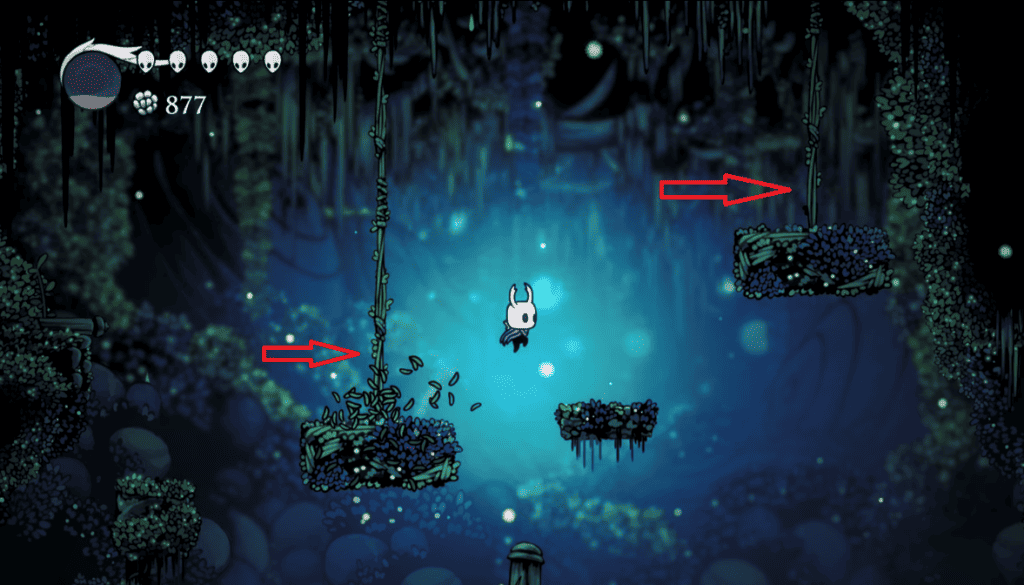
Work your way down and into the next area on the right. When you enter, you’ll notice some platforms on Hanging Vines. Being the dumbass that I am, I wasn’t immediately aware that you needed to slice these to create a way forward. So chop them down, and don’t waste time backtracking like I did.
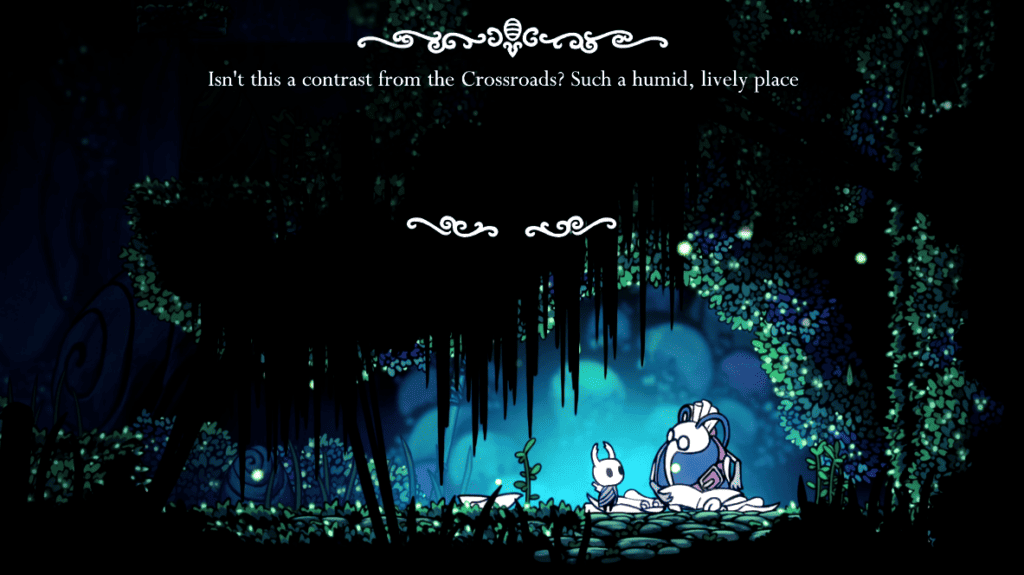
Continue forward, chopping down platforms on vines as you go, and eventually, you will cut one down that will allow you to traverse over some spikes. But before you head that way, continue right, and in this area, you will find Cornifer, who will sell you a map of Greenpath for 60 Geo.
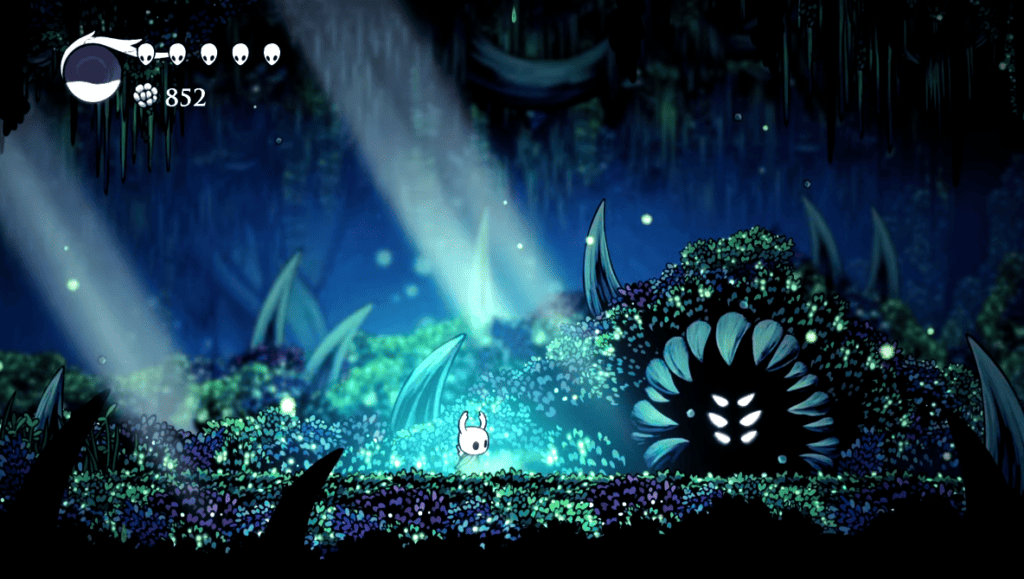
After you grab this Map, head down and defeat the Mosskin as you go. You can even use the falling Vine Platforms as a weapon in a pinch. You’ll want to go as far right along this path as you can do, and eventually, you’ll enter a clearing where you will find The Hunter.
This mysterious character will give you the Hunter’s Journal, an in-menu aid that allows you to learn more about the enemies that you defeat on your travels. Which can be pretty useful for both gameplay and lore purposes.
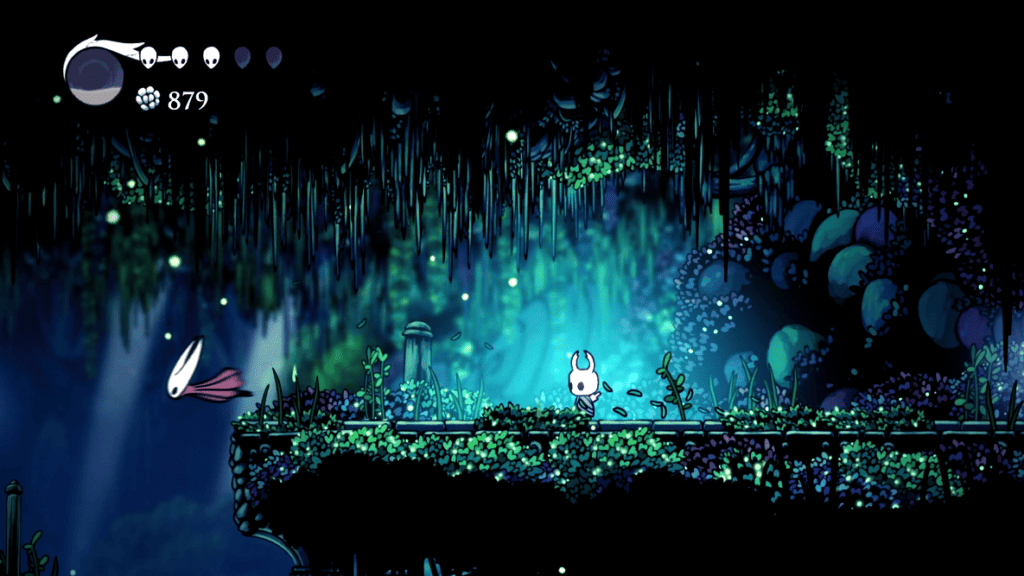
From here, head on down, and release the Grub you encounter on a ledge to the right. Then, continuing to the next room on the left, you’ll encounter Hornet for the second time, along with a new enemy variant known as Obbles, which shoot fireballs in an ‘X’ formation. They aren’t much of a threat, but it’s always best to take them out as they come close.

From this point where you spot Hornet, drop down into the path below and then make your way through a secret path to the right. Here, you will find your second Bench in Greenpath, and it will allow you to rest and update your map.
You can continue down this path to enter Fog Canyon or check out the Stone Sanctuary, but if you want an easier time, save that for later.
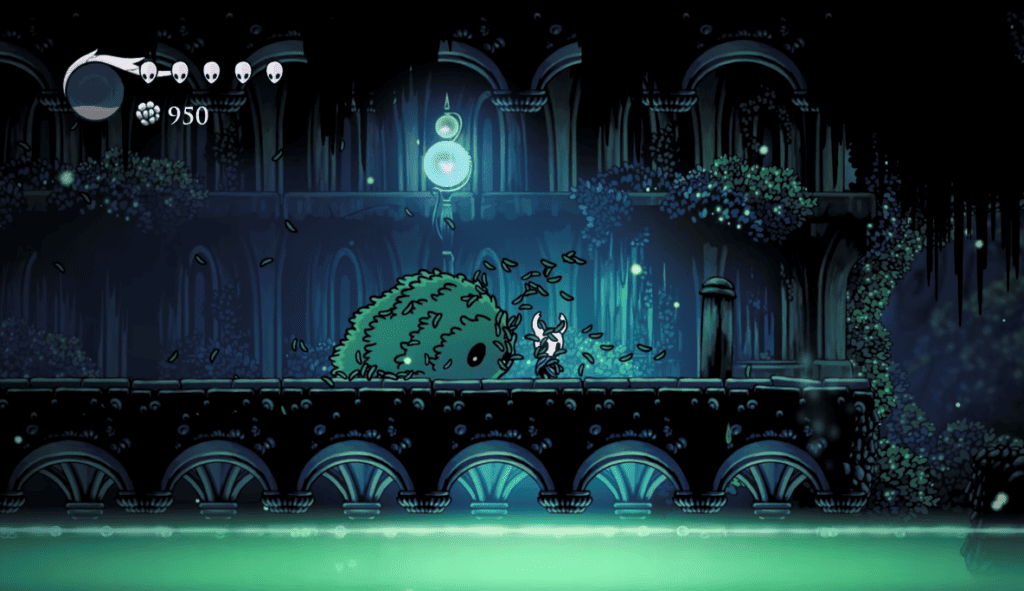
Work your way back to the room with the second Hornet encounter, and then continue left. In the room after this, you’ll encounter your first Moss Charger, which is a giant shrub that will charge at you without warning.
The best way to deal with these is to either platform over them and avoid fighting, or Pogo attacking them and then hitting them when their true form is revealed. At the end of this room, you’ll see Hornet again, and you should follow them.
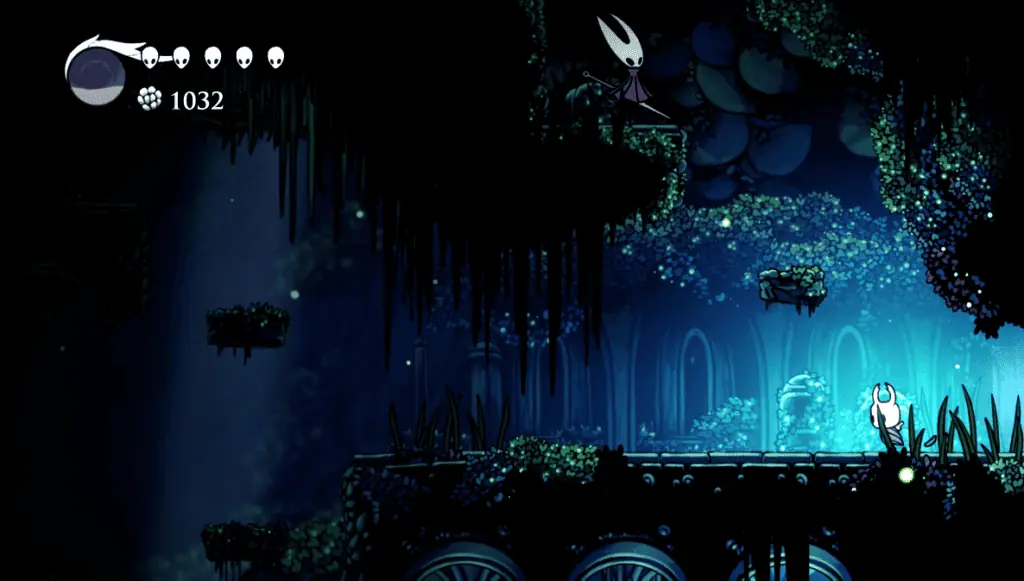
The next room will be full of Moss Chargers, so be on your guard. You could spend time fighting them, but honestly, it’s best just to hop over them and keep moving.
In the next room left, you’ll see Hornet once more, and they’ll move up the platforms overhead. You can explore to the left and get a Geo Cache, but you don’t miss much if you just keep moving.

About halfway up the next room filled with Mosscreeps and Oddles, you’ll find a Toll barrier, which will allow you to unlock an area with a Bench for 50 Geo. Which is a bargain, so take the game up on its offer and rest. Then continue to climb up this screen.
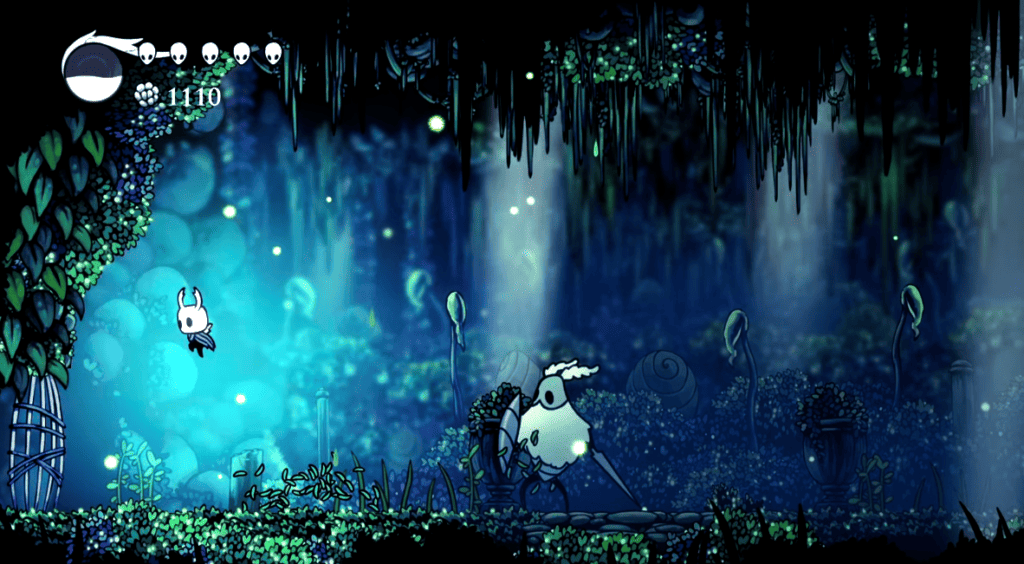
You can take a small diversion into an area with a Color Palette like The Forgotten Crossroads and find 2x Small Geo Caches guarded by a Fool Eater, and then return to the main path and ascend until you reach a mini-boss blocking the way forward.
This is a Moss Knight, and the best way to take them out is by attacking their Shield, backing off, letting them attack, and then getting a swift hit in. You’ll want to repeat this process and remain on the offensive because if you back off, they’ll pelt you with Moss Projectiles.
Rescuing Zote The Mighty
After defeating them, continue upward until you come across a Tiktik, and then make your way left. You’ll see a number of enemies native to The Forgotten Crossroads here, but up ahead on a raised platform, you’ll find a Mini-Boss in the process of eating The Mighty Zote. Attack it to save them, and this will begin the fight.
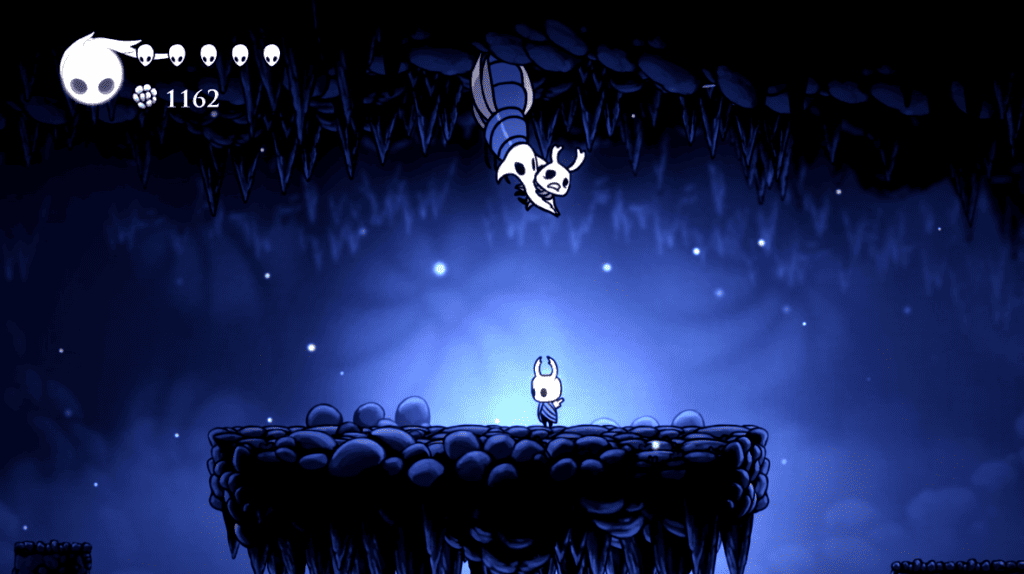
This Vengefly King has two attacks, one being a swoop attack moving from one side of the screen to the other, and the second being an ability to summon to Vengeflies.
The best way to win here is by taking out the Vengeflies as they spawn and using Pogo attacks and Vengeful Spirit to land hits when it comes in for a swoop.
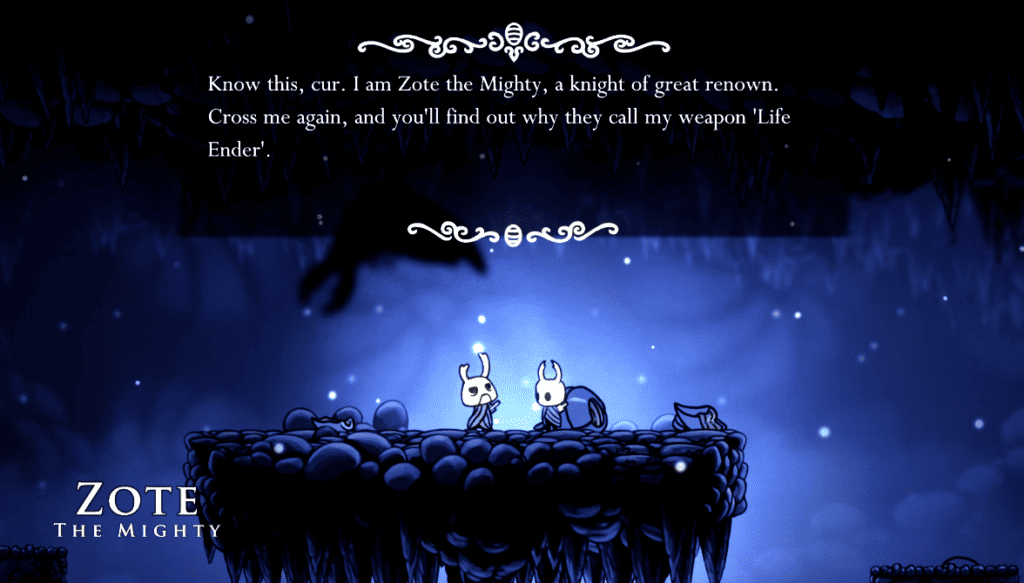
After you defeat this Mini-Boss, you can speak to Zote The Mighty, who is less than impressed that you saved him from ‘his prey.’ After you speak to him, he will appear in Dirthmouth when you return, so be sure to have a chat before you move on.
You can also double back on yourself to explore the area on the right and find 2x Small Geo Caches for your efforts, but the way forward is left of the fight with the Vengefly King.
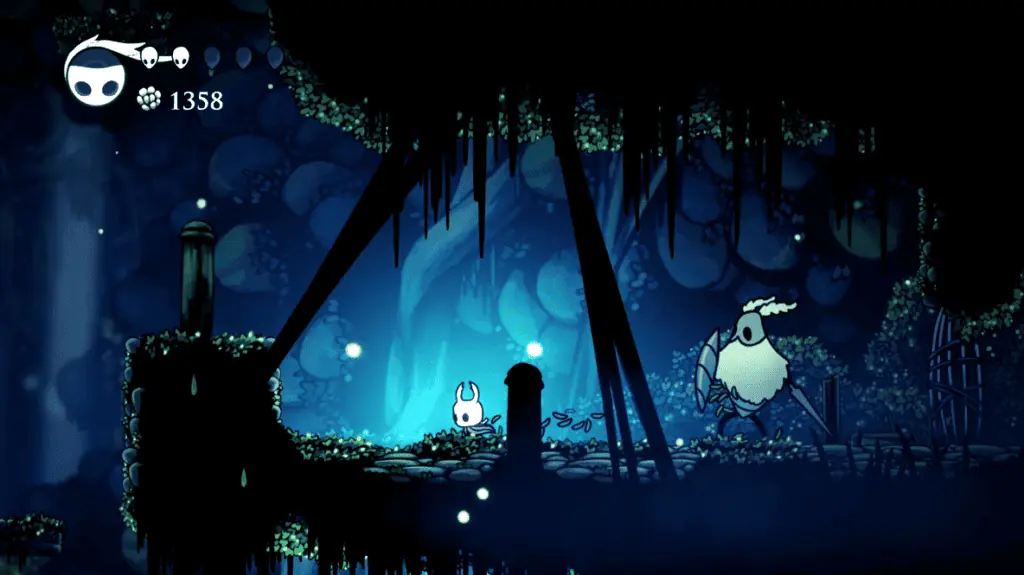
After you enter the area on the left, work your way right past the 2x Moss Chargers, and you’ll encounter a Moss Knight guarding a Grub, so take them out and free the little guy. There is also an area with two Large Geo Caches guarded by two more Moss Knights if you are feeling brave.

After exploring this area, you can then drop down a little further and you’ll be able to cut a vine to create a handy shortcut, and you’ll also find a path downward to the Greenpath Stag Station.
Here you can find a bench that will be a godsend if you need to repeat the upcoming Hornet Fight, and you can also unlock this station for Fast Travel for the measly price of 140 Geo.
After this, you’ll be in the prime position to fight with Hornet, as their battle arena is just above head, as shown on the map. So take a rest at the nearby Bench, compose yourself, and we can tackle the Hornet Boss Battle in the next guide!
Head-To-Head With Hornet
So there you have it, a handy guide to lead you through the perilous overgrowth that is Greenpath. I hope that this guide helped lead you to Hornet, and if you need help with the upcoming fight, then fear not, as we have a guide for that, too. Be sure to check it out, and as always, thank you for reading Indie Game Culture.
Immerse yourself in the hauntingly beautiful world of "Hollow Knight," where every step unveils secrets and challenges waiting to be conquered. With its captivating art style and intricate gameplay, embark on an epic journey filled with mystery, danger, and discovery unlike any other.
- Best Beginner Hades 2 Keepsakes - May 13, 2024
- 15 Beginner Tips For Hades 2 Newbies - May 9, 2024
- What’s New In Hades 2? - May 8, 2024

