I’m a huge fan of a time-loop game; whether it be Outer Wild’s pocket solar system, Deathloop’s Groundhog Day situation, or Minit’s micro-session approach, they tend to be fun romps where expert game design is there for all to see.
The same can be said of In Stars and Time, a masterful JRPG time-loop adventure that went a little under the radar in December 2023, as most games released in December do.
However, if you are not one of those that missed out, then congrats, because you have chosen to embark on a brilliant and fulfilling RPG extravaganza. One which I intend to help you through every step of the way.
We begin with the first act of the game as we get our bearings, meet the key characters, and eventually die. Mild spoilers, but it’s a time loop game; you must have known that already.
Without further delay, here is Indie Game Culture’s In Stars and Time Full Walkthrough for Act One.
Also See:
- In Stars and Time Full Walkthrough – The First Floor
- In Stars and Time Full Walkthrough – The Second Floor
- In Stars and Time Full Walkthrough – The Third Floor
- In Stars and Time Full Walkthrough – How To Beat The King
- In Stars And Time Full Walkthrough – Act Three
- In Stars And Time Full Walkthrough – The Final Loop
Games Like In Stars and Time
|
The First Loop
Meeting The Cast
Our journey begins as we awake in a field and are greeted by Mirabelle. She will tell us to come meet her in town, so do a big ol’ stretch and get going toward the town.
She will greet you there, and will task you with two things: making contact with all of your companions to inform them of the Sleepover in The Tower, and to make contact with The Change God in the middle of the town.
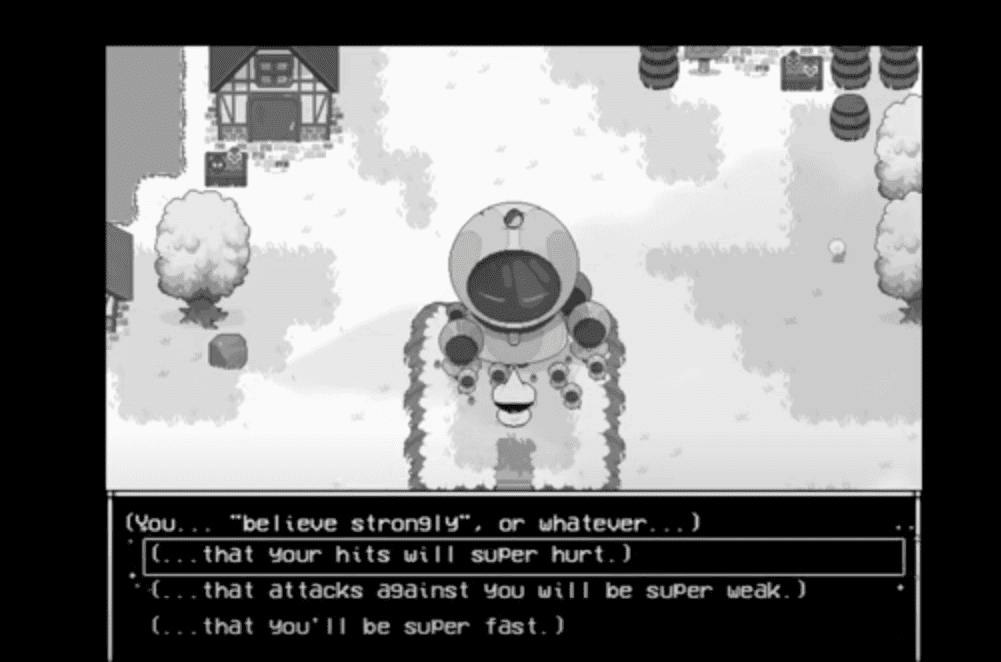
The Change God is the easiest thing to do first, as this is pretty much right in front of you after you finish chatting with Mirabelle. Simply interact with it, and it will allow you to ask for a change, which essentially equates to an Attack, Defense, or Speed buff. I chose an attack buff, but you feel free to choose whatever.
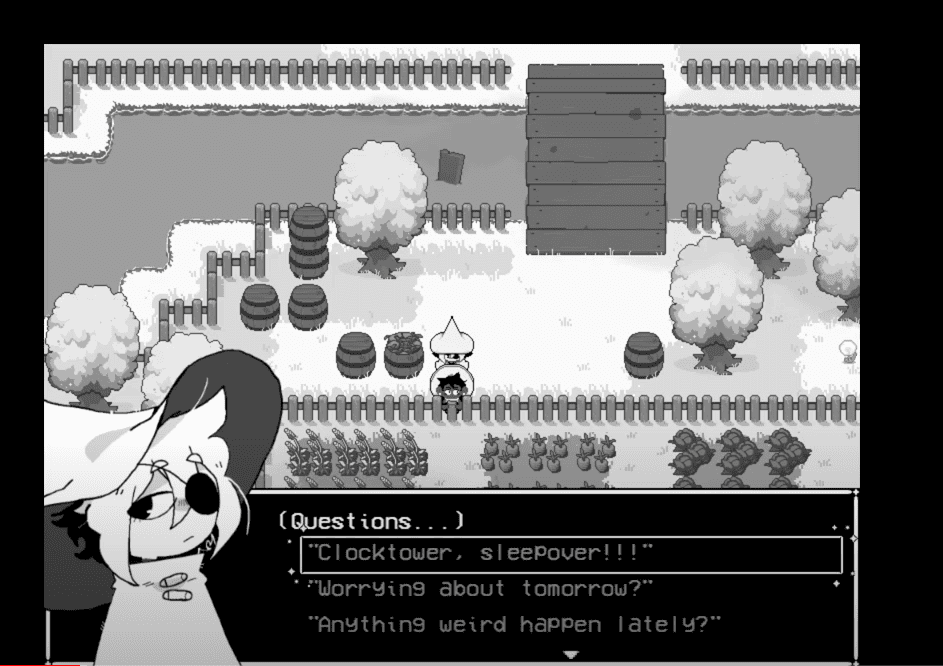
Then, after this, you will need to find Bonnie, Odile, and Isa. You should visit them in that order if you want to save time. Firstly, Bonnie is out to the right-hand side of town and then south toward the Crop Fields. Just head south of the three kids on the rock, and you’ll find her.
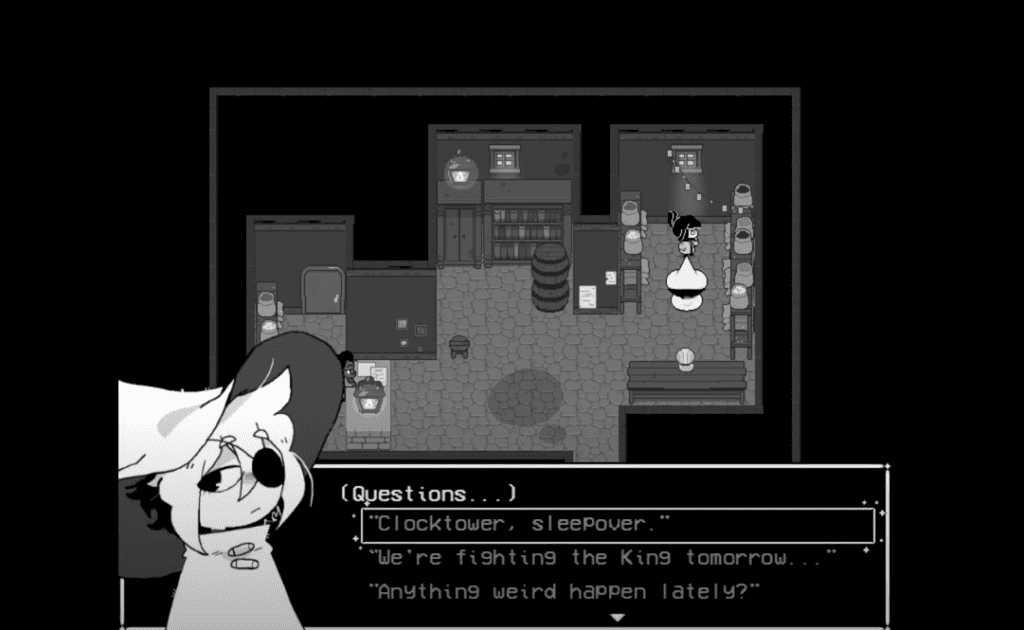
As for Odile, she is in the Shop in the North-East of the main town with with Change God Statue.
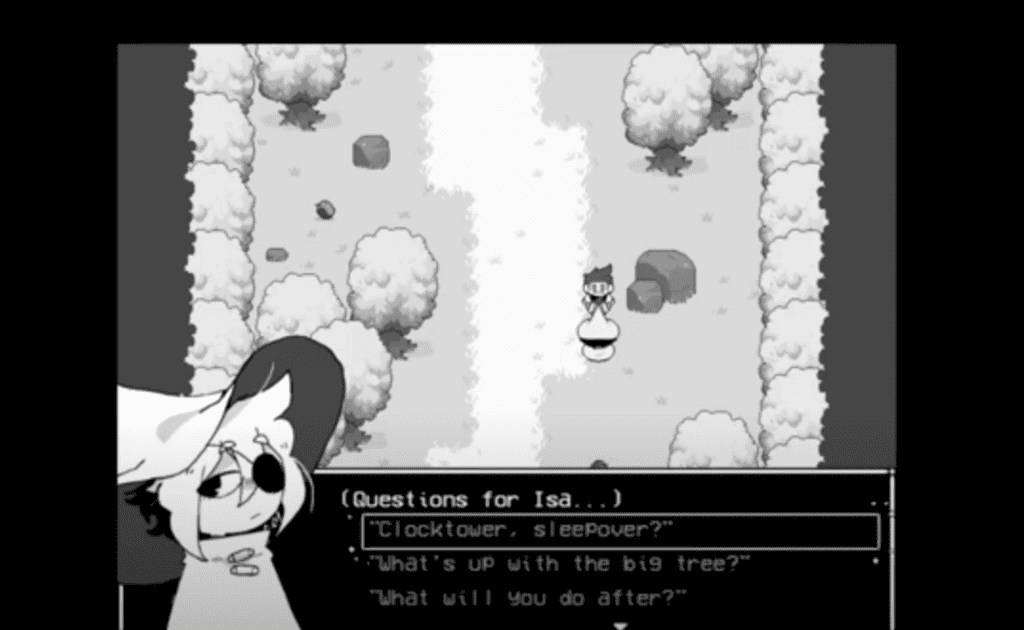
Then lastly, Isa will be near The Wish Tree, an area that you will be prompted to visit before you head off to The Tower. Your wish, as far as I know has no bearing on anything, so go with what you feel in the moment.
The player can also explore the town to get to know some key NPCs who will be able to give the player vital information, offer side quests, and provide souvenirs for Siffrin’s Collection. Here’s a quick list of people you might want to visit:
- The Librarian
- The Baker
- The Botanist
- The Little Kid Artist
- Mirabelle’s Secret Admirer
- The Comic Book Collector
Then, you’ll want to head off to The Tower, where your gang will have their final night together before facing off against The King.
In this section you’ll chow down to a huge feast, reassure Mirabelle as she offers to go it alone, and will also wake to a hesitant Isa who wants to tell you a secret but just can’t. It allows us to get to know our companions more intimately and establishes Bonnie’s role as head of Snacks. A key role.
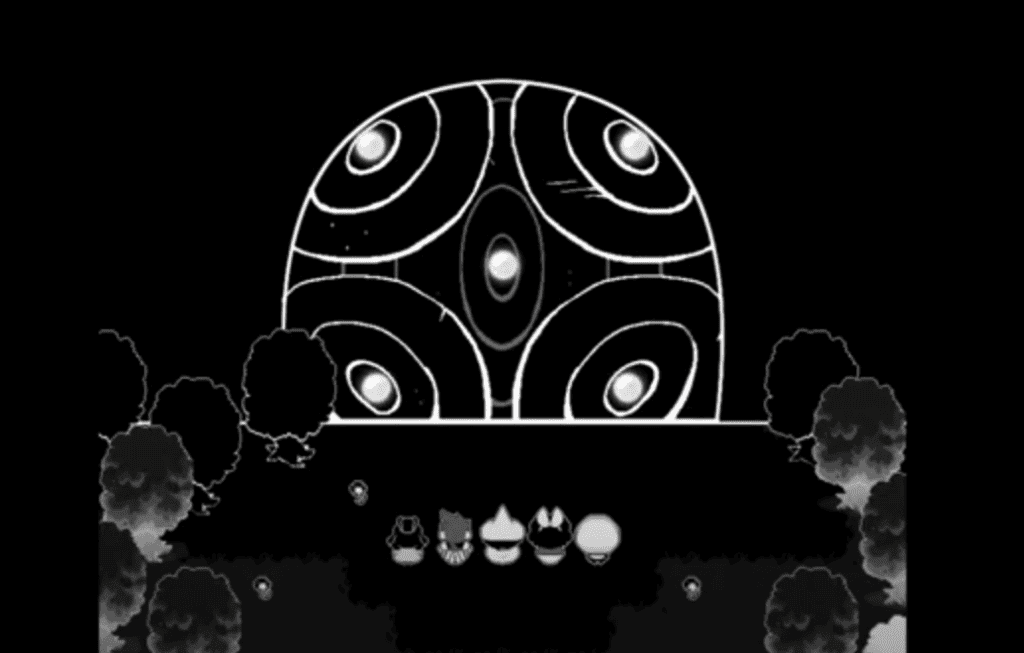
After this, you will then head to the entrance to The Castle, and will enter using the Orbs you acquired on your journey to this point.
Inside The Castle
Now that you are inside, you’re going to get to know the ropes as far as the combat system is concerned. The system revolves around the simple premise of Rock, Paper, Scissors, and each character has a type. They are as follows:
- Siffrin – Scissors
- Mirabelle – Scissors
- Isabeau – Rock
- Odile – Paper
Then, outside of this, you have Crafts, which are essentially special spells that allow you to attack outside your typing, heal characters, apply buffs, and attack multiple enemies at once. Generally speaking, Siffrin is a Speed character, Mirabelle is a Healer, Isabeau is an Attack-based Character, and Odile is an all-rounder.
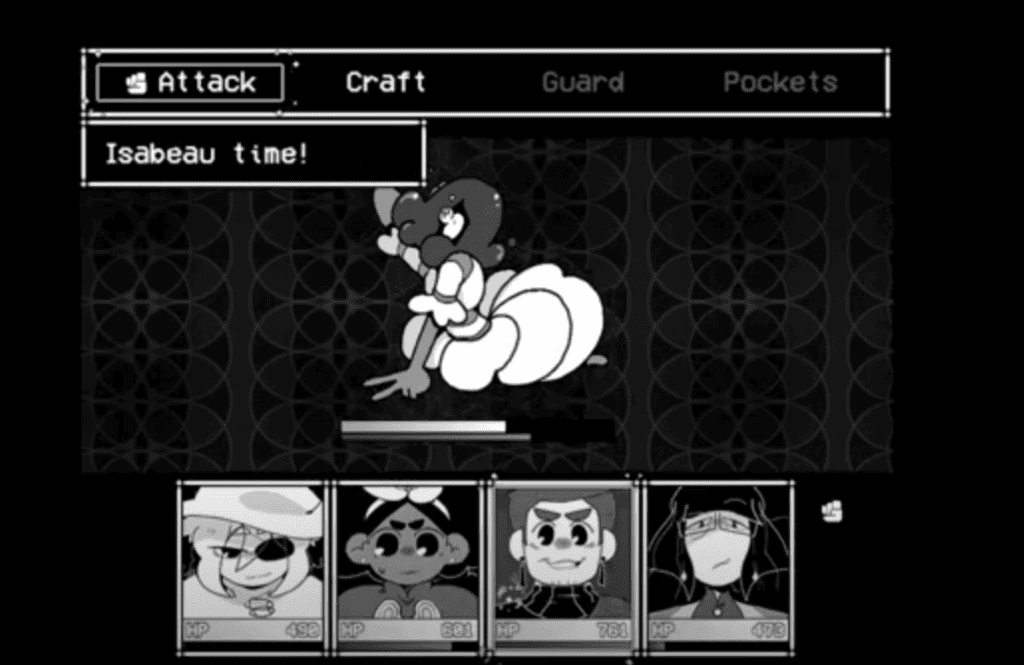
With this knowledge, players will need to take on a Sadness they encounter at the Castle Entrance. You can take it out with basic attacks, and the only thing you really need to understand in this fight is that most enemy models will have hands showcasing a Rock, Paper, or Scissors sign, allowing you to identify their weaknesses and resistances. Plus, Odile will be able to use an Examine move at no extra cost if you can’t work it out.
You will then fight a second Sadness in the next room, where the game will teach you more about Crafts, but again, this is all very straightforward.
Then, in the third room, you will lose a companion as Isabeau gets K.O’ed, or at least he pretends for the purpose of the tutorial. So you then learn about the last important combat mechanic, the Jackpot Shot.
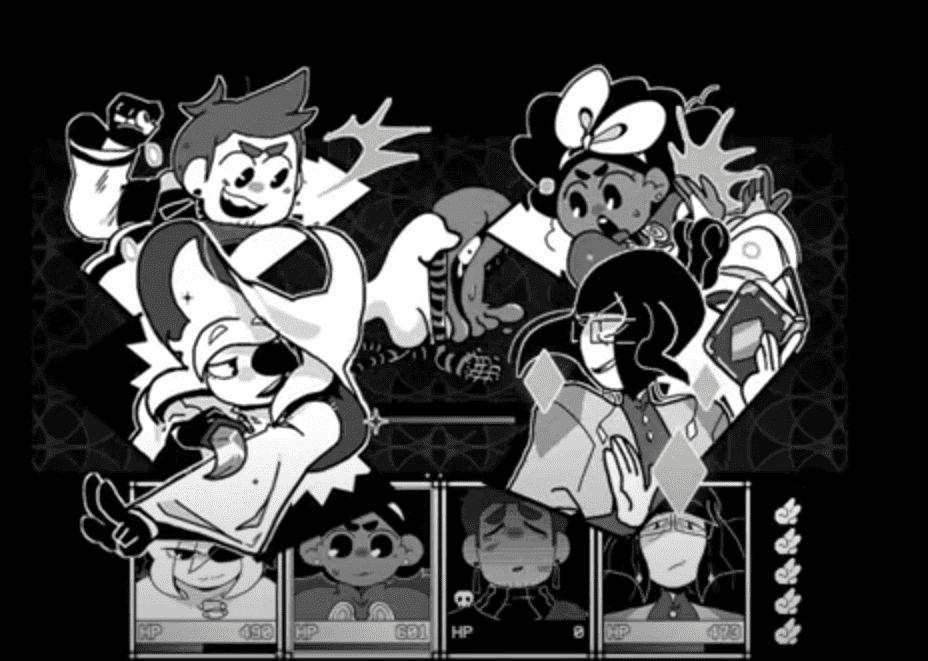
If you manage to chain five moves of the same type, you will perform a Jackpot Attack, which will revive and heal characters, not to mention deal a huge amount of damage to the enemy.
Then will then take you to a room where you will be able to save the game and bank your companion XP to this point. Then, on the left, you will be able to explore a room where you will be able to acquire tonics, which essentially teaches the player what all the key items do in the game. Don’t get too attached to them, though; you won’t have them for long.
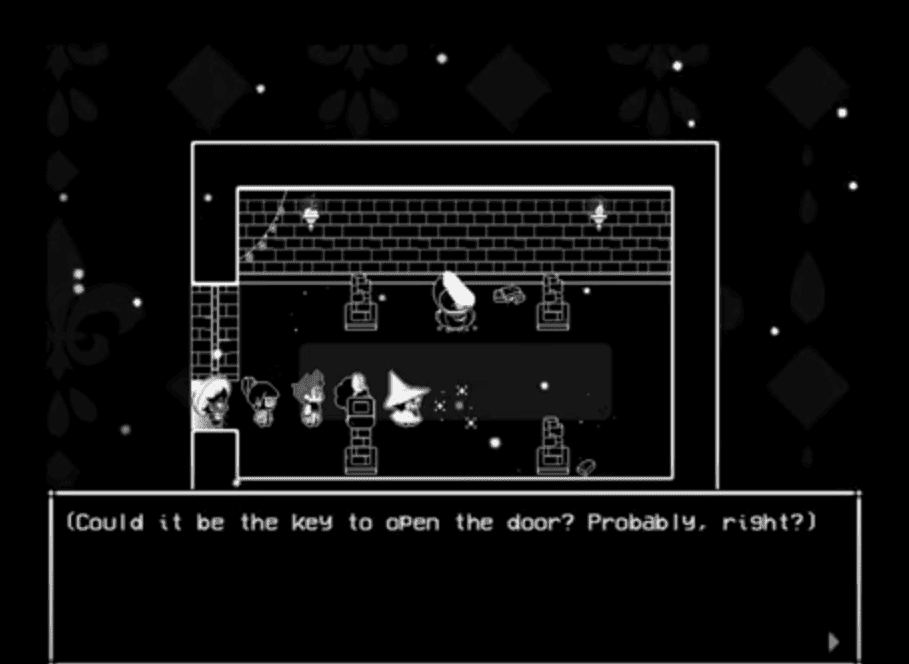
After this, head to the room on the right, where you will see a shimmering light on the floor. Interact with this to acquire a key that can be used to open the door to progress. After Obtaining the Circle Key, head to the middle room and open the door forward.
This will lead you to a room that seems pretty innocuous, but Mirabelle will eventually realize that this is known as ‘The Death Room’ and will ask you, the Trap Master, to look for anything that may cause the group harm. So you’ll need to interact with every Pillar in the room, looking for any hidden switches.
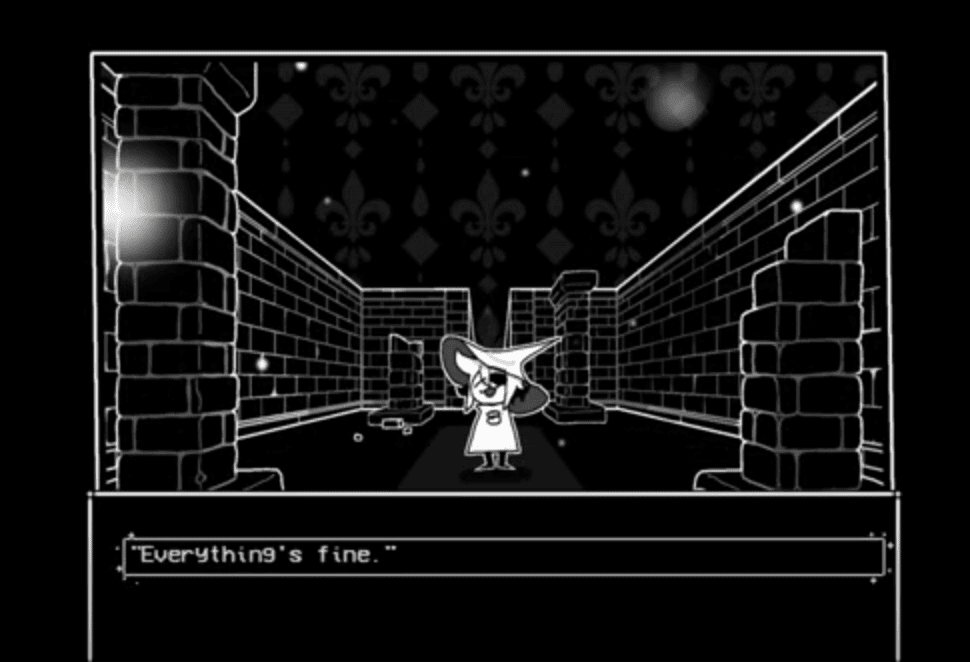
You’ll eventually come to the conclusion that there’s nothing to worry about and assure Mirabelle that everything is fine. At this point, a huge rock will fall on your head, crushing you entirely, and just like that, you’re dead. Or, are you?
Was It All A Dream?
After the trauma and intense pain of death, you’ll awake in the Field you began the game unscathed. mentally scarred, sure, but physically unscathed.
Mirabelle will come to greet you as you did before, and after you muddle through that conversation again and beat yourself up for a while for being so careless and stupid, you’ll be on your way again and will begin your second loop.
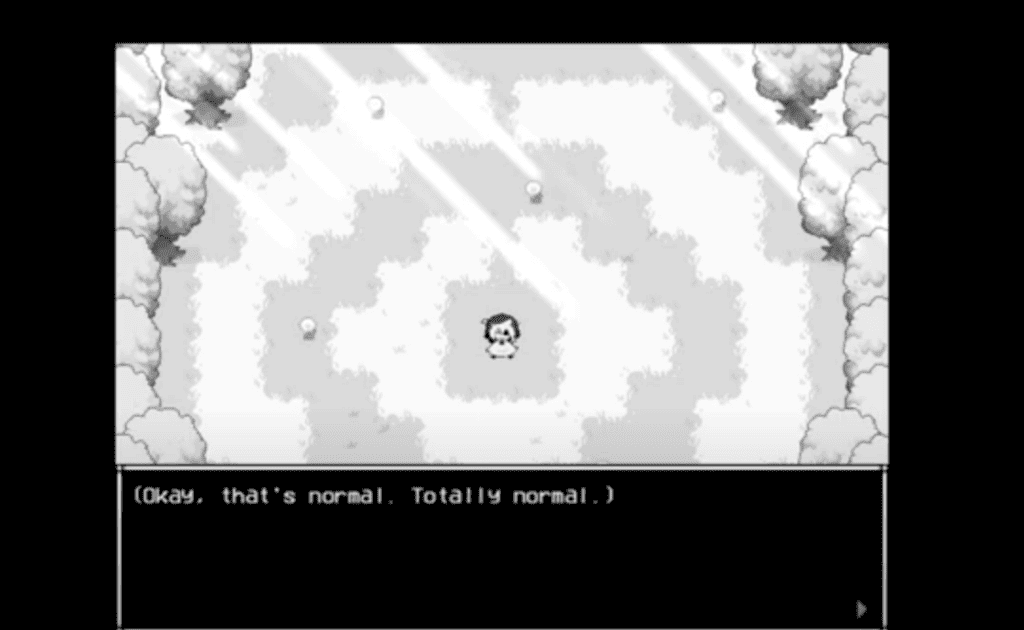
Plus, you’ll also gain the Memory of Looping, which will provide a buff of 5HP per loop, which pretty much offers you an incentive for dying, which is pretty neat.
First Loop Complete
And with that curious ending to the first act, that concludes our introductory walkthrough for In Stars and Time, but we are only getting started.
We will be walking you through every single act of this game, allowing you to master this time loop and Save Vaugarde once and for all.
So be sure to check out our upcoming First Floor guide, and as always, thank you for reading Indie Game Culture.
Games Like In Stars and Time
|
- Best Beginner Hades 2 Keepsakes - May 13, 2024
- 15 Beginner Tips For Hades 2 Newbies - May 9, 2024
- What’s New In Hades 2? - May 8, 2024

