

- Rewards for Collecting Rainbow Conches
- Sea of Stars Rainbow Conch Locations
- X'tol's Landing - 1 Rainbow Conch
- Wind Tunnel Mines - 1 Rainbow Conch
- Stonemasons Outpost - 2 Rainbow Conches
- Moorlands - 2 Rainbow Conches
- Coral Cascades - 2 Rainbow Conches
- Port Town of Brisk - 7 Rainbow Conches
- Abandoned Wizard's Lab - 2 Rainbow Conch
- Wraith Island Docks - 1 Rainbow Conch
- Town of Lucent - 2 Rainbow Conches
- Cursed Woods - 1 Rainbow Conch
- Flooded Graveyard - 1 Rainbow Conch
- Necromancer's Lair - 1 Rainbow Conch
- Haunted Mansion - 1 Rainbow Conch
- Ancient Crypt - 1 Rainbow Conch
- Mirth - 2 Rainbow Conches
- Stillpond Island - 1 Rainbow Conch
- Mooncradle - 2 Rainbow Conches
- Sacred Grove - 1 Rainbow Conch
- Docarri Village - 3 Rainbow Conches
- Antsudlo - 1 Rainbow Conch
- Glacial Peak - 1 Rainbow Conch
- Jungle Path - 1 Rainbow Conch
- Torment Peak - 1 Rainbow Conch
- Mossy Cache - 1 Rainbow Conch
- Mountain Trail - 1 Rainbow Conch
- Elder Mist Trials - 1 Rainbow Conch
- Forbidden Cavern - 1 Rainbow Conch
- Autumn Hills - 1 Rainbow Conch
- Bamboo Creek - 1 Rainbow Conch
- Songshroom Marsh - 1 Rainbow Conch
- Clockwork Castle - 1 Rainbow Conch
- Cloud Kingdom - 2 Rainbow Conches
- Air Elemental Skyland - 1 Rainbow Conch
- Kiln Mountain - 1 Rainbow Conch
- Derelict Factory - 1 Rainbow Conch
- Repine - 3 Rainbow Conches
- Seat of the Triumvirate - 1 Rainbow Conch
- Sky Base - 1 Rainbow Conch
- Cerulean Expanse - 1 Rainbow Conch
- Half-Sunken Tower - 1 Rainbow Conch
- Sealed Docarri Ruins - 1 Rainbow Conch
- Throne of The Queen That Was - 1 Rainbow Conch
- FAQ Section
- The Secret at the End of the Rainbow
If you want to quickly identify an old-school RPG with a current-gen one, examine the UI. RPGs from the past leave players to their devices, only giving slim hints about treasures, while newer RPGs fill your screen with pointers and markers toward your next catch.
Sea of Stars, being a classic-inspired RPG, is the former, letting players find out for themselves where to find that next incredible piece of equipment or the secret boss. It wouldn’t be that much of a hassle if there weren’t 60 pieces of collectibles that don’t appear anywhere on a minimap – cause there is no minimap – and are only hinted at by a myopic parrot whose clues are way obtuse.
However, someone out there will eventually find all these collectibles and write a guide about it. Today, I’m that someone. So, if you’re searching for Sea of Stars Rainbow Conch Locations, you have come to the right place. Keep in mind, however, that there’ll be some minor spoilers in the text or screenshots.
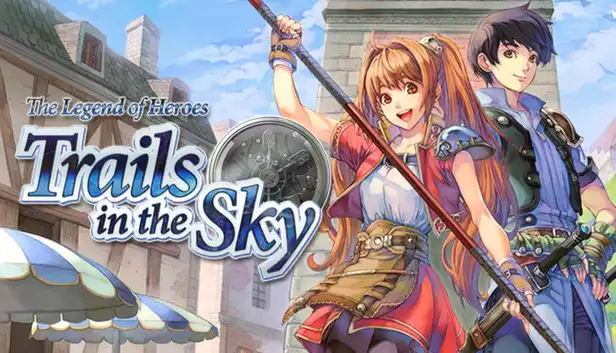
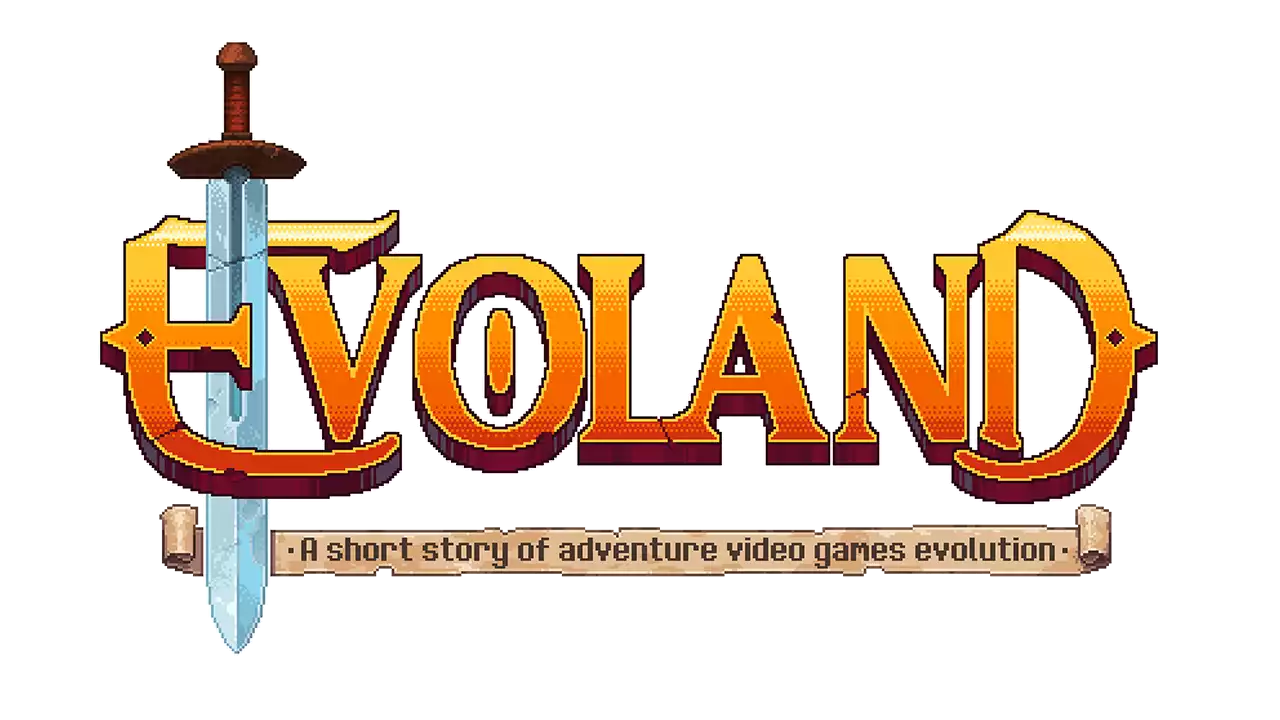
Games Like Sea of Stars
 |
 |
 |
|
4.6
|
3.3
|
4.5
|
Rewards for Collecting Rainbow Conches
There are a total of 60 Rainbow Conches. After reaching the Docarri Village, an NPC called Mirna will reward you based on how many conches you collect.
- 4 Rainbow Conches: Inn Plans – Plans for the construction of an inn in Mirth.
- 11 Rainbow Conches: Cornucopia accessory – Party max HP +20.
- 19 Rainbow Conches: Shop Plans – Plans for the construction of a shop in Mirth.
- 22 Rainbow Conches: Fishing Hut Plans – Plans for the construction of a fishing hut in Mirth.
- 27 Rainbow Conches: Falcon-eyed Parrot relic – Helps find remaining treasure.
- 35 Rainbow Conches: Poutine recipe – Cures KO +100% HP to an Ally.
- 39 Rainbow Conches: Spa Plans – Plans for the construction of a spa in Mirth.
- 47 Rainbow Conches: Pudding Chômeur recipe – Recovers +100% MP to an Ally.
- 60 Rainbow Conches: Rainbow Star – Lights up a rune in the Moorlands. Required for the true ending.
As you can see, most rewards are plans for Mirth, recipes, or the useful but inarticulate Falcon-eyed Parrot relic. Without it, this guide may have taken way longer. So thank you, Parrot.
The last item is crucial to unlock the true ending since it activates one of the six runes in the Moorlands. But getting all 60 Rainbow conches is a tall order, especially without a guide. Fortunately, you’re in the right place.
Sea of Stars Rainbow Conch Locations
Rainbow Conches are spread into two categories: the ones you find in a chest and those you receive as a reward for completing an objective. I considered the best way to list them and decided to separate them by area, regardless of the chronological order. But if you need any tools or means of transportation that require backtracking to a specific location, I’ll let you know in advance.
X’tol’s Landing – 1 Rainbow Conch
Rainbow Conch #1
After entering X’tol’s Landing by the world map, cross the bridge and go west. The chest is slightly hidden behind the cliff.

Wind Tunnel Mines – 1 Rainbow Conch
Rainbow Conch #2
Take the elevator to the bottom floor of the mines and find the chest to the west, behind a pillar.

Stonemasons Outpost – 2 Rainbow Conches
Rainbow Conch #3 – Requires Mistral Bracelet
In Stomenasons, enter a house on the left of one with a closed door. Inside it, cross to the house on the right via a corridor in the back. In this next house, you’ll find a painter and a crystal that can be pushed with a burst of wind.

Rainbow Conch #4 – Requires Mistral Bracelet
In front of the house with the closed door, jump on a ledge and enter a suspended room. Look for a green windmill and use a windburst to fill a creek outside with water. Outside, talk to the girl bathing, and she’ll give you a Rainbow Conch.

Moorlands – 2 Rainbow Conches
Rainbow Conch #5 – Requires Mistral Bracelet
Head back to the Moorlands from Stonemasons Outpost direction and follow the path until you reach the halfway point of the map, after a cave. Continue south until you reach a crystal that can be pushed with the Mistral Bracelet. Align it with the symbol on the ground, and a platform will form to get to the chest.

Rainbow Conch #6 – Requires Cobalt Hammer
This one, you can only get way later into the story. Enter the area from X’tol’s Landing and proceed until you reach the blue crystals. Use the Cobalt Hammer to destroy them and find the chest hidden behind.

Coral Cascades – 2 Rainbow Conches
Rainbow Conch #7 – Requires Mistral Bracelet
When falling down the waterfalls, you’ll reach a spot to choose between three of them. Aim for the one on the east side of the river. You’ll fall near an unreachable chest and a green windmill. Airbust the windmill, and a geyser will throw the chest at you.

Rainbow Conch #8
On the way to the exit, you’ll spot a breakable floor. Keep going west and jump on the geyser to propel you up to another geyser. Fly again and then drop from a ledge, falling on the floor, breaking it, and opening a way to the Rainbow chest.

Port Town of Brisk – 7 Rainbow Conches
None of the Rainbow Conches in Brisk are missable, but after a particular event in-game, you may have to wait a bit to get back at it again.
Rainbow Conch #9
When you reach the deck, walk west to find a not-hidden chest behind a palm tree.

Rainbow Conch #10
From the port of Brisk, jump into the water and swim a short distance to the west. You’ll come across a lazy boy who wants you to make his life easier by handing him 40 fish fillets in exchange for a Rainbow Conch. Lest you get confused like I did, the item is called Fillet. Seafood doesn’t count.

Rainbow Conch #11
Jump back into the water and swim all the way east until you find two kids playing in the sand. Disturb them and swear to hold their base a secret in exchange for a Rainbow Conch.

Rainbow Conch #12
Go to the tip of the deck and jump into the water. Swim underneath it to find the hidden market. In addition to the great items for sale, there’s a Rainbow chest in there.

Rainbow Conch #13
Go up the first staircase you see and keep going until you find a house to the northwest. If there are three chests inside, you’re in the right place. The man offers you a find-the-right-chest game for 5G. If you find the chest with 10G five times, you also get a Rainbow Conch. I don’t know if there’s a trick for this, but mine was save scumming.

Rainbow Conch #14 – After Brisk Is Rebuilt
When Brisk is rebuilt, go to the city’s north and sneak through the white brick rubble. There’s a naughtily hidden house storing a chest.

Rainbow Conch #15 – After Brisk Is Rebuilt
This Rainbow Conch involves minor backtracking. Look for an inspiring muse sipping ice cream, longing for someone to immortalize her in a painting. Talk to her.
Remember Darro, the painter in Stonemasons Outpost? It was at his house that we acquired Rainbow Conch #3. Go back to Stonemasons Outpost, talk to Darro, and he’ll go to Brisk to paint his muse. Meet him by the harbor, and he’ll give you a Rainbow Conch.

Abandoned Wizard’s Lab – 2 Rainbow Conch
Rainbow Conch #16
In the Wizard’s Lab, after inserting the blue and green crystals, you’ll enter an area with water. Jump into the water and swim a bit to the west to find a chest under the wooden support.

Rainbow Conch #17
After you obtain all three crystals, combine the red and green and jump into the yellow portal. The portal will take you to a room with some simple puzzles to solve, and at the end, there will be a chest with the Rainbow Conch. I think they forgot to put the traditional blue skin on that chest.

Wraith Island Docks – 1 Rainbow Conch
Rainbow Conch #18
On Wraith Island Docks’ linear route, you’ll pass over a winding bridge. Below it is a well-hidden chest.

Town of Lucent – 2 Rainbow Conches
Rainbow Conch #19
Upon reaching Lucent, enter the house on the left and try to grab the chest. The painting will forbid you until you talk to his brother. You can find his painting brother at the house behind this one.
The second painting says they are fighting over a Berry Jam, and once you deliver the food to the first painting, the chest is yours. You can cook or buy one in the shop above.

Rainbow Conch #20
After reaching the east exit, go south and jump into the river. Swim all the way north and return land to find a chest in the corner.

Cursed Woods – 1 Rainbow Conch
Rainbow Conch #21
Follow the straight path in Cursed Woods until you cross the thin wooden spikes and run into a clearing with three enemies. To the southwest, there is an entrance to a cave with a Rainbow chest.

Flooded Graveyard – 1 Rainbow Conch
Rainbow Conch #22
When you reach the raft section, jump at the water and swim up north until you find the chest floating.

Necromancer’s Lair – 1 Rainbow Conch
Rainbow Conch #23 – Requires Graplou
After you get the Graplou, you’ll be stylishly slinging around with it until you return to the hovering platform. When you go up the stairs, two wizards will be hanging on the right side. Use the Graplou on them, and you’ll find a Rainbow chest after swinging there.

Haunted Mansion – 1 Rainbow Conch
Rainbow Conch #24
When you get to the garden, go to the west side of it and interact with the vase. Doing so will open a secret door leading to the chest.

Ancient Crypt – 1 Rainbow Conch
Rainbow Conch #25
A shy chest behind the left pillar.

Mirth – 2 Rainbow Conches
Rainbow Conch #26
Go to the second floor of the central house, exit, and find the chest in the corner behind the building.

Rainbow Conch #27 – Requires Fishing Plan and Master Fisherman
This chest is beside the fishing spot in Mirth. To open the fishing hut, you need the Fishing Plan, acquired from Docarri Village as a reward for collecting 22 Rainbow Conches, and the Master Fisherman NPC to manage it, encountered in Mooncradle’s pub.

Stillpond Island – 1 Rainbow Conch
Rainbow Conch #28
Easily spotted on the lawn to the right.

Mooncradle – 2 Rainbow Conches
Rainbow Conch #29
On the village’s east side, there’s a villager whining about the pile of leaves. Help him by blowing those leaves into the twigs. He will give a Rainbow Conch as thanks.

Rainbow Conch #30
On the west side, there’s another complaining villager, but this time about the roots on the field. Airbust the crate to slide it over the roots, destroying them. Talk to the man when done to receive a conch.

Sacred Grove – 1 Rainbow Conch
Rainbow Conch #31
Going up the Sacred Grove, notice a small water drop to your right. Jump in it and swim below it to find the chest.

Docarri Village – 3 Rainbow Conches
Rainbow Conch #32
I highly suggest you talk to the grandpa first. He’s found below Mirna’s market. He asks for your help to encounter his three grandkids. Since you’ll cross one of them while searching for another Rainbow Coach, let’s add one good thing to another.

The first kid is just in the house north of grandpa. Enter it, jump into the whirlpool, and you’ll find the sneaky one on the other side.
For the second kid, you must enter the shop in the northwest. Climb the wall behind the counter and jump into the whirlpool. Under the water, you will find two more whirlpools. The first leads you to the kid, while the second guides you to the third kid and Rainbow Conch #34.
Return to the grandpa after mastering hide and seek, and he will hand you a Rainbow Conch.
Rainbow Conch #33
Enter the southeast house, hit the lever, and jump into the whirlpool. Swim to the next one and swirl back to the surface, emerging on the house with the Rainbow chest – and the Merchant NPC for Mirth.

Rainbow Conch #34
Go to the northwest shop, climb the wall behind the counter, and dive into the whirlpool. Under the water, you’ll spot two more whirlpools. You want the north one, leading to a house with a southeastern exit. Go through it, and chest found.

Antsudlo – 1 Rainbow Conch
Rainbow Conch #35
In the last section of Antsudlo, mess with the levers until the water level drops. Then, jump off the ledge in the southeast corner and grab the chest.

Glacial Peak – 1 Rainbow Conch
Rainbow Conch #36 – Requires Solstice Amulet
After you learn how to control the time of day, you will backtrack to the entrance. When you reach a place filled with frozen blocks and cold-hard stones, you have to move them around while manipulating time to melt them down.
We’re aiming for the big chunk of ice in the northwest. Slide the block up there, manipulate time, and melt the ice. Then go down the stairs, grapple the trunk, and the chest will meet you at the end of this path.

Jungle Path – 1 Rainbow Conch
Rainbow Conch #37 – Requires Solstice Amulet
This Conch involves a rather amusing puzzle. You have to hit the statue with a moon in its forehead with a beam, which you activate by manipulating time. But first, we have to align the mirrors.

There’s a mirror at the south of the statue, which must be aiming northeast. After, return to the statue and put the left mirror to the southeast and the right mirror to the northwest.
Then, manipulate time and aim the crystal at the magical runes on the right so every pillar carrying a mirror rises, and quickly control time again to aim the beam towards the left magical runes. If you time everything correctly, the beam will hit the statue’s forehead, and its mouth will be open for entry.

Follow the linear path, and you’ll find the chest on the outside.
Torment Peak – 1 Rainbow Conch
Rainbow Conch #38
After camping, the path will take you towards three Tsiclop monsters. Eliminate them and look for a faintly glowing vine to the left that will take you down. Follow the path and enter a discreet cavern to find the chest.

Mossy Cache – 1 Rainbow Conch
Rainbow Conch #39
Solve the puzzle and grab the chest to the left. Easy-peasy.

Mountain Trail – 1 Rainbow Conch
Rainbow Conch #40
Remember the first place you visited when you started playing Sea of Stars? It’s east of the Mountain Trail entrance coming from Mooncradle. There’s a trunk you can grapple to and reach an area with a chest.

Elder Mist Trials – 1 Rainbow Conch
Rainbow Conch #41
Climb to the top of the Mountain Trail and talk to Elder Mist to return to the trial. Take the first teleport on the left and use a burst of air on a pillar, revealing a chest behind it.

Forbidden Cavern – 1 Rainbow Conch
Rainbow Conch #42
From the southern entrance, go forward and enter the western entry when possible. You will find another chest behind a pillar waiting for your airburst.

Autumn Hills – 1 Rainbow Conch
Rainbow Conch #43
When climbing the trees on the only path possible, look to your left to see a poorly concealed chest.

Bamboo Creek – 1 Rainbow Conch
Rainbow Conch #44
It’s harder to find the entrance to Bamboo Creek than the chest. This way-too-discreet area is to the north of Songshroom Marsh.

Songshroom Marsh – 1 Rainbow Conch
Rainbow Conch #45
There are quite a few platforming puzzles here, but they put the chest safely behind Yomara’s house.

Clockwork Castle – 1 Rainbow Conch
Rainbow Conch #46
You can’t miss this one. It’s locked behind a puzzle, but the puzzle is a must to proceed further into the Clockwork Castle.

Cloud Kingdom – 2 Rainbow Conches
Rainbow Conch #47
The chest is behind a right pillar in the Sky Council area.

Rainbow Conch #48
You have to sleep in the inn. The chest is beside the campfire.

Air Elemental Skyland – 1 Rainbow Conch
Rainbow Conch #49
After reaching the second manipulate day and night crystal puzzle, enter the small access on the west. Inside, you can find a Rainbow chest and a Combo Scroll.

Kiln Mountain – 1 Rainbow Conch
Rainbow Conch #50
Another hard-to-miss chest since it basically serves as a tutorial on how to break molten rocks with the boulder.

Derelict Factory – 1 Rainbow Conch
Rainbow Conch #51
Manipulate the crane and pull up the chest in the northeastern corner. Then drop it back in the hole beside you.

Repine – 3 Rainbow Conches
Rainbow Conch #52
The first chest is in the corner directly back to the save point.

Rainbow Conch #53
On the counter next to the innkeeper lies a glutton mechanical serpent. It will ask for several foods that match a category. While I’m positive a handful recipes fits the bill, I’ll write about the ones I gave it:
- Something SWEET – Parfait
- Something WARMING – Hearty Stew
- Something MEATY – Roast Sandwich
- Something LIGHT – Basic Salad
- Something FROM THE WATER – Sashimi
Finally, he will give you something from the rainbows, a conch.

Rainbow Conch #54
On the city’s second floor, the house at the northeast shelters a rainbow chest.

Seat of the Triumvirate – 1 Rainbow Conch
Rainbow Conch #55
A beautiful baby blue chest to the west of the campfire.

Sky Base – 1 Rainbow Conch
Rainbow Conch #56
After finding the campfire in the middle of the base, keep going until you find a console. You have to adjust the platforms so you can jump on them and scale to the chest.

Cerulean Expanse – 1 Rainbow Conch
Rainbow Conch #57 – After Dweller of Dread
Talk to a villager NPC inside the inn, and they will share four directions. That’s the exit you must take in the Cerulean Expanse to reach an oasis filled with chests and the Rainbow Conch. It’s South, Southwest, Southeast, and South.

Half-Sunken Tower – 1 Rainbow Conch
Rainbow Conch #58 – Requires Flight
To access Half-Sunken Tower, you have to do a relatively long side quest. First, fly to an island in the northeast of Wraith Island. Land there and enter Romaya’s Secret Passage. You will come across a closed gate. Now, spin the windmills until every symbol matches the one in the screenshot. The windmill in the middle changes the symbols’ colors. When you get it right, a passage will open.

Enter the secret passage, climb the elevator, and you will be taken back to the same place where the symbols are, but the gate, barring the chest, is now unlocked. Take Romaya’s Journal from it and deliver it to Duke Aventry just outside. He will bestow you a Yellow Flame.

Go talk to the Ferryman and select the Yellow Flame. He will take you to the Half-Sunken Tower area, finally. Explore the tower until you jump on the raft. Propel yourself south, where a basket of food lies. Go to the southeast of this terrain to jump in the water and swim to find the chest.

Sealed Docarri Ruins – 1 Rainbow Conch
Rainbow Conch #59 – Requires Flight
Another endgame sidequest. In the Home World, fly to the northwest of the map until you find a chunk of land. It appears on the map as ???. Interact with the floor, and four crystal pillars will appear around the world. You have to change the time of day so the crystals interact with the magic runes on the ocean floor.

Follow the rune trails, and you’ll come across four Docarri Sealed Ruins, one in each ordinal direction: NE, NW, SE, and SW. The Ruins in the northeast is the last one you have to go to because it’s locked by seals you get from completing the puzzles in the other three ruins.

I won’t spoil the puzzles here because they aren’t that hard, and I want you to enjoy doing them. After every puzzle, you earn a seal fragment. When you collect three of them, open the door to the Sealed Ruin on the northeast. Be prepared cause a Sea Slug boss fight awaits you.
After achieving victory against the monster, enter the opening from where it came, and the Rainbow chest will be inside, alongside Resh’an’s best weapon.

Throne of The Queen That Was – 1 Rainbow Conch
Rainbow Conch #60 – Before Last Dungeon
Yet another location unlocked after tackling a sidequest. Before going to the last dungeon, the Fleshmancer’s Ruins, you can converse with your party at the campfire to unlock their personal sidequests. Seraï’s sidequest is resolved in the Throne of The Queen That Was.

Talk to her at the campfire, and she will give you an artifact called Joce’s Belt Buckle. When you hand it to Teaks, she will share The Cerulean Expedition story, containing clues to which paths you should take in The Cerulean Expanse to reach the map of the Queen That Was.
If you didn’t manage to spot the clues or prefer the answer on a silver platter, here goes: Northeast, Southeast, Northeast, East. You’ll find a speedball teleportation device that will take you to the desired map. Then proceed in the area until you find a save point and the chest to the left of it.

FAQ Section
Question: What is the Rainbow Conch in Sea of Stars?
Answer: It’s a type of collectible that rewards you based on how many Rainbow Conches you have. Mirna, an NPC in Docarri Village, loves to collect them. If you show her your collection, she will give you some neat prizes.
Question: How many Rainbow Conches are there in Sea of Stars?
Answer: There are 60 Rainbow Conches in Sea of Stars. There is at least one in a blue chest in each area, but some require a fair share of backtracking and NPC talking.
Question: Do I need Rainbow Conches to unlock Sea of Stars’ true ending?
Answer: Yes, you do. You need to collect all 60 and talk to the NPC in Docarri Village to receive the last reward, activating one stone tablet in the ruins at Moorlands. You’ll still need to complete a handful of other endgame sidequests, but collecting Rainbow Conches is undoubtedly the hardest.
The Secret at the End of the Rainbow
At first, collecting these Rainbow Conches seems relatively easy. They’re neatly hidden behind objects or away from the game’s camera. But there’s a lot to gain from collecting them. However, in hindsight, the best reward – a secret ending – is locked behind some hard-to-find Rainbow Conches.
I hope this guide helps you find them all and unlock the coveted secret ending. Don’t forget to check out our other Sea of Stars guides in case you need support on this phenomenal and heartwarming RPG.
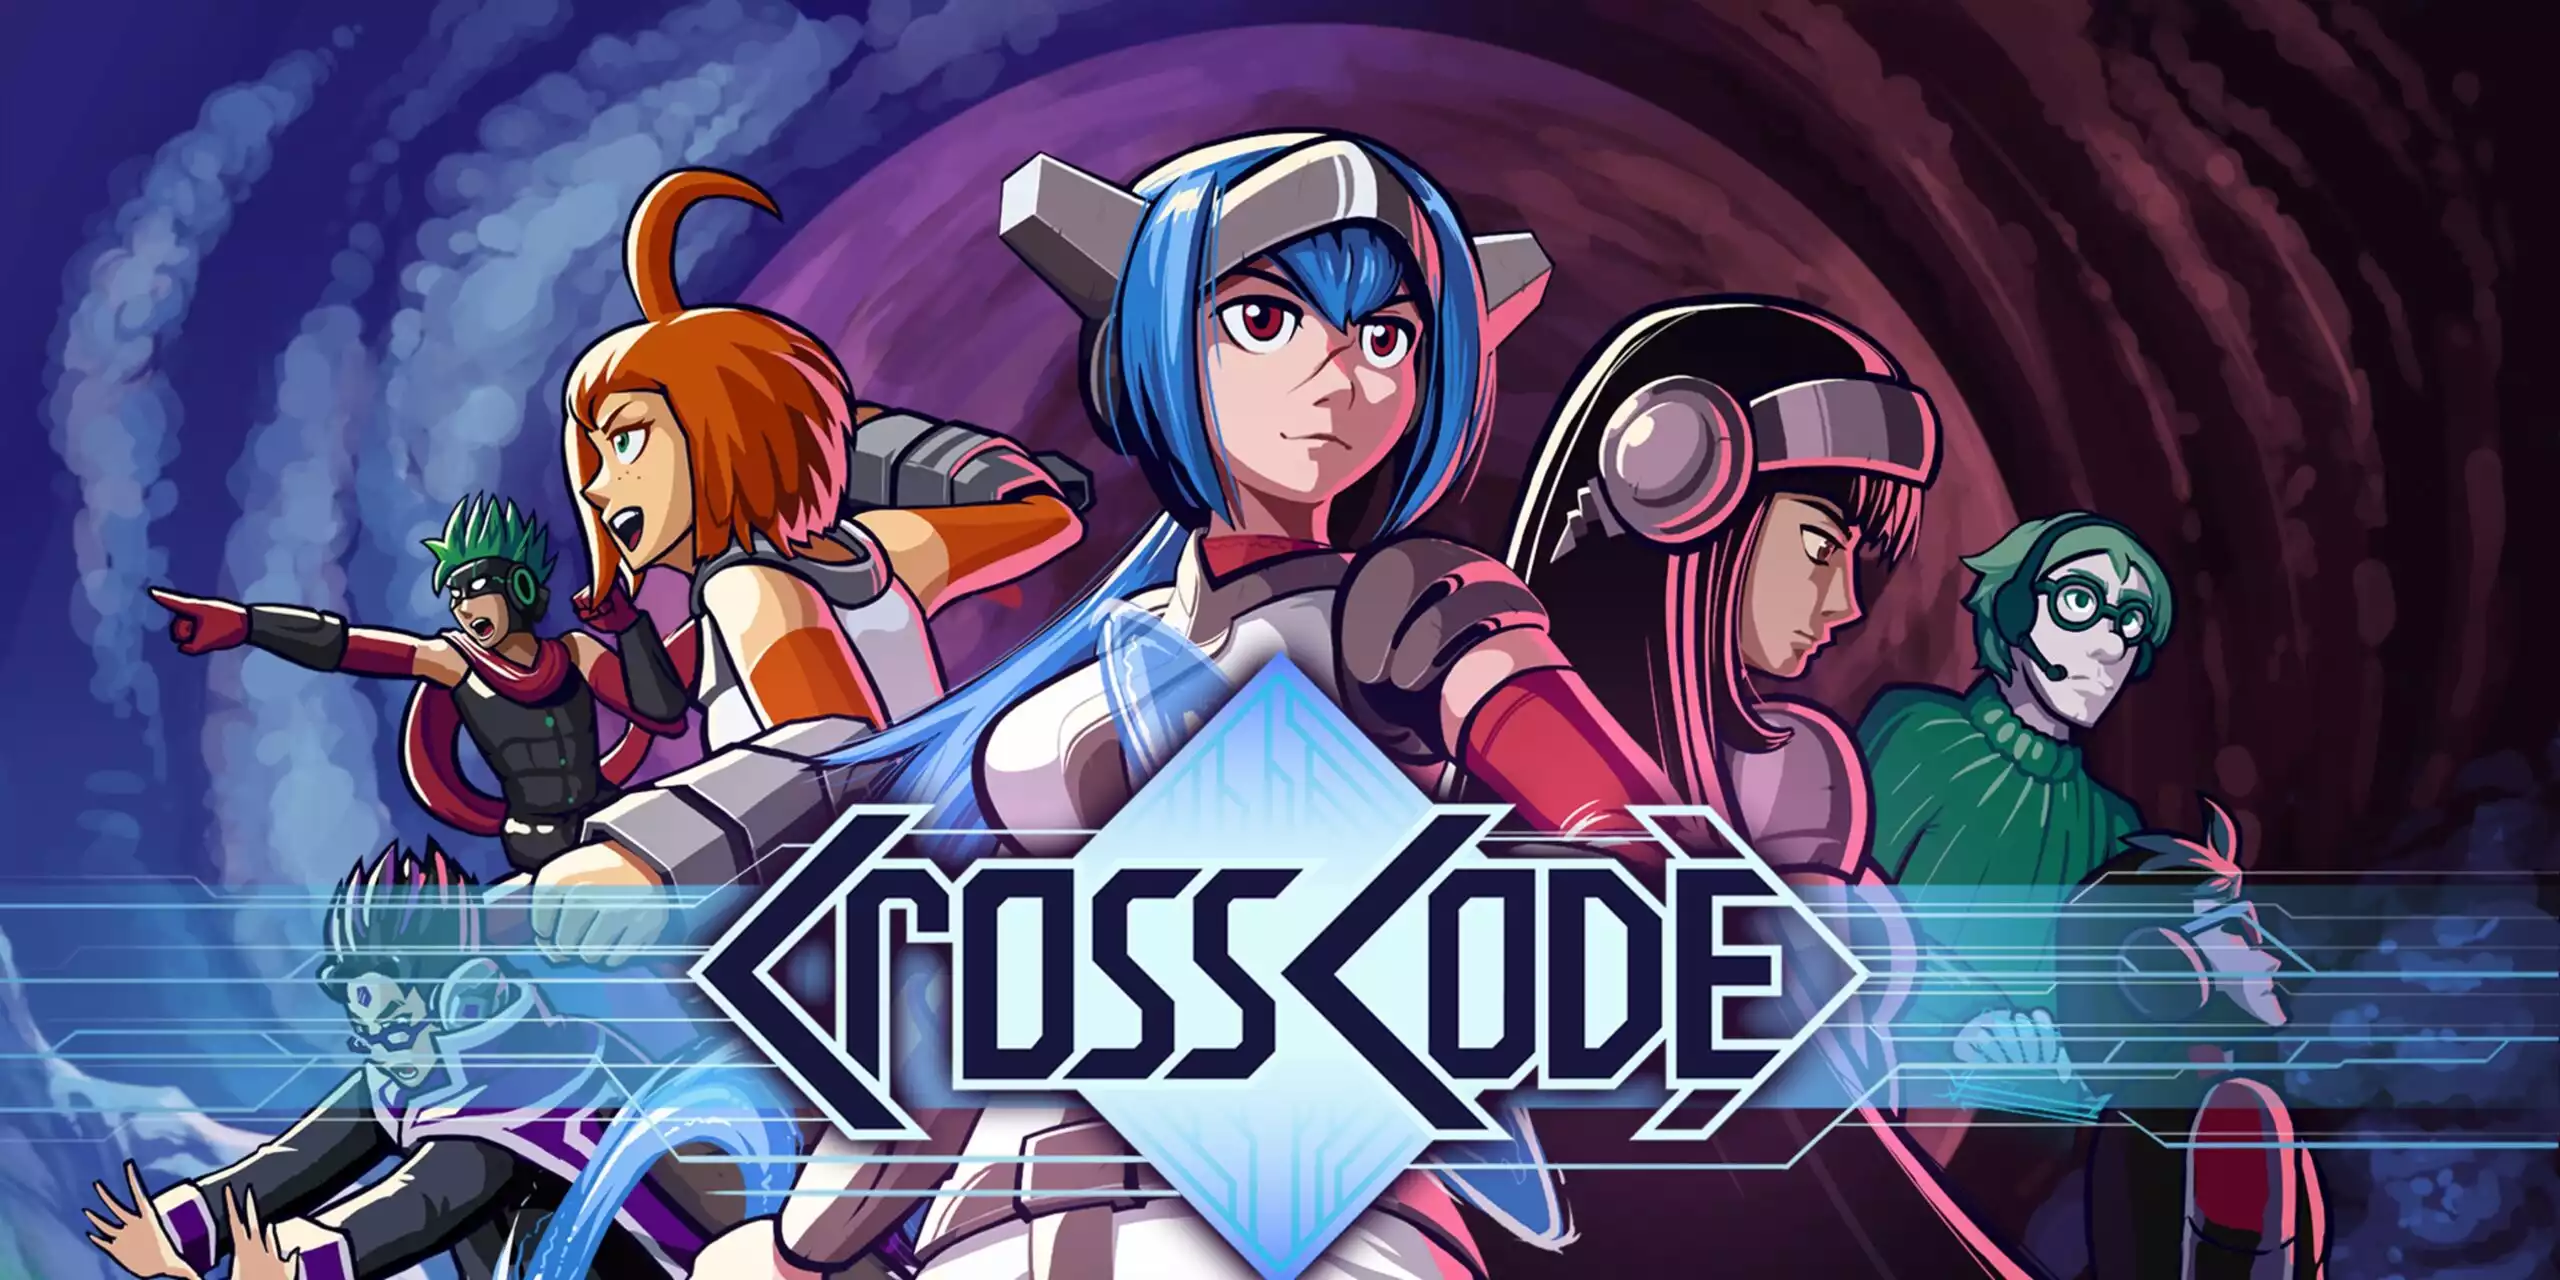
Games Like Sea of Stars
|
|
|
|
|
4.6
|
3.3
|
4.5
|
Among his many accomplishments:
A complete and immersive journey through Final Fantasy XIV's main story.
The notable triumph against the Mysterious Figure in Kingdom Hearts: Birth by Sleep.
Holding the coveted platinum trophy from Final Fantasy X.
Murillo's insightful articles have graced the pages of Xfire. For a deeper dive into his gaming odyssey, explore his PSN profile at Ryu-Akechi.
As he joins Indie Game Culture, Murillo is poised to become your guide to the hidden gems and masterpieces of Indie RPGs.
- Sea of Stars Question Packs Guide - August 29, 2023
- Sea of Stars Rainbow Conch Locations - August 29, 2023
- Sea of Stars Music Sheet Locations - August 29, 2023